 This has been a crazy whirlwind week. I finally started my first real hands on culinary classes! I am so beyond ecstatic. I am currently in a Knife Skills course and an Intro to Baking/Pastry course, and it’s already sooo much fun. Knife Skills is starting off pretty slowly… we only cut potatoes to practice the julienne cut and made baked french fries this week. We will be starting on more stuff next week, which I look forward to! 😀
 I have to get a new set of knives (because the ones they have at school are terribly dull and hardly cut anything…and because it’s a requirement by week 4 of the course). In our class we had the knife yoda, Dylan from Sonoma Cutlery in Petaluma, come do a demo with all the knives he sells in his shop. He offers a discount for culinary students and professionals, so I can’t wait to go check out some nice knives.
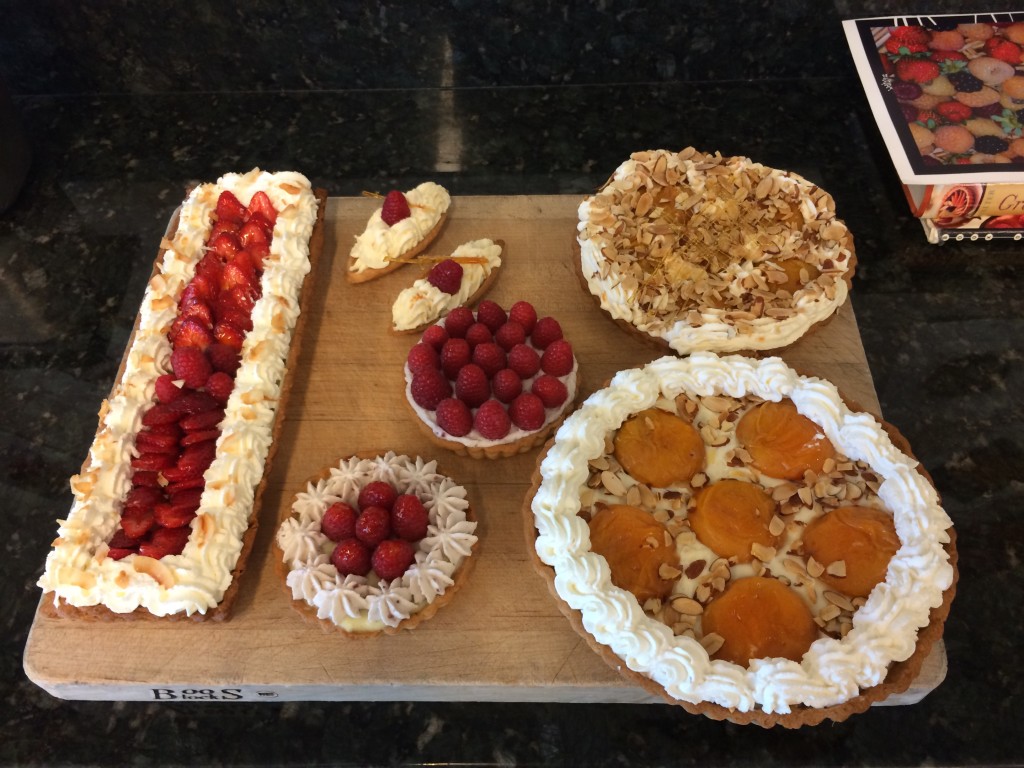
 My Intro to Baking/Pastry class is my absolute favorite (go figure haha). It has only been 3 days, but it’s already so much fun. This week we made Fruit Tarts, practicing different tart doughs and fillings. Fridays we have assessment where the Chef critiques and tastes our work, so we were all working our tails off for the 6 hour period to present lovely tarts for our first grading. It was intense, scary, stressful and entirely amazing all at the same time. The fast pace and the freedom to make whatever we wanted was exactly what I was looking forward to in going to culinary school. And our Chef is so nice and really helpful. She’s a great teacher, easy to take direction from, and always eager to answer questions. I am sooo happy and excited to see what else we learn. These are the tarts I ended up presenting:
 Sorry, now on to the PICKLES. I know there a ton of people out there in the world who dislike pickles, olives and other vinegar-y delicious jarred items. They are silly, but I will overlook this ridiculous trait because it means more yummyness for the rest of us. I have loooved pickles since I was a baby! My sister and I would always sneak into the fridge and snag tons of pickles when our mom wasn’t watching…and then proceed to have horrible tummy aches from eating too many. Same story with olives (even capers…which I probably wouldn’t do now).
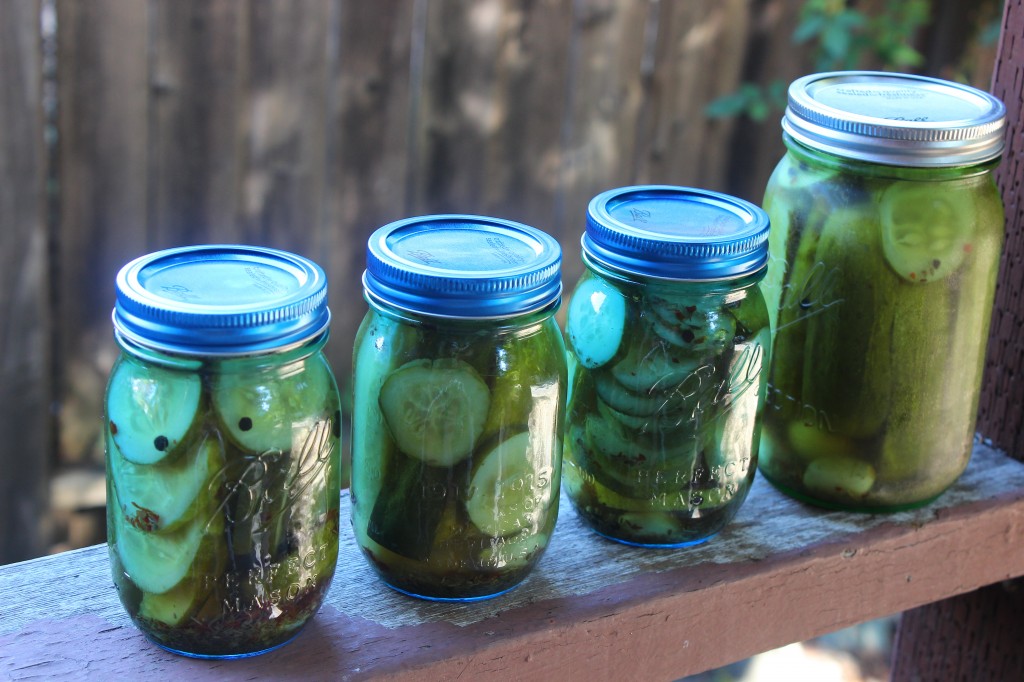
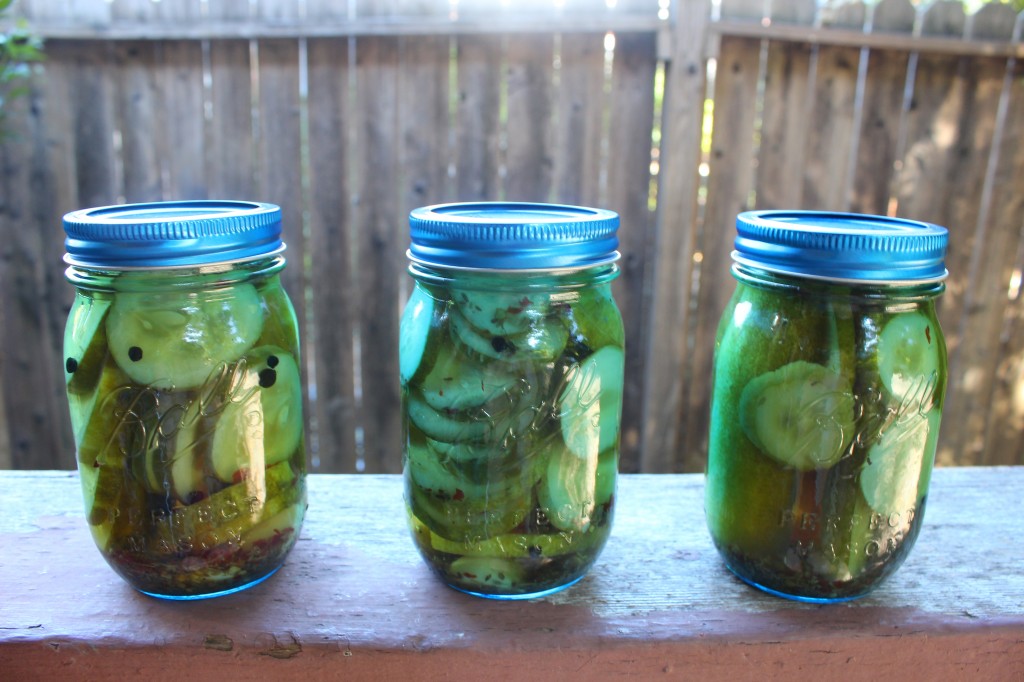 This pickle recipe came from Nev’s mom Delynne. She had made a batch last year and gave me a jar to try, and it was instant love. Garlic, dill, spicy chili flakes…so many good things all packed into a pickle. So meant to be. You can adjust the spice to what you like, and same with the amount of garlic. I amped up both for my pickles.
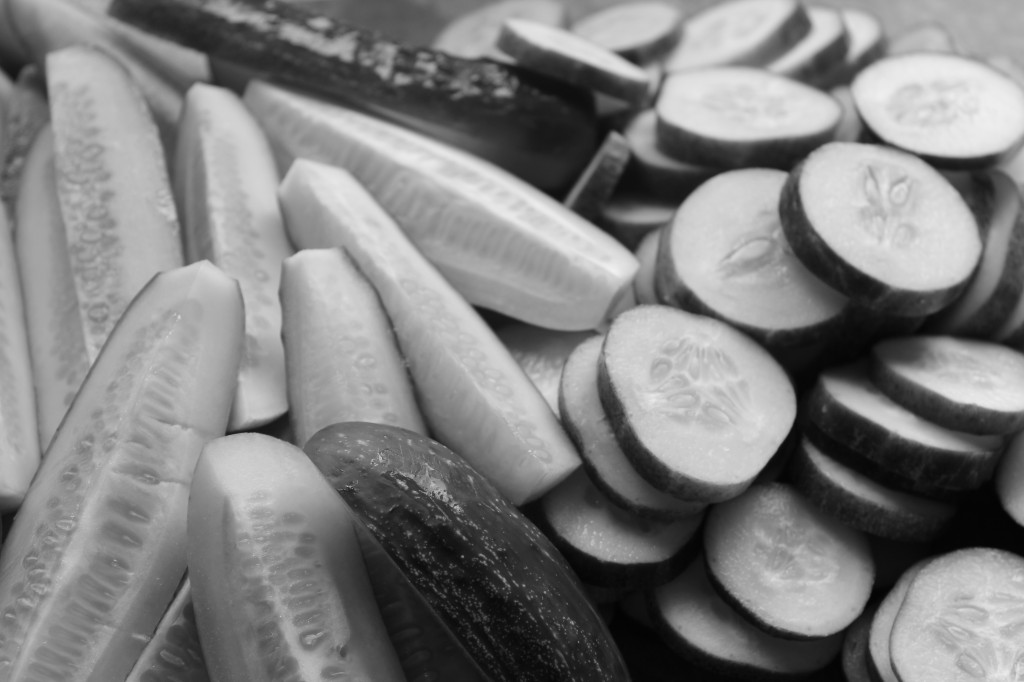 My family has always been into canning. We make jam almost every summer (and when we go to Washington to visit my grandma we go to the local berry farms and pick obscene amounts to make so.much.jam.). It’s just a really fun way to feel connected to ingredients!Even if you don’t grow the fruits/veggies yourself, going to the Farmer’s Market and selecting each item to pickle or can is something I really enjoy. These can be made as refrigerator pickles too, so they’re super easy!
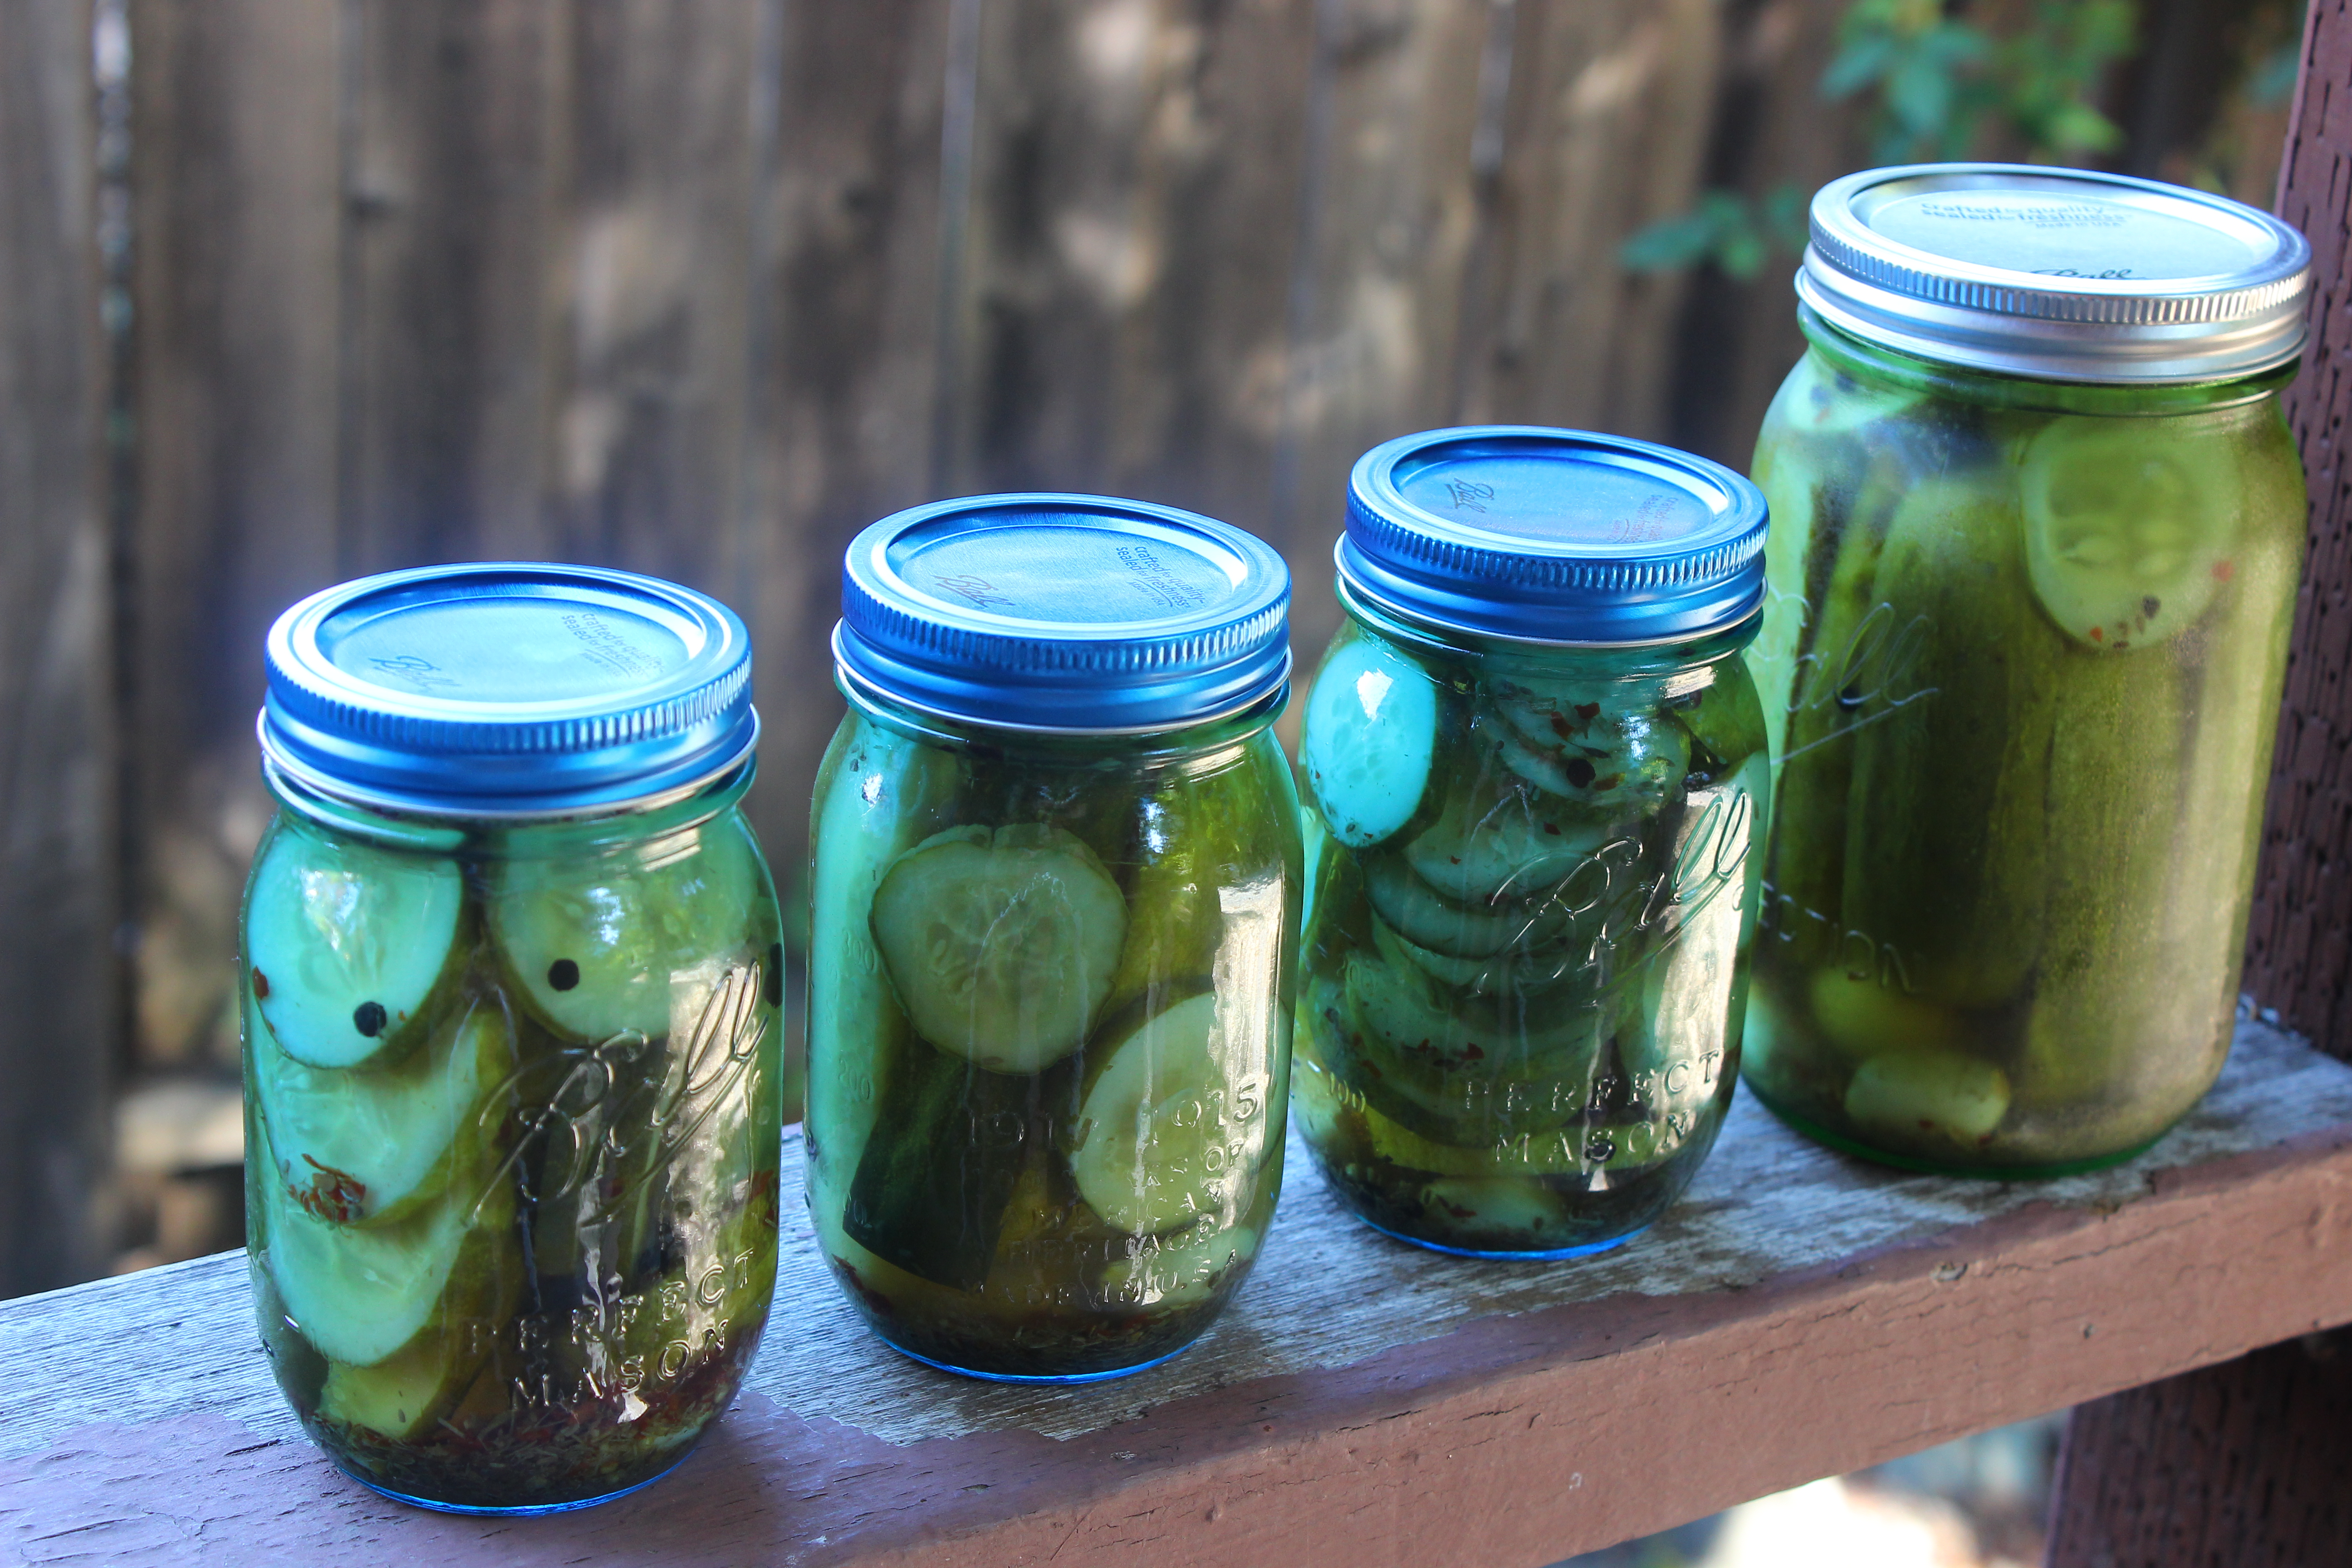
Spicy Garlic Dill Pickles
 https://mostlysourdough.com/wp-content/uploads/2014/08/IMG_1564.jpg
Dill pickles flavored with garlic and red chili flake for a zing!
You'll Need...
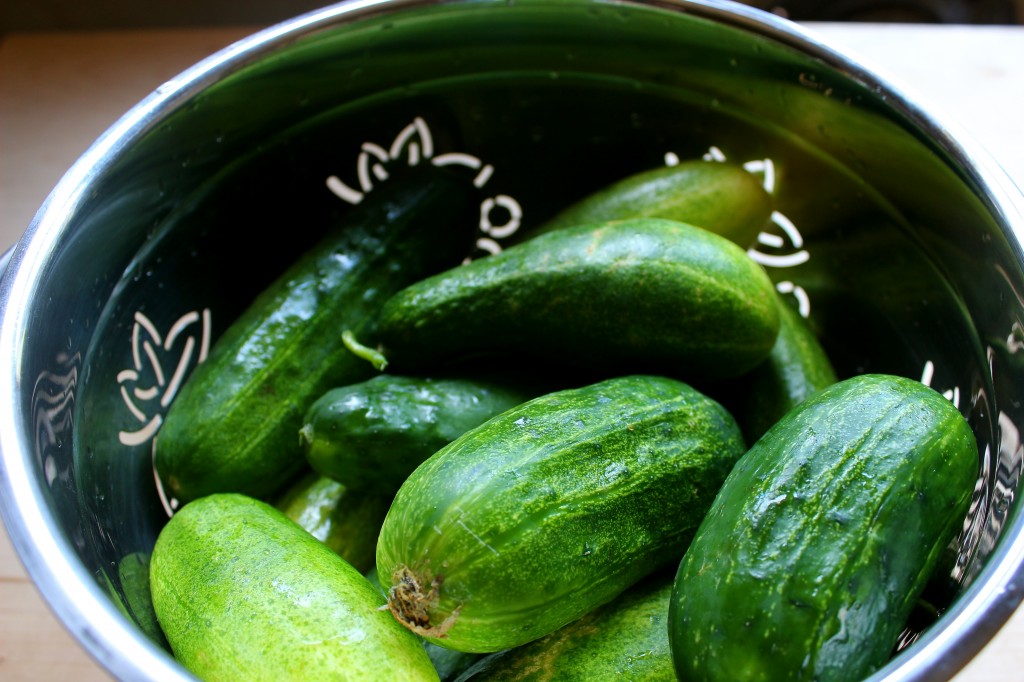
- About 3 pounds kirby cucumbers
- 2 1/4 cups apple cider vinegar (white vinegar works too)
- 2 1/4 cups water
- 3 tablespoons pickling salt
- 1 bulb garlic
- 5 tsp dill seed
- 3 tsp peppercorns
- 1.5 tsp (or to taste) red chili flakes
Directions
- Make sure your jars are washed and dried. If you will be making canned pickles, prepare a large pot of boiling water to process the jars in. Warm new jar lids (not the rings) in a small pan of simmering water.
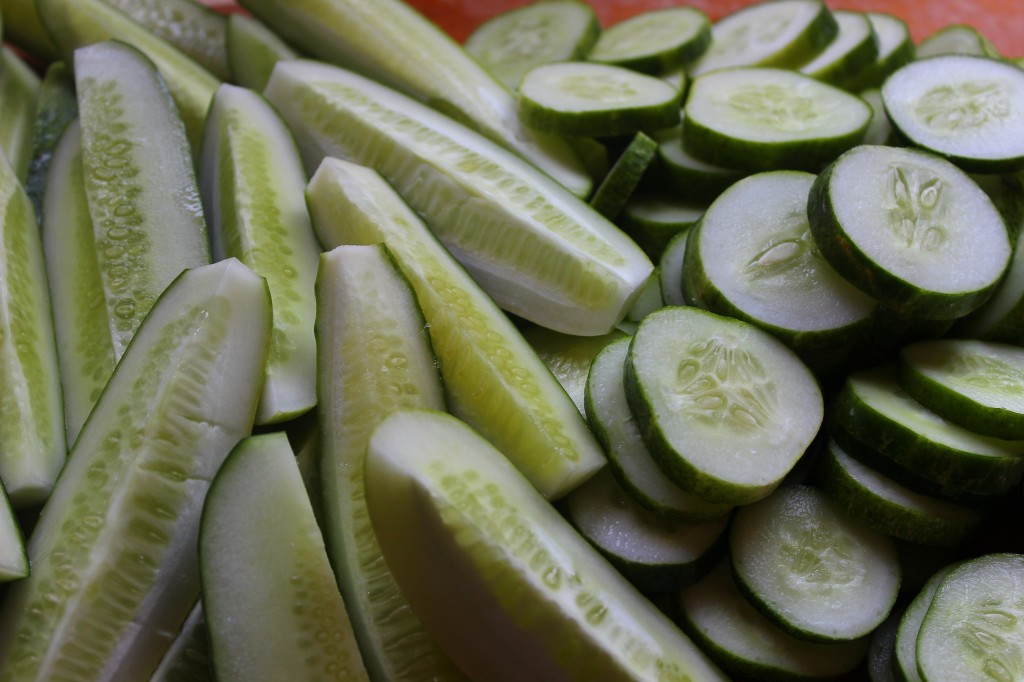
- Wash and dry your cukes. Cut off the ends, and slice into whatever shape you prefer. I did spears and chips! Divide the spices between your jars (I used four 16 oz jars, and 1 32 oz jar). Put 3 cloves of garlic in the smaller jars, and 5-6 cloves in the larger jar. Then divide the cukes and pack them into the jars as tightly as you can without squishing them.
- Combine vinegar, water and salt in a pan and bring to a boil. Pour brine into jars leaving 1/4 inch of space in the jar. Remove air bubbles with a chopstick or skewer. Wipe rims and apply lid and bands (don't screw them super tightly).
- If you are going to can them, carefully put them in your pot of boiling water. When the water starts boiling again, let them go for 10 minutes. Carefully remove jars from pot when time is up, and allow to cool. Check seals after they've cooled. If they didn't pop or you can see the top is still up, they will need to be refrigerated. If you are making refrigerator pickles (skip the canning process), wait until they have cooled and then refrigerate. Let them rest for one week before eating.
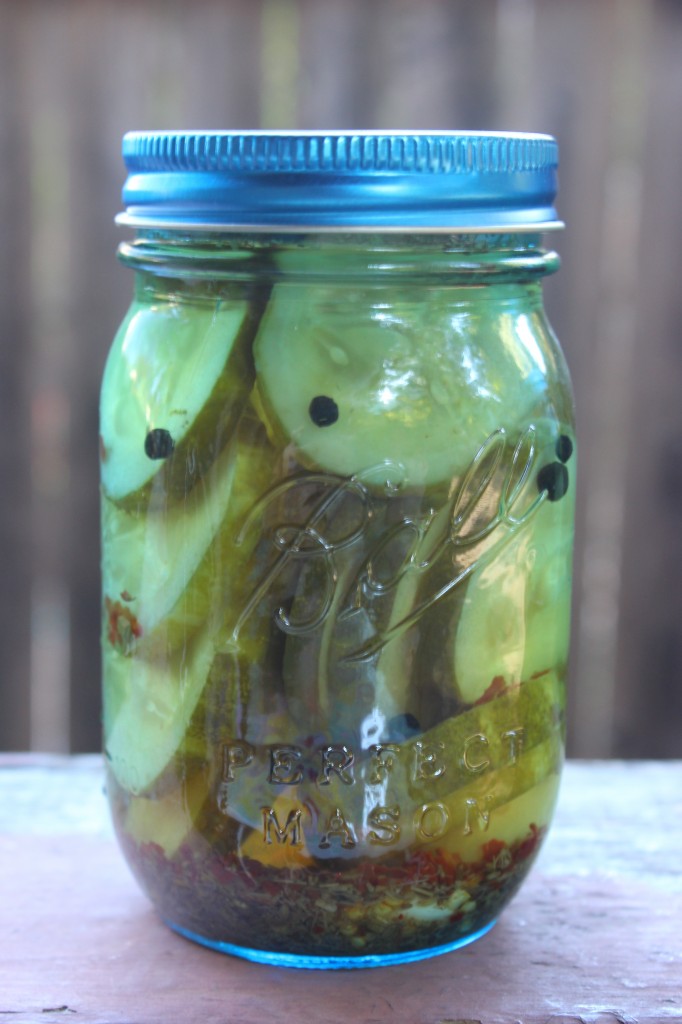 There you go! Pretty easy, and while waiting a week for them to be ready is kiiind of annoying…it’s so worth it. Put them on sandwiches, serve them up with olives and other snacks as hors d’oeuvres for a party, or just eat ’em straight from the jar (which I definitely do…all the time hehe. No shame.)
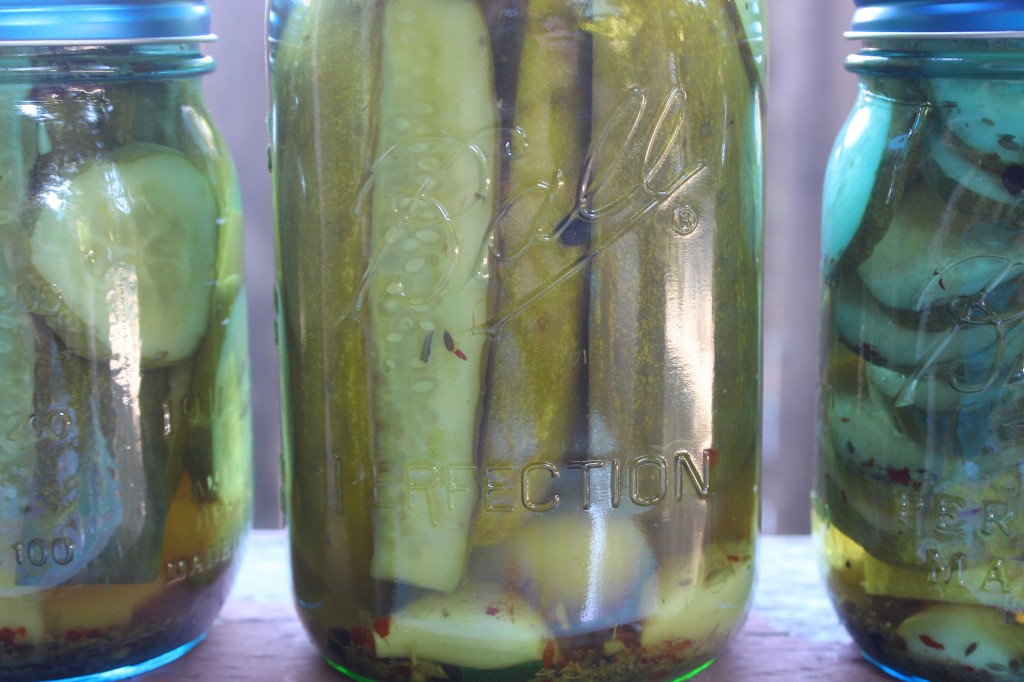 Can’t believe summer is almost over in a month, and September is just around the corner. Stay tuned for some yummy Fall inspired recipes coming your way (uhem…**cough**, pumpkin everyyything :D)
UM. THIS IS AMAZING. Your website turned out so good!!! I keep thinking I want to make everything, and then I think maybe i’ll just come over and be a taster for you because you’ll make it better than I will :p.
Great job Soph!! So proud of you!
Awww thank you dear! I’m so glad you like it! It’s definitely still a work in process, but I’m happy with it so far. You shoulllddd come and taste things all the time. I’m always trying to find a home for things!