Mostly Sourdough

All things sourdough

  • Home
  • About
    • Culinary School Adventures
      • Intro to Baking & Pastry
  • Recipes
    • Breads
    • Breakfast
    • Brownies/Bars
    • Cake
      • Cupcakes
    • Candy
    • Cookies
    • Custards
    • Drinks
    • Ice Cream
    • Muffins
    • Pie
    • Savory Items
    • Scones
    • Vegan
  • Contact

Raspberry Kombucha

August 29, 2017 by Sophie Leave a Comment

Hey hey friends.

I am so excited to be sharing this post, as I’m just beginning my journey with brewing Kombucha.

Alright. Let’s talk the ‘booch.

It seems to be something that people either haaate or LOVE.

I am of the camp that absolutely freaking loooves it. Something about the vinegar-y tartness is right up my alley.

I’ve always loved super vinegar-y sour foods. I grew up eating pickles, olives–haha, heck even capers– straight outta the jar.

Kombucha truly has everything that I love. Tea. Fermentation. Delicious fruity flavors. I mean, c’mon. And there’s so much to experiment with!

Buying Kombucha by the bottle at the store isn’t cheap. That’s why I was so excited to start brewing my own! It does take some time, however it’s sooo easy.
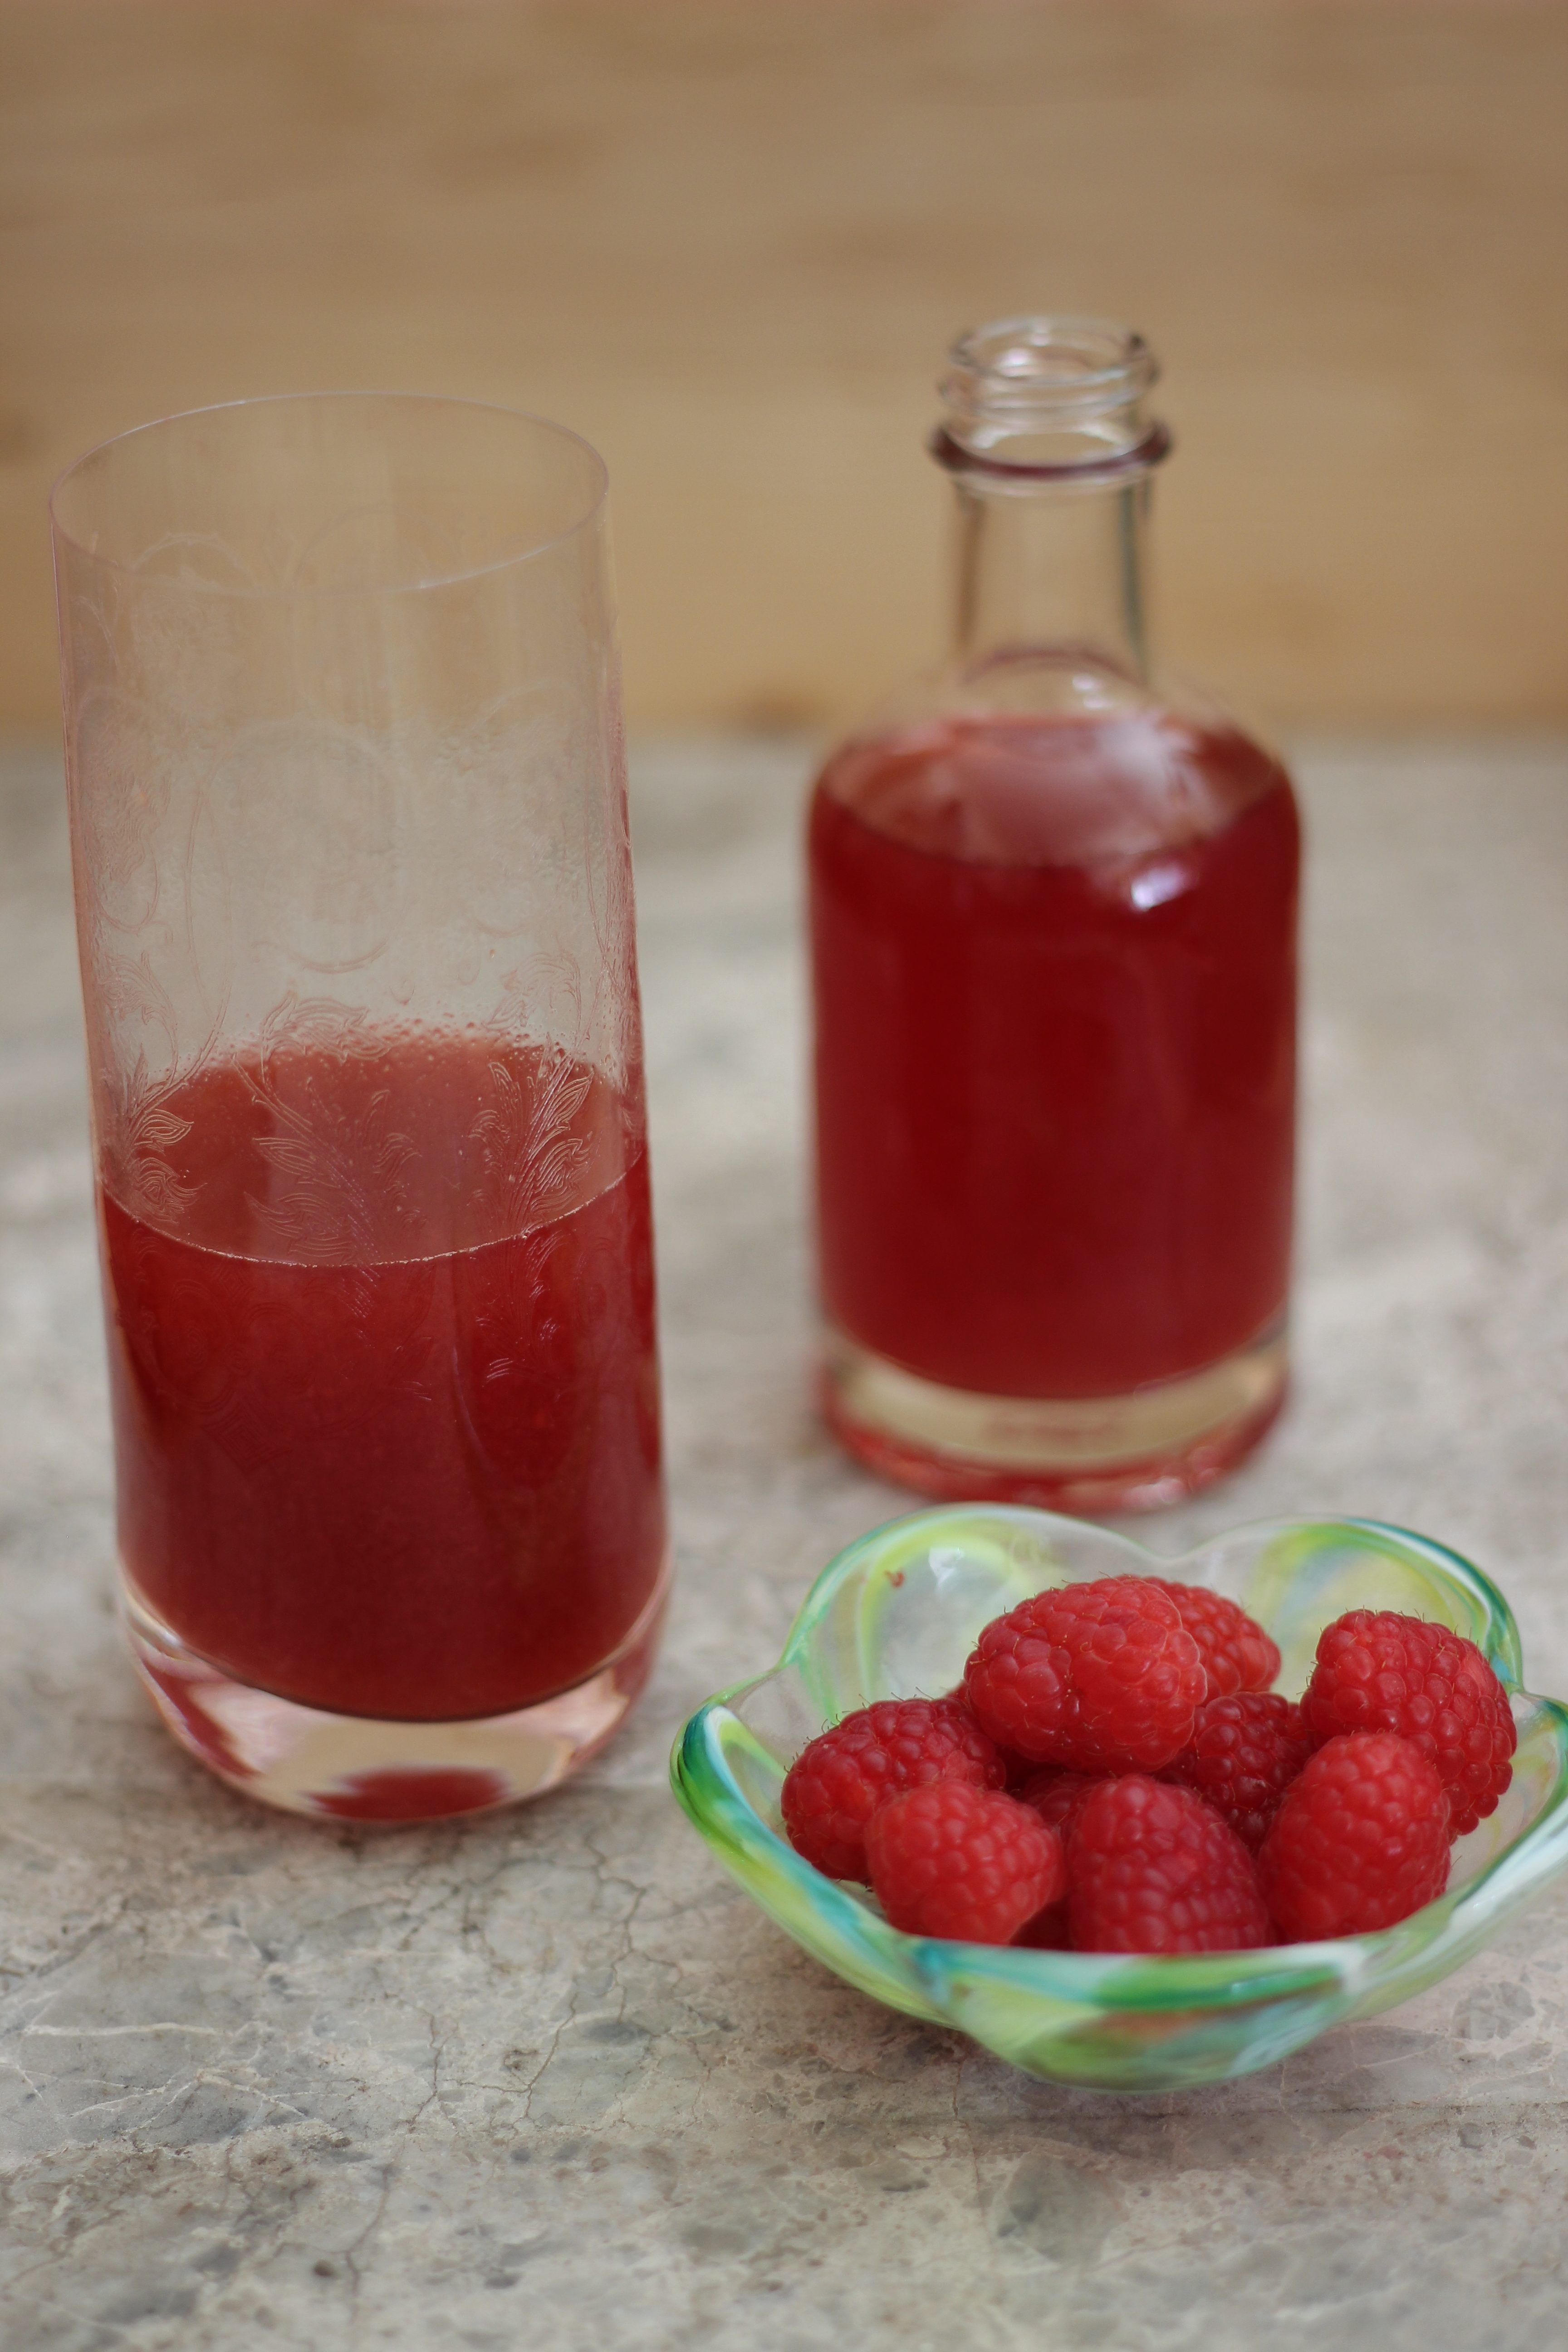
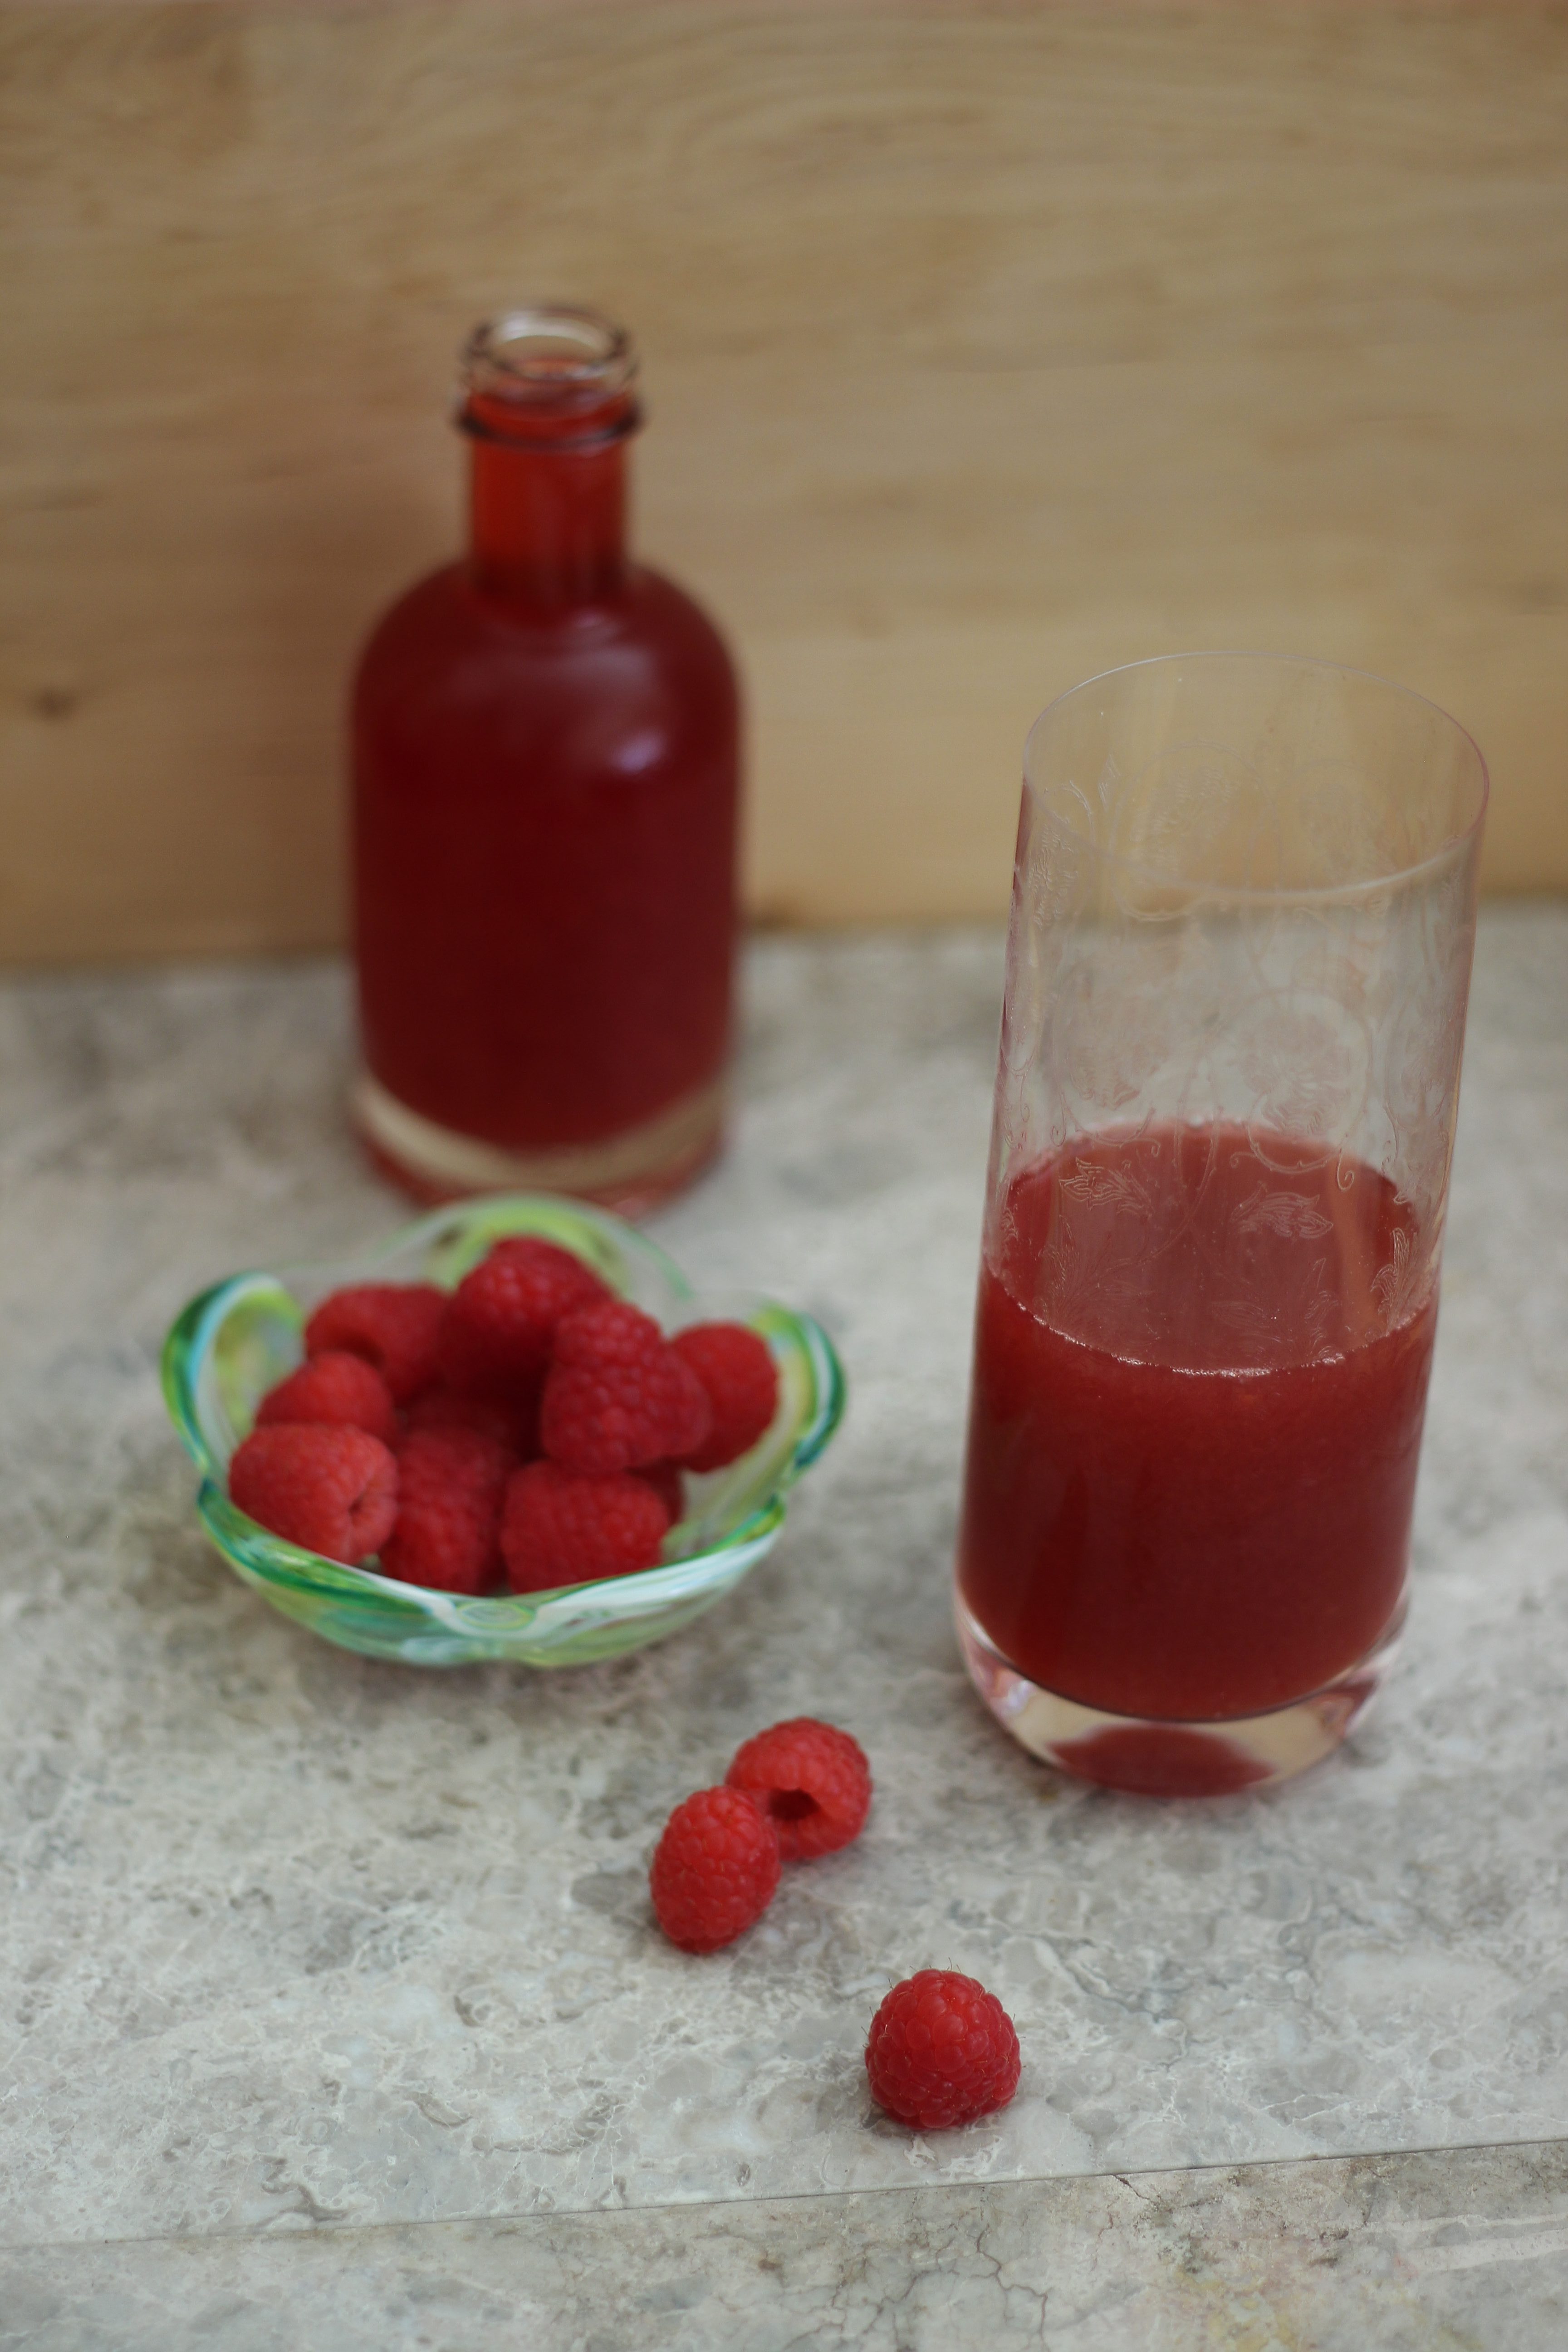
Raspberry Kombucha:

First fermentation: (As suggested by Cultures for Health)

2 black tea bags (I used Twinings English Breakfast) or 1 ½ tsp loose leaf black tea
2-3 cups water, boiling
¼ cup sugar
½ cup white distilled vinegar
Activated Scoby (I got mine dried from Cultures for Health)

Boil your water and mix in sugar to dissolve. Use the sugar water to steep tea for about 10 minutes. Allow the tea to cool to 68-85ºF. Stir in the vinegar, and transfer to a jar. Add your Scoby. Cover with a coffee filter, and store in an area out of direct sunlight. Let sit for up to 30 days.

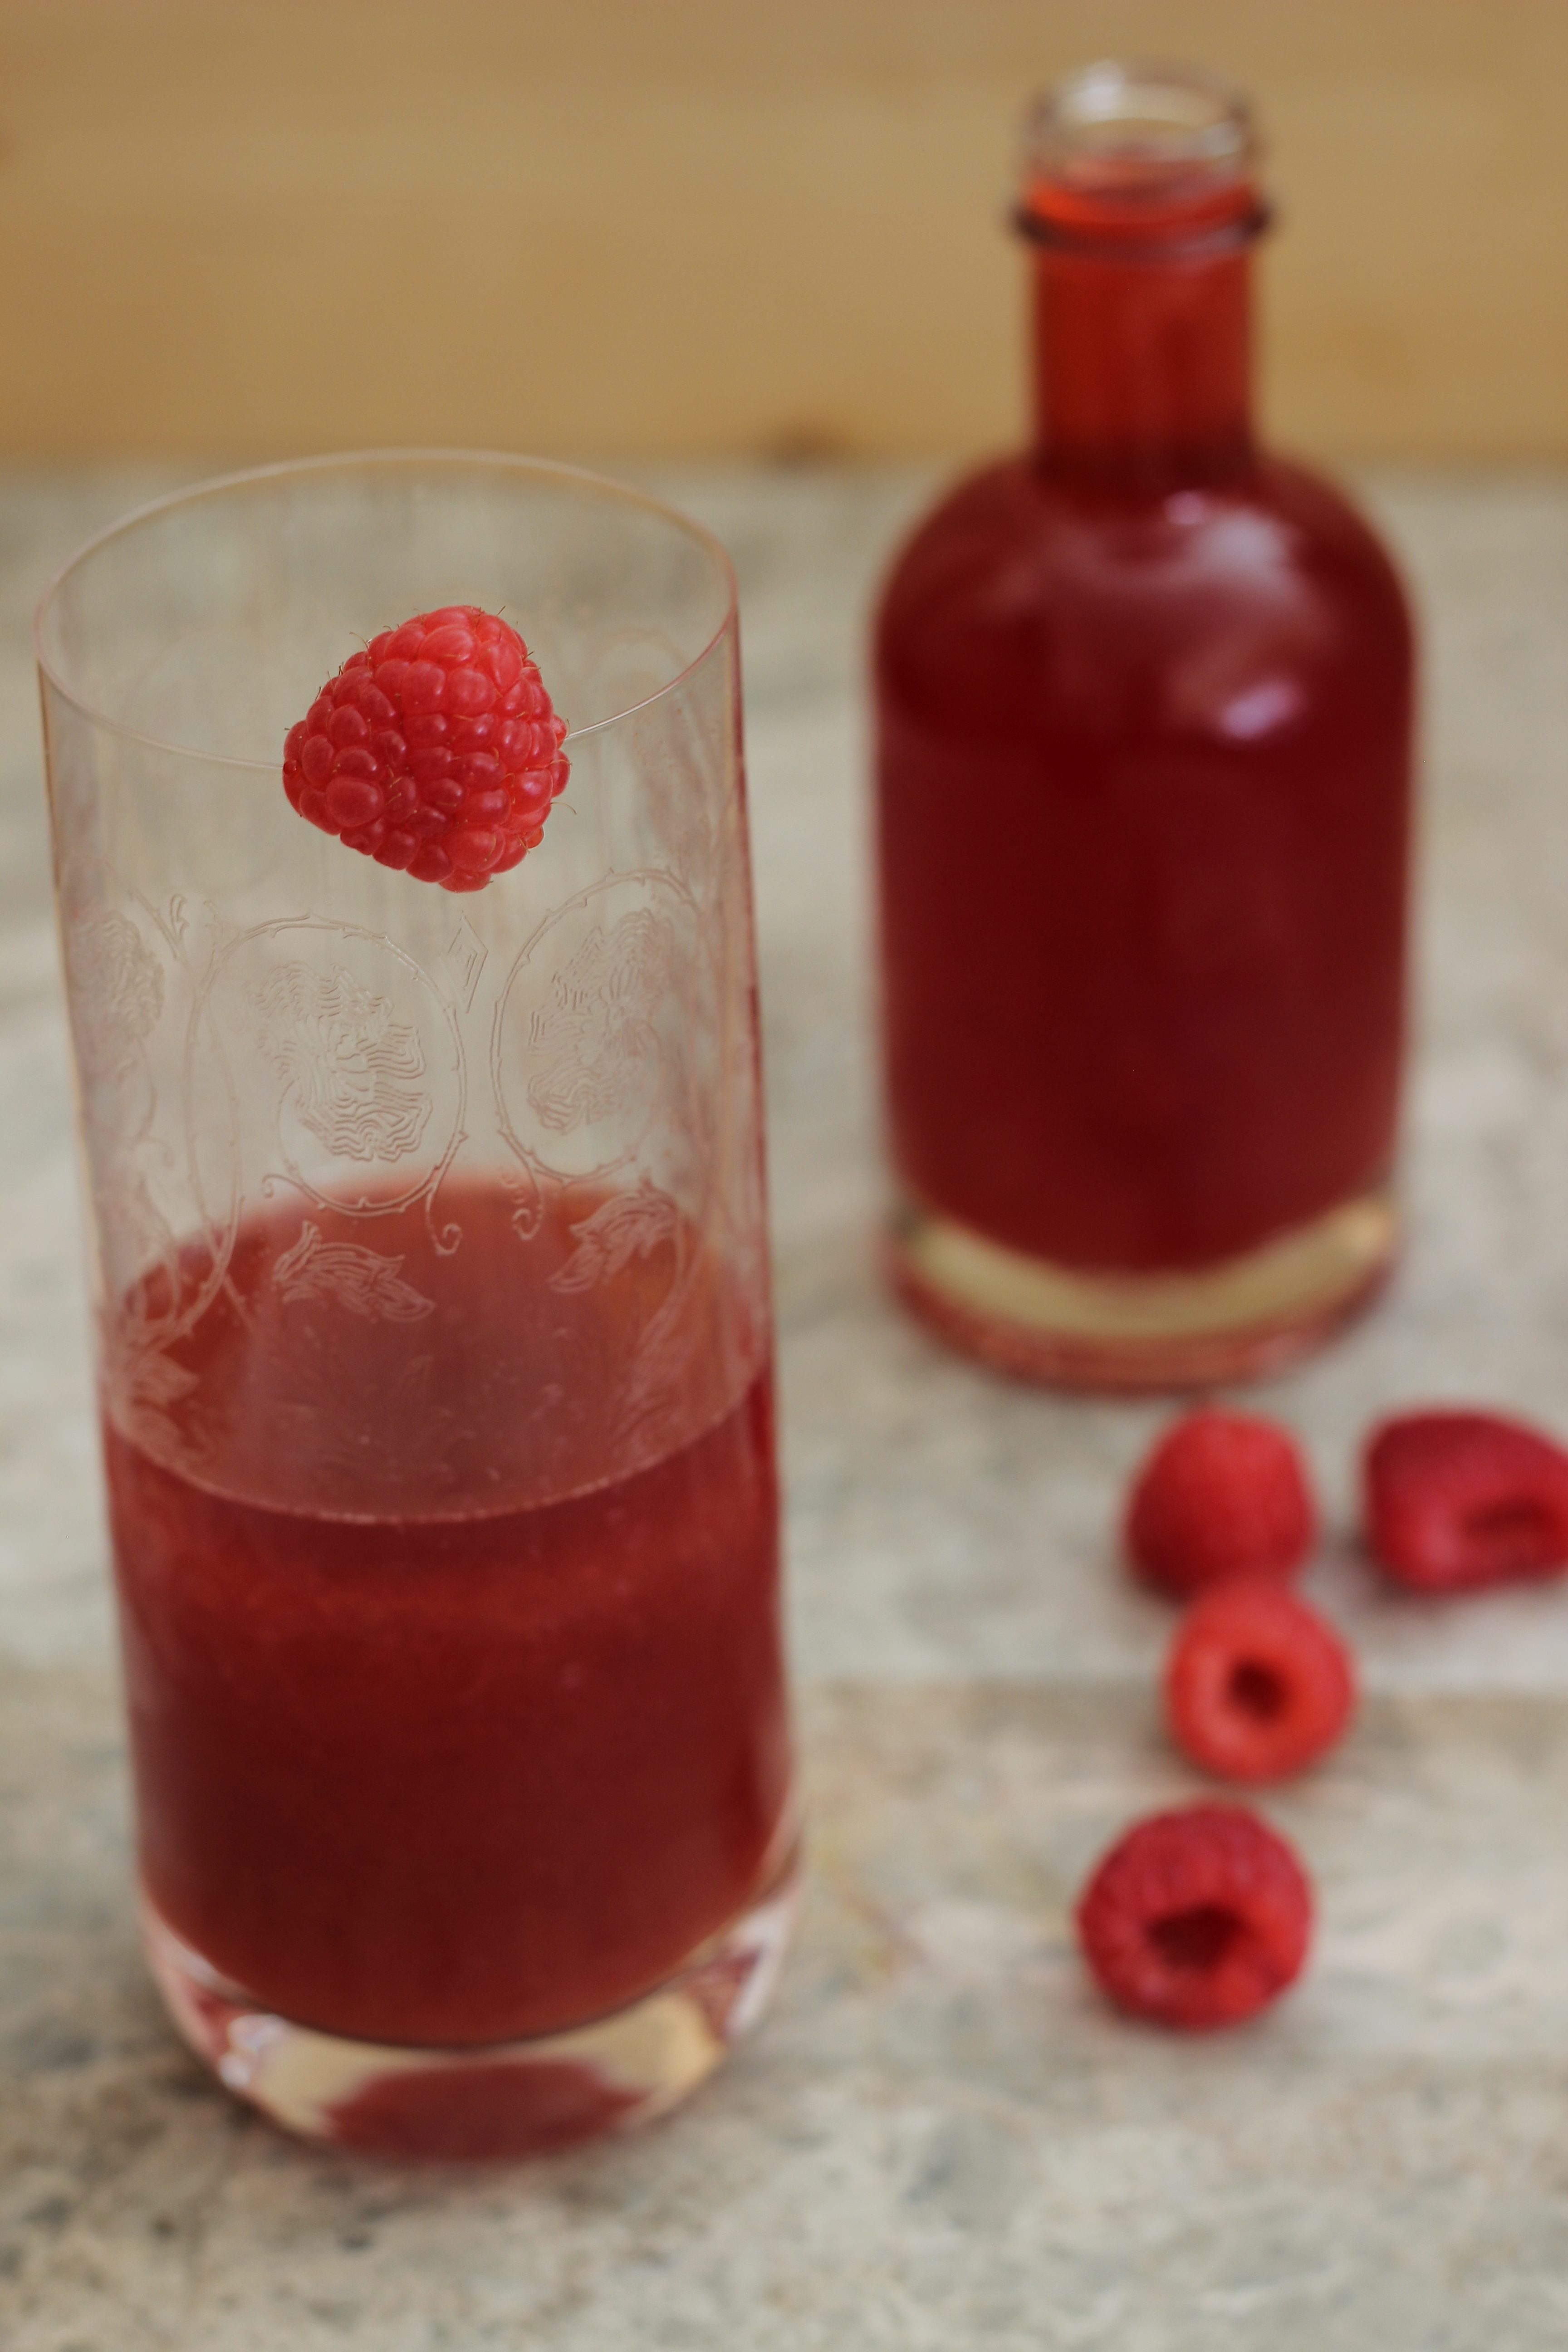
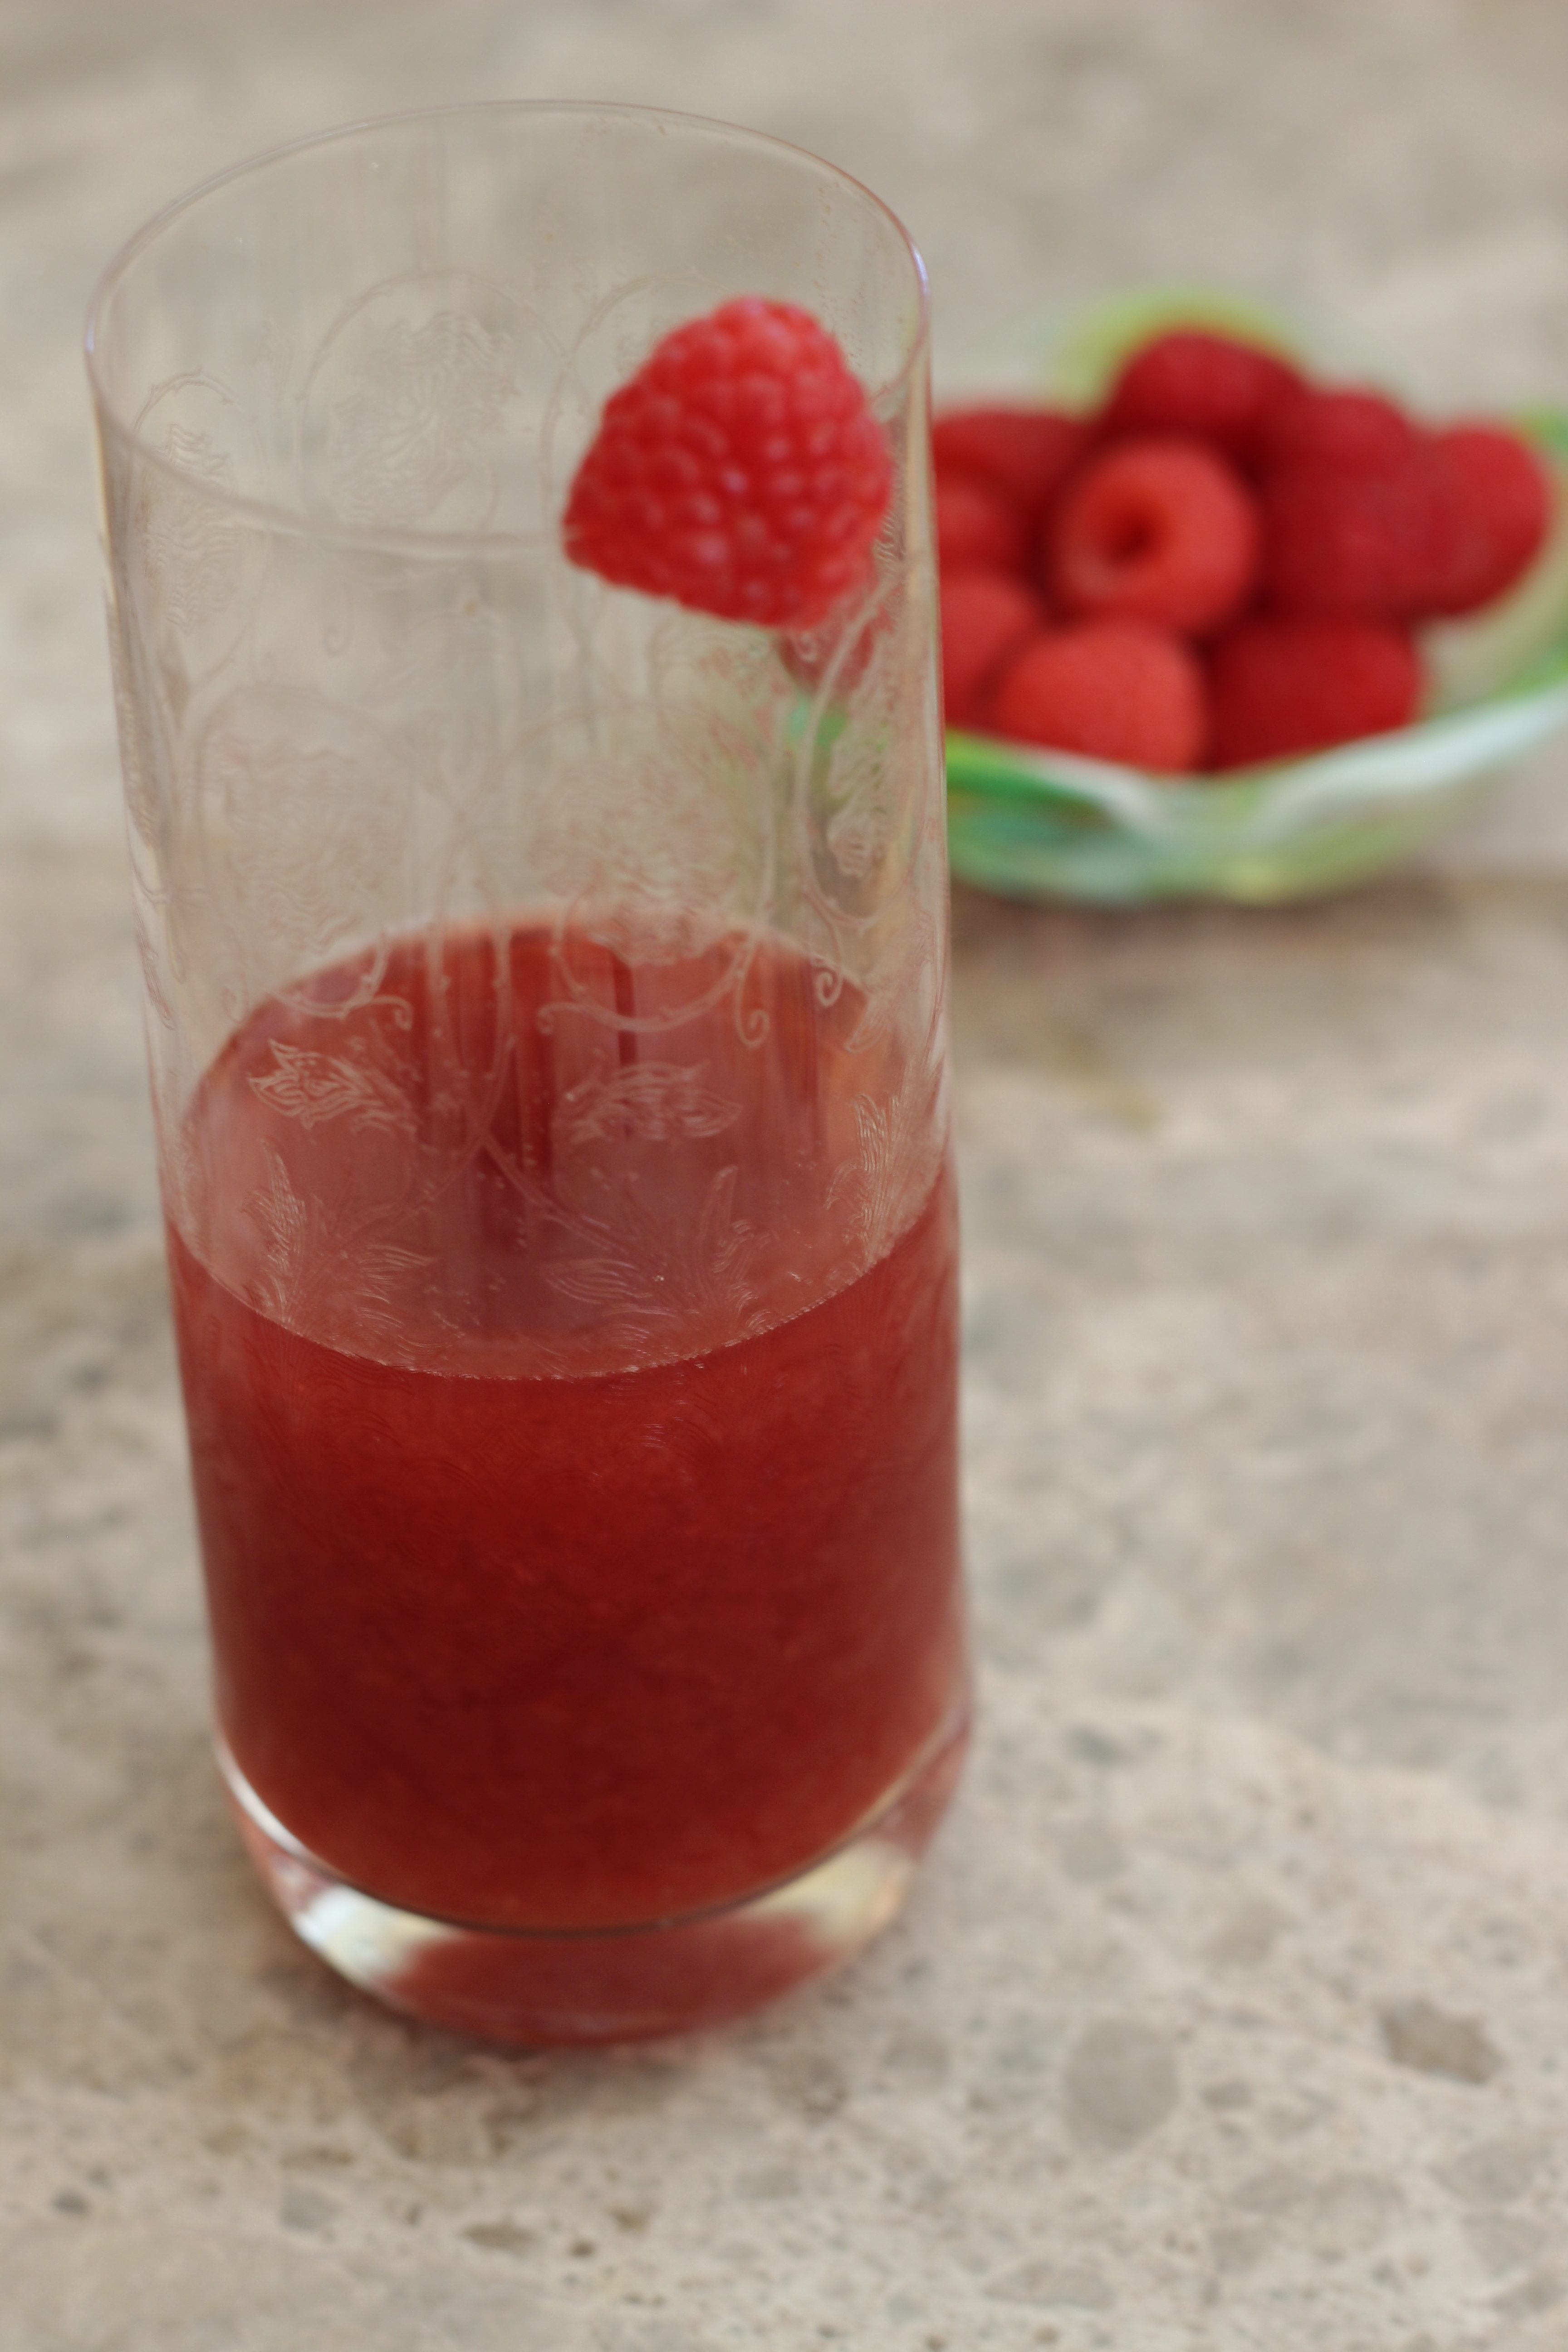
Second Fermentation: Time to flavor!

1 pint raspberries
1 quart jar

In a small bowl, lightly mash the raspberries to break them up a bit. Pour all but about ¼ cup (leave with Scoby) of your starter tea into the 1 quart jar. Add the raspberries. Top with an air tight jar lid. Allow to ferment for 3 to 7 days (at room temperature). You will need to check on it every couple days, and burp the jar. You should see some bubbles forming in the liquid part way through. Taste as you go during the week, and harvest when you like the flavor! Refrigerate to store. To keep brewing, repeat the first fermentation process with your Scoby.

And there you have it. See? Notso hard! You do have to be patient. Which I am SO not.

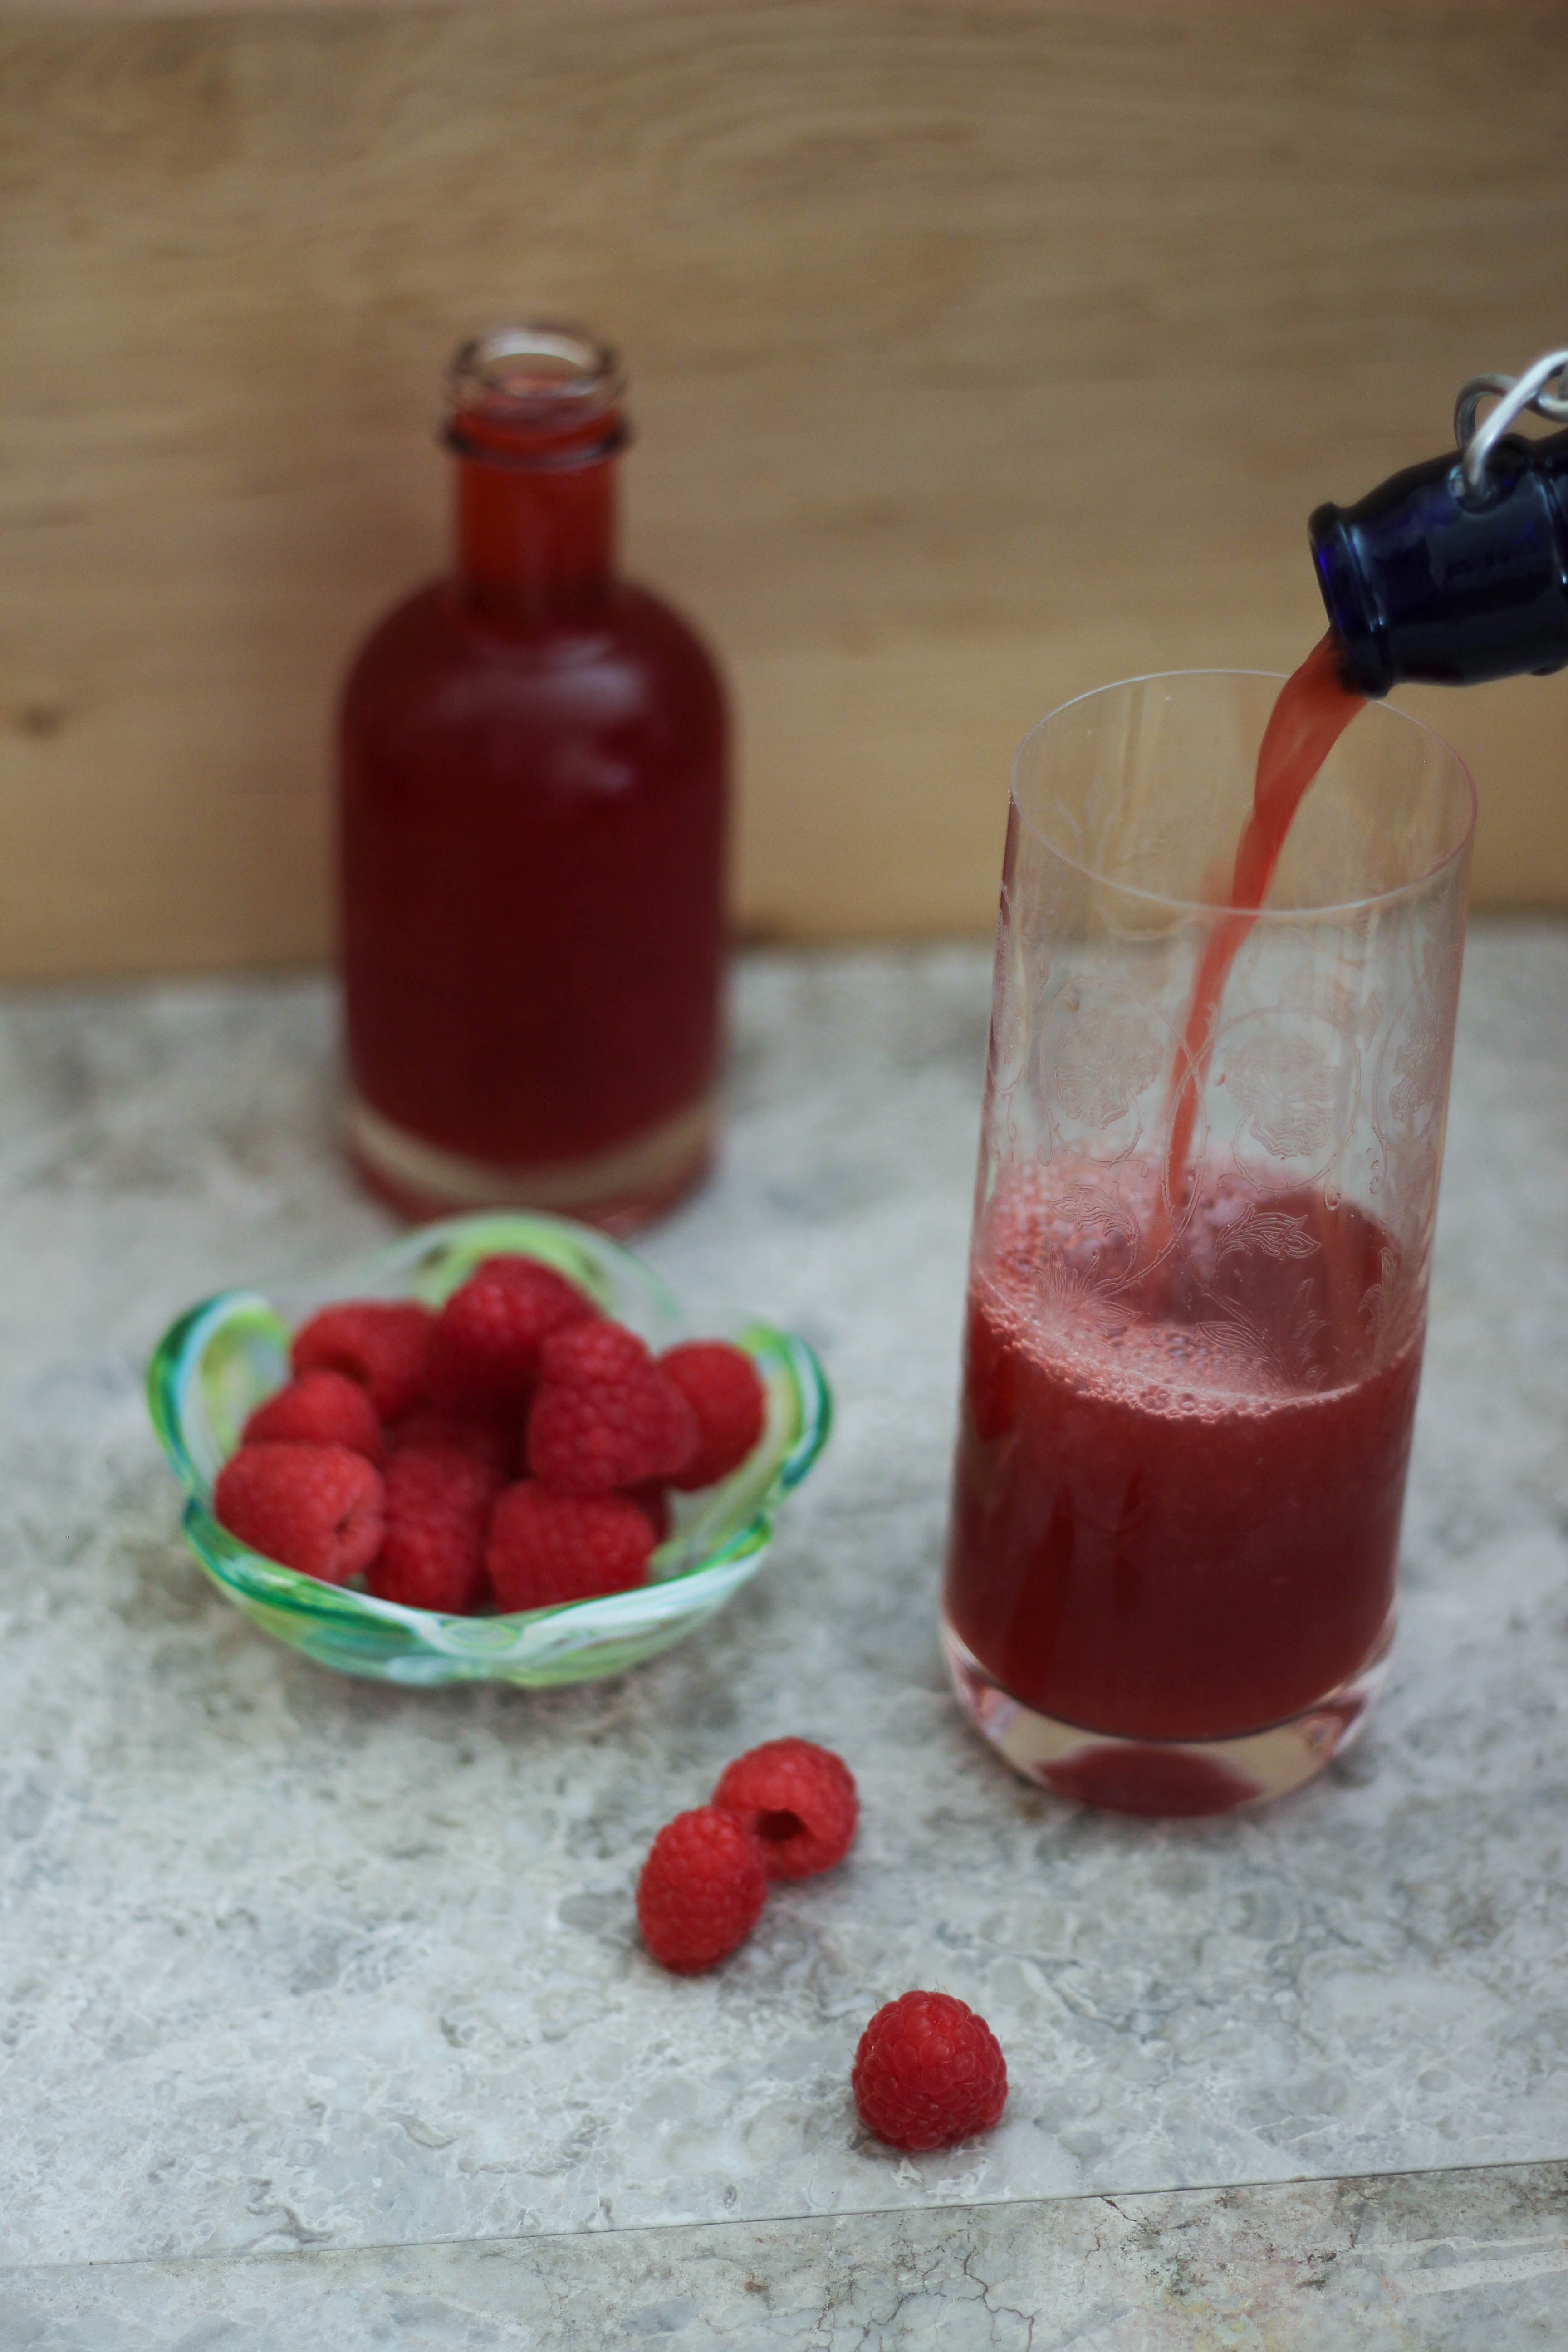
But it’s definitely worth the wait. I’m such a fermentation nerd, when I saw the bubbles forming I literally shrieked! It’s just so satisfying to SEE your bacteria doing its job. Anyhow.

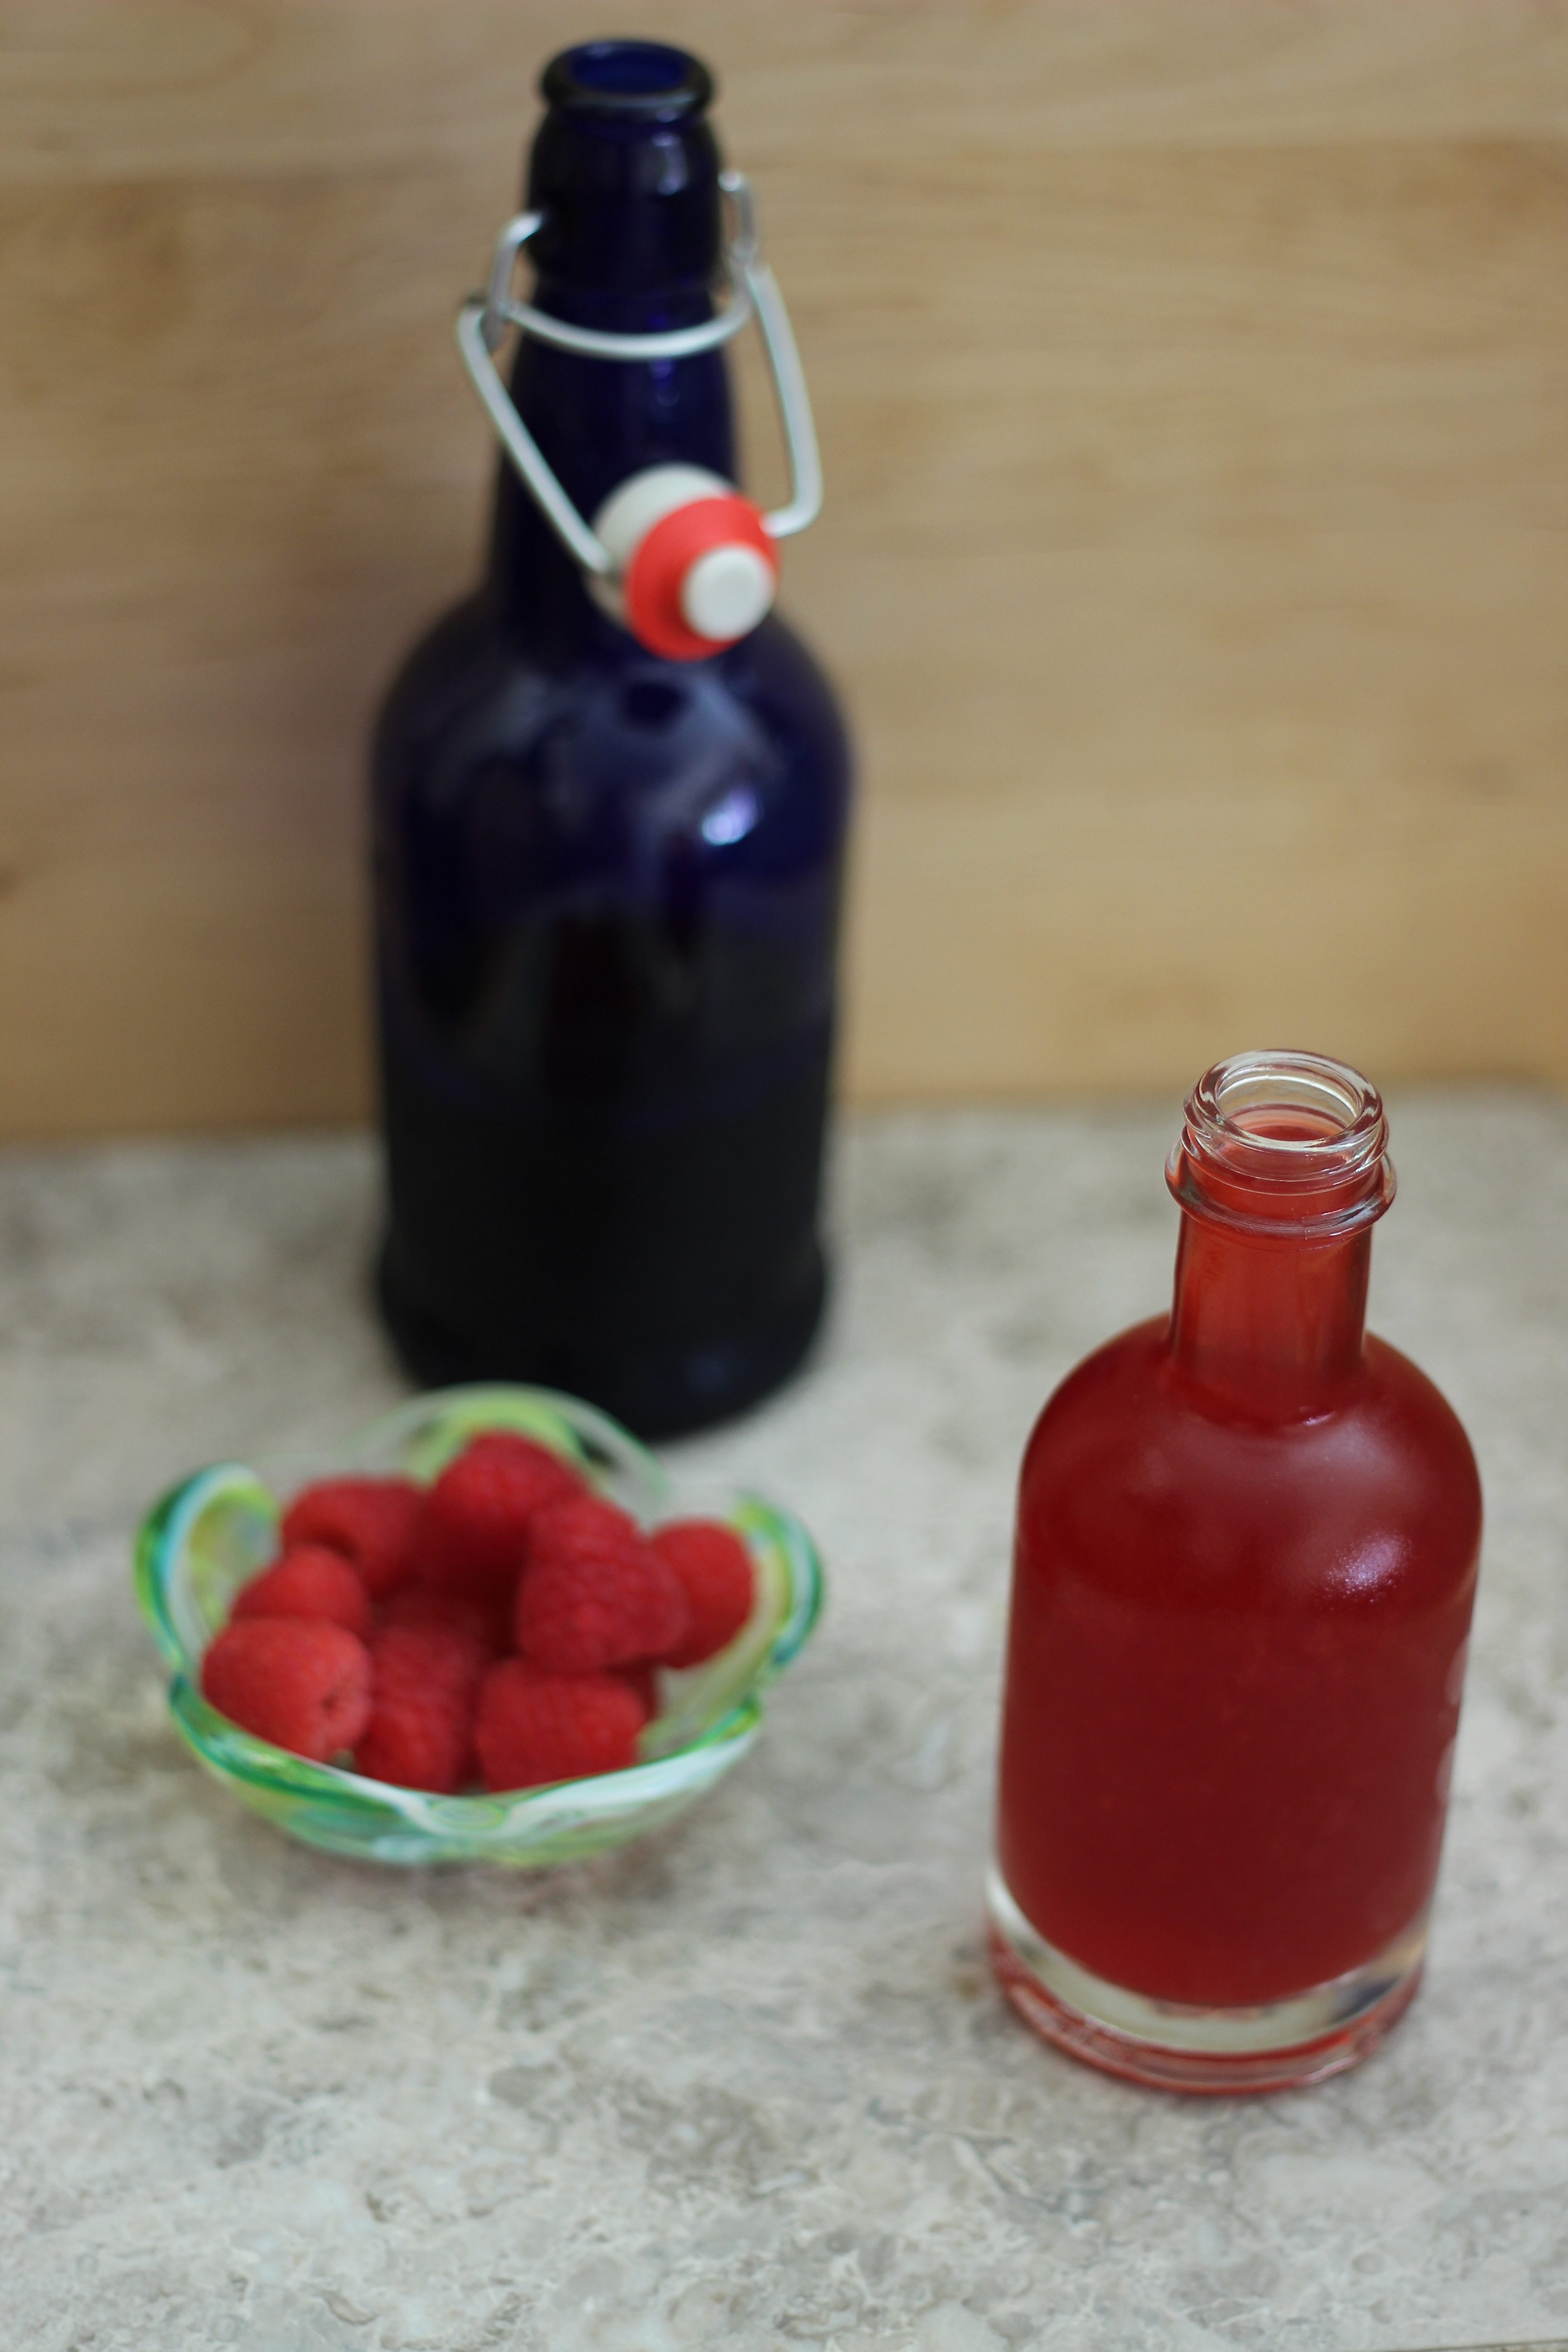
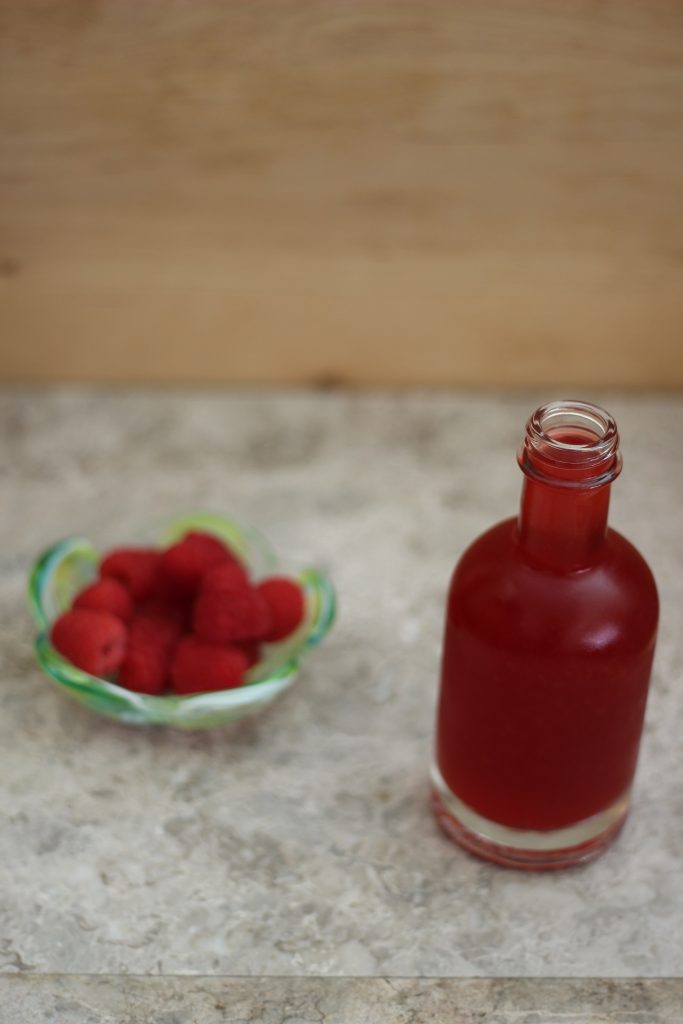
Tired of paying $4 for a single bottle of the ‘booch?

Make your own! Next time I’ll add chia seeds to mimic one of my favorite store bought booches. Also, once my Scoby starts producing babies, I’ll be making bigger batches and bottling them.

The fun is endless!

Filed Under: Drinks, Uncategorized, Vegan

« Popcorn: Three Ways!
Pumpkin French Macarons »

Leave a Reply Cancel reply

Your email address will not be published. Required fields are marked *

Welcome to Mostly Sourdough

Hi there! I'm Sophie. In this little nook of the interwebs you will find mostly recipes that incorporate sourdough and sourdough discard, as I am a true baker at heart. I also share tasty and healthy vegetarian savory dishes. … Read More

Connect!

  • Facebook
  • Instagram
  • Pinterest
  • Twitter

Search the site…

Explore Categories…

Archives

Keep in Touch!

Receive updates via email

Insta Feed

Sourdough Discard Blood Orange Madeleines 🍊🍋 Sourdough Discard Blood Orange Madeleines 🍊🍋🍰

These cute little madeleines are on the blog today! Fluffy little tender cakes flavored with both blood orange and lemon zest, topped with a simple blood orange glaze. A great way to use up sourdough discard, and the perfect little treat. Find the recipe at mostlysourdough.com, or link in bio. ❤️

#linkinbio #ontheblog #sourdough #sourdoughdiscard #sourdoughstarter #foodblogfeed #thebakefeed #easyrecipes #edibleflowers #foodblogger #dessert #valentinesdesert #sourdoughdiscardrecipe #madeleines #foodstyling #canonphotography #bloodorange #bakingathome #cottagecoreaesthetic
FLOUR + FLOWERS! 🤍 Chocolate orange rye sourdou FLOUR + FLOWERS! 🤍 Chocolate orange rye sourdough all painted up. 🌼🍫🍊 I used some fresh milled rye flour in this loaf, along with extra dark cocoa powder, fresh orange zest, honey and chocolate chunks. 🤤

I’m not the best at painting, but I’ve been wanting to try something like this since I saw @sleepingmakesmehungry beautiful floral loaves a while back, and @lovealldesignco more recently. 🎨🌸🤍

I used food dye gel mixed with a little water as the paint, scored with my @wiremonkeyshop Poco lame & baked in my @challengerbreadware pan as always. 🌾🍫🍞

#sourdough #sourdoughbread #chocolatebread #breadart #floralpainting #sourdoughbreadart #breaddesign #edibleflowers 
#sourdoughscoring #breadlover #breadmaking #wildyeast #naturallyleavened #artistsofinstagram #fermentation
I ❤️ blood orange season! 🍊 I wanted to sha I ❤️ blood orange season! 🍊 I wanted to share this small batch marmalade recipe I make each year. The perfect accompaniment to toast with salted butter. Toast is truly one of my favorite foods, and I love making jams & preserves to enjoy with fresh bread. 🍊🧈🍞 Also, this beautiful wood serving board is by my very talented brother @jeffremer! 🤍

Small Batch Blood Orange Marmalade: (Makes 1 pint)

300g blood oranges (2-3 oranges)
1/2 lemon
300g water
250g granulated sugar

Peel the oranges and 1/2 lemon, and slice the rind into thin strips and pieces. Remove the seeds from the fruit, slice into smaller chunks and set aside.

Combine the peels and water in a stainless steel pot over medium heat. Bring to a boil, lower the heat to a simmer and cover the pot. Simmer for 20-30 minutes until the peels are tender. You may need to add more water as necessary.

Add the sugar and the fruit to the pot and cook over high heat, stirring occasionally. Boil for 6-8 minutes until the syrup thickens. 

Transfer to a pint jar and allow to cool uncovered before covering and storing in the fridge.

#toast #sourdough #jam #homemadejam #marmalade #sourdoughbread #easyrecipes #breakfast #bloodorange #orangemarmalade #howto
Here’s a wheat stalk loaf with a fun mirrored bo Here’s a wheat stalk loaf with a fun mirrored border pattern. 🌾🍞 Another submission for the #mywheatstalk challenge by @artbreadlove. 🤍

Scored with my @wiremonkeyshop lame, baked in my @challengerbreadware pan, using the 5 minute score by @sourly. This is actually a loaf from last summer, but I never posted the full scoring video. Inspired by my wheat stalk tattoo 🤍🌾

#sourdough #scoringvideo #sourdoughbread #sourdoughscoring #breaddesign #wildyeast #howto #breadart
Back with one of my go-to favorite sourdough desig Back with one of my go-to favorite sourdough designs. A quilty wheat stalk pattern for the #mywheatstalk challenge by @artbreadlove. 🌾🤍 I love this quilty pattern because it’s such a fun one to score, and even with little variations it always bakes up beautifully. 

Got to use my new @thebreadmat for this bake (these are truly awesome @rosehillsourdough 👍🏻). Scored as always with my @wiremonkeyshop Poco lame, and baked in my @challengerbreadware pan. Using the @sourly 5 minute score. 🤍🌾

#sourdough #scoringvideo #sourdoughbread #sourdoughscoring #breaddesign #wildyeast #howto #breadart
Fresh start for the new year, felt only right to d Fresh start for the new year, felt only right to do a single slash loaf. I’m always tempted to score a more complex design, but I tend to keep it simple with slashing inclusion loaves. 🌾🍞

This was a delicious cranberry & roasted chestnut bread I made with some beautiful flours from @bartonspringsmill in atx. 🤍🌾 Used their purple straw wheat & rouge de Bordeaux. Slathered a slice in some softened butter with flaky sea salt for a go-to snack. Also had to flag the two quick 🐈🐈‍⬛ cameos!

#sourdough #chestnuts #scoringsourdough #toast #butteredtoast #sourdoughbaking #sourdoughbread #canonphotography #asmr #abyssiniancat #wholegrain

Copyright © 2023 · Foodie Child Theme by Shay Bocks · Built on the Genesis Framework · Powered by WordPress