Happy August friends!
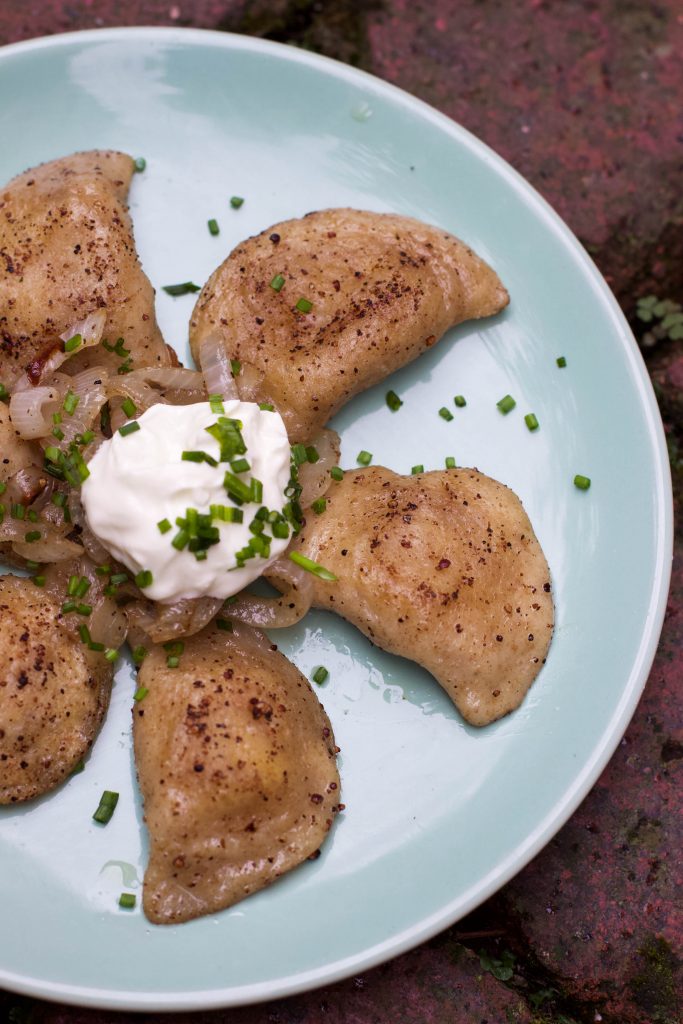
Today I am bringing you one of my favorite foods, pierogi!!
In case you’ve never heard of them, pierogi are little dumplings that are usually filled with potatoes, sometimes meats, cheese, sauerkraut or even sweet fillings. They can either be simply boiled and served like ravioli, or boiled and then pan fried for a slightly crispy exterior. So good.
My favorite are simple just with cheddar, potato and onion in them, but then they are also topped with browned butter caramelized onions and sour cream. Just the perfect little comfort food wrapped up an envelope of love.
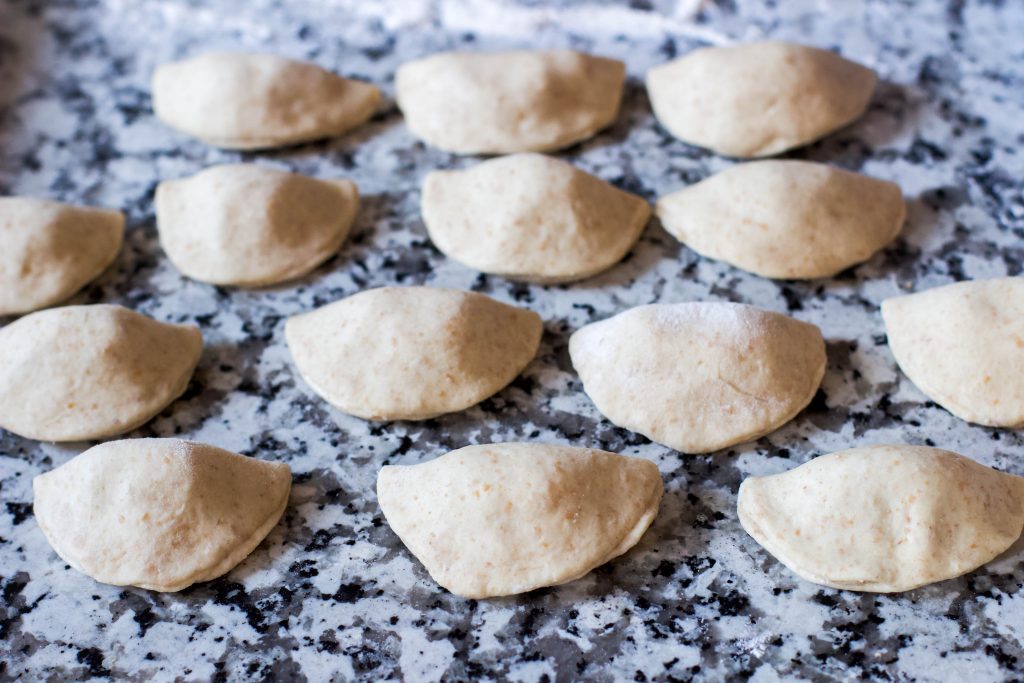
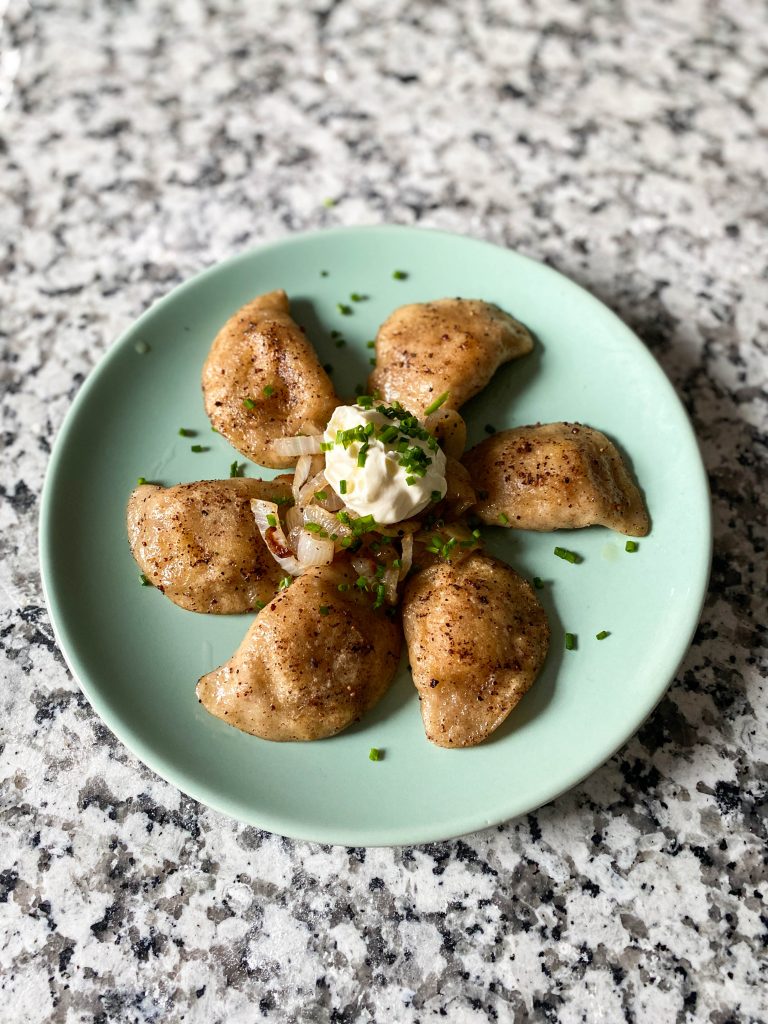
Of course, being me, I had to try my hand at some sourdough pierogi! So these pierogi have a dough that is made with sourdough discard. I always love coming up with different ways to incorporate sourdough into other foods because I hate to waste it.
I tried my first pierogi when I moved here to Pittsburgh (there’s a large Polish population here so there’s tons of Polish restaurants and influence), and I fell in love with them instantly. I mean, how could you not love potatoes, cheese and caramelized onions?

Sourdough Pierogies
 https://mostlysourdough.com/wp-content/uploads/2020/08/IMG_9191-scaled.jpg
| Yield: 24-30 pierogi |
Classic Polish potato and cheese pierogies, but made with a sourdough discard dumpling dough!
You'll Need...
- Dough:
- 200 grams sourdough discard (can be unfed from the fridge or active)
- 100 grams water
- 1 egg, whisked
- 400 grams all purpose flour (may need more depending on hydration of starter)
- 10 grams salt
- Caramelized onions:
- 1 yellow or white onion, sliced into thin strips
- 1-2 tablespoons butter
- Salt and pepper to taste
- Filling:
- 3 medium Yukon gold potatoes, peeled and cubed
- 60 grams sour cream
- 125 grams shredded cheddar cheese
- 1/2 of the caramelized onions from above
- 2 grams salt (or more to taste)
- 1 gram black pepper
- To Serve:
- Sour cream
- Caramelized onions
Directions
- Dough: In a mixing bowl, whisk together the sourdough starter, water and egg. Next add the salt and flour, and work the mixture into a dough with your hands or a spatula. Depending on the hydration of your starter, you may need to add extra flour or water to get the dough to come together. If it feels pretty tacky after adding the initial flour amount, you can add a couple tablespoons at a time while kneading until it firms up. If it feels too dry, sprinkle over a tablespoon of water at a time while kneading to get it right. Knead in the bowl until you have a smooth dough. Wrap in plastic and chill in the refrigerator for at least two hours, but overnight is fine too!
- Caramelize onions: In a large frying pan, melt a tablespoon or two of butter on medium heat. Add the sliced onions and sprinkle with salt and pepper to taste. Stirring occasionally, allow the onions to saute until they become fragrant and start to caramelize and turn golden.
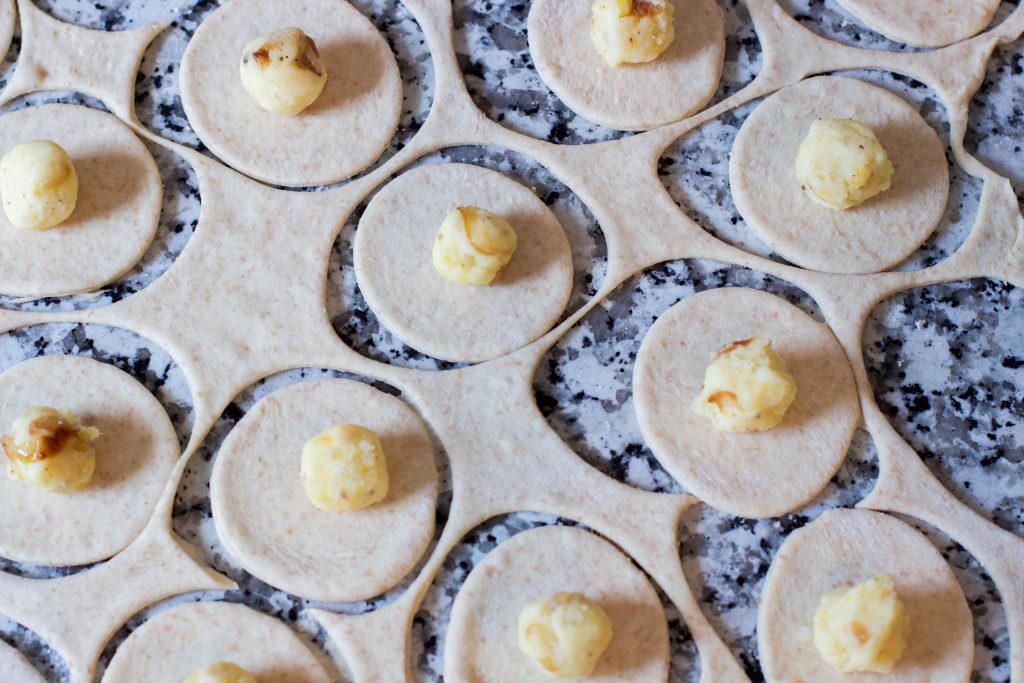
- Filling: Cook your potatoes in salted water and drain when fork tender. Mash the potatoes until they are smooth. Add the cheese, sour cream, about 1/2 cup caramelized onions, salt and pepper and mix to combine. Taste and adjust the seasoning as necessary. Allow to cool to room temperature.
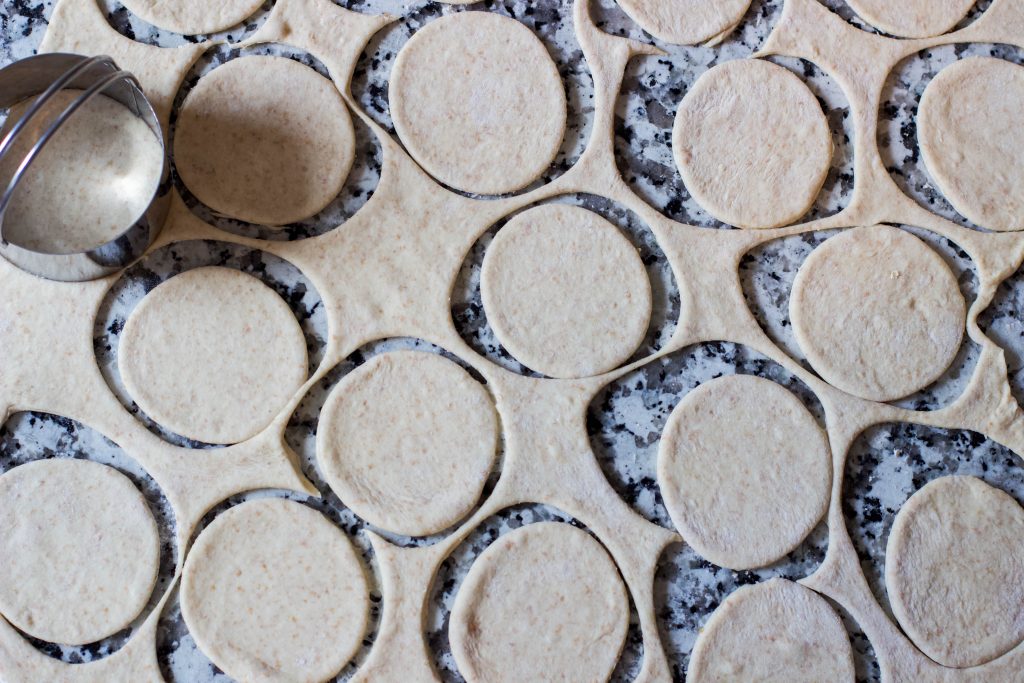
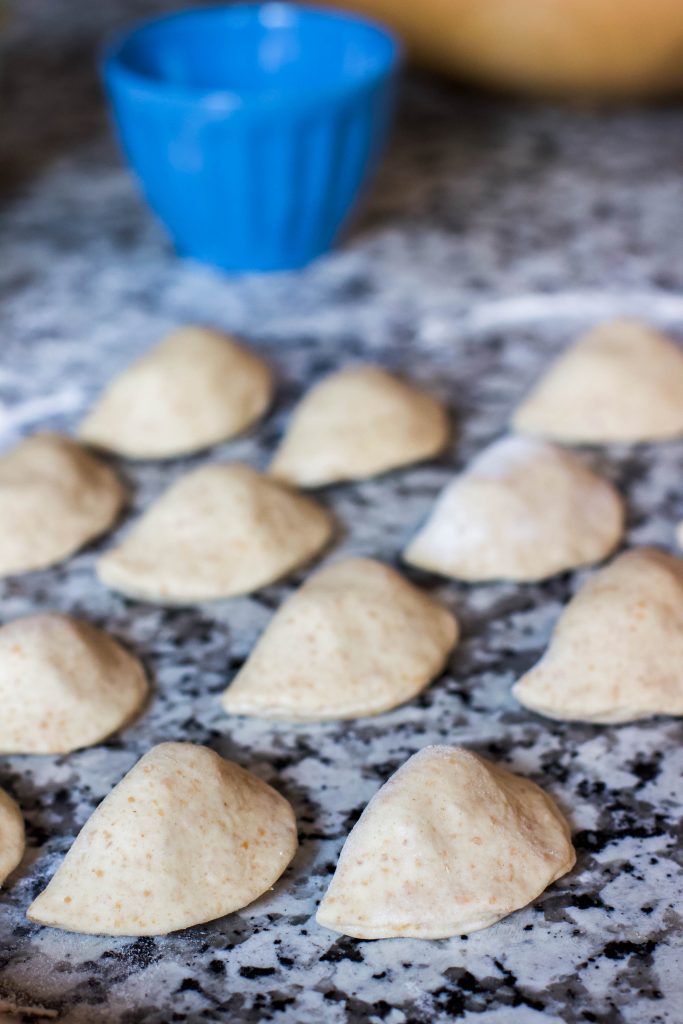
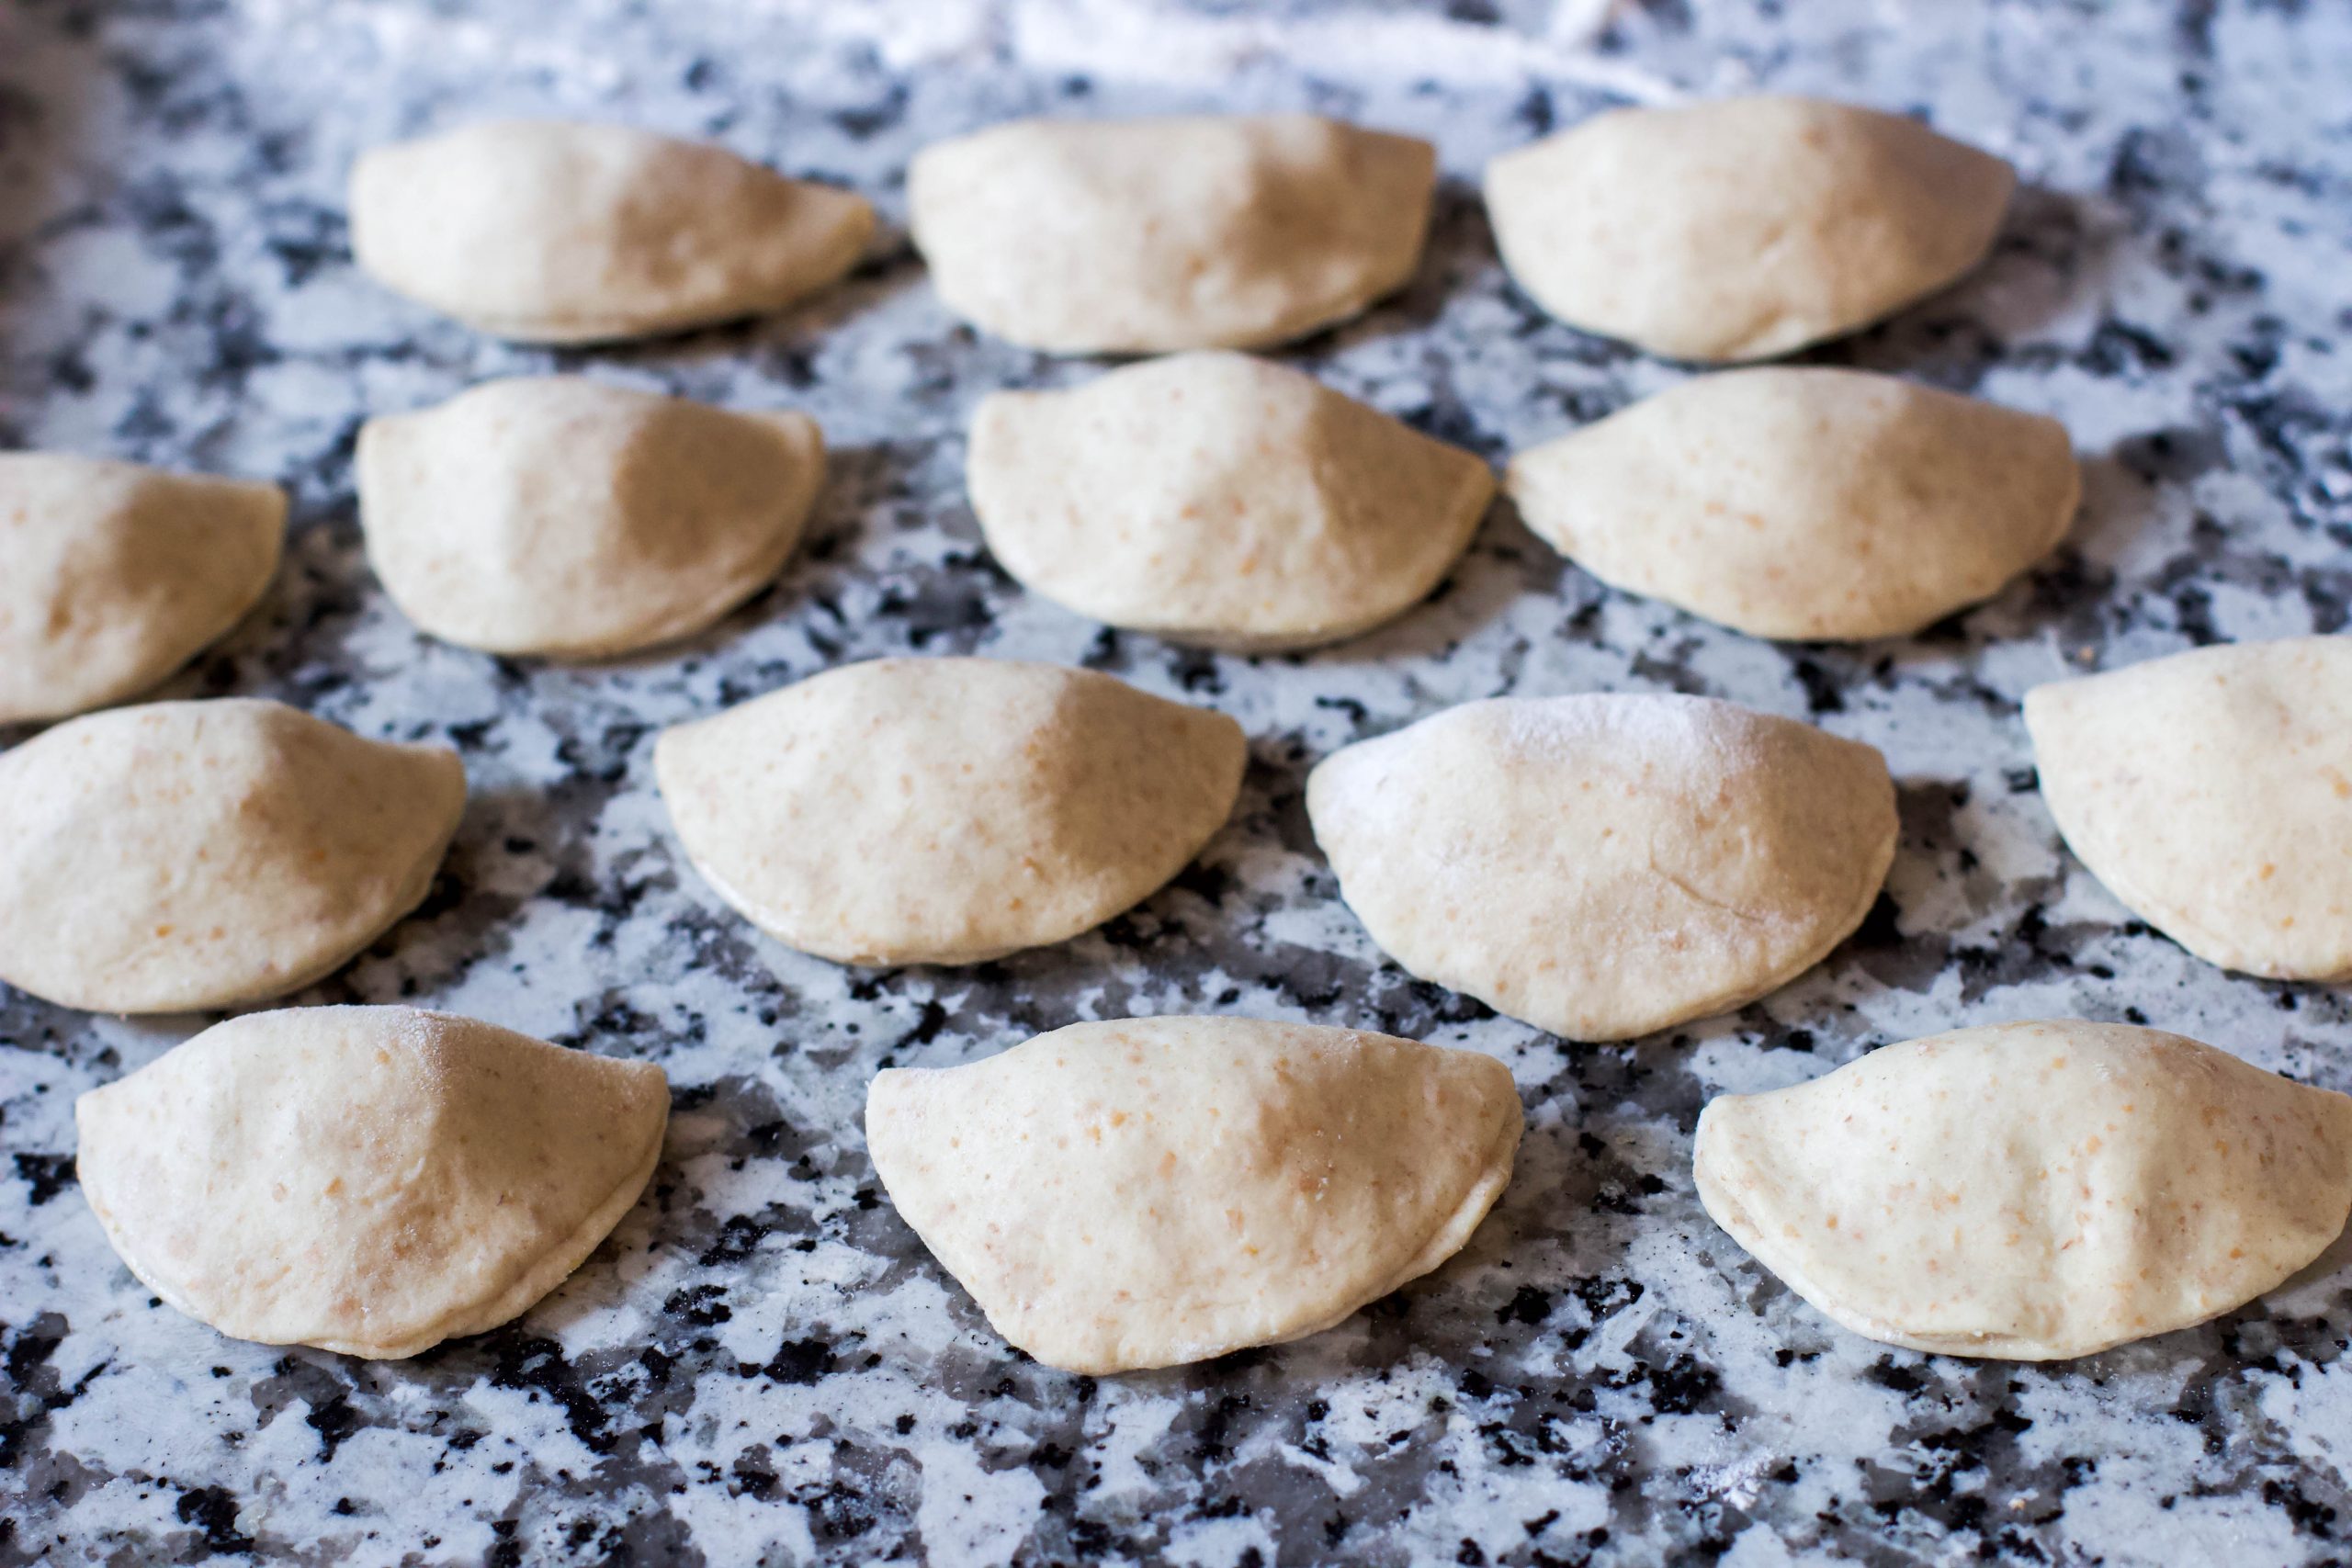
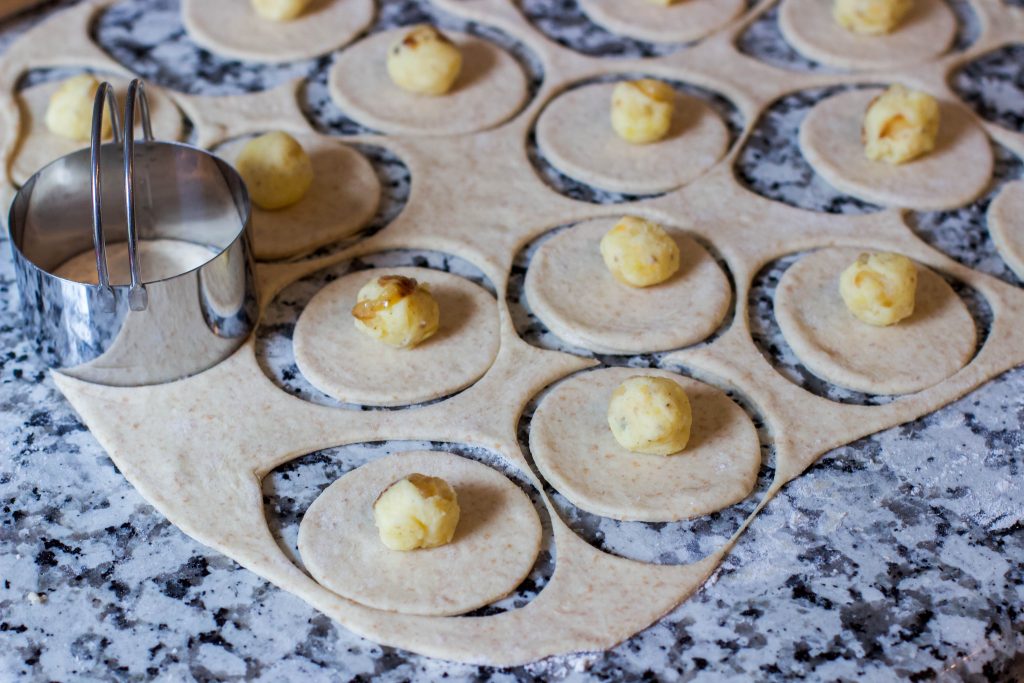
- Assembly: Divide the chilled dough into two, keep half in the fridge and roll out the other half on a well floured surface to about 1/8th inch thick. Using a biscuit cutter or a glass, cut into 2 inch rounds. Plop about a heaping teaspoon of filling into the middle of each, brush the edges with a little water, fold it in half and then crimp the edges with your fingers. Place on a flour dusted baking sheet (and cover with a towel as you work so they don't dry out). Repeat the rolling with the other half of dough, and continue until they are all filled. You can re-roll the scrap dough too (def recommend chilling again before rolling though). Chill the pierogi in the fridge or freezer while you bring your water to a boil.
- Cook 'em: Bring a large pot of salted water to a boil and place up to 6 pierogies in at a time (don't overcrowd the pot; boil in batches). When they rise to the top of the pot, drain them and serve with caramelized onions and sour cream. You can also at this stage after boiling, pan fry them in a little butter for a crispy exterior, and buttery sauce (which is my fave way to eat 'em!).
Additional Notes
The dough and the filling can be made several days in advance if you want to prep ahead of time.
You can also freeze the pierogi after assembling them: Place them in an even layer on a baking sheet, freeze until solid and then consolidate them into a freezer bag. Then just cook them from frozen like ravioli!
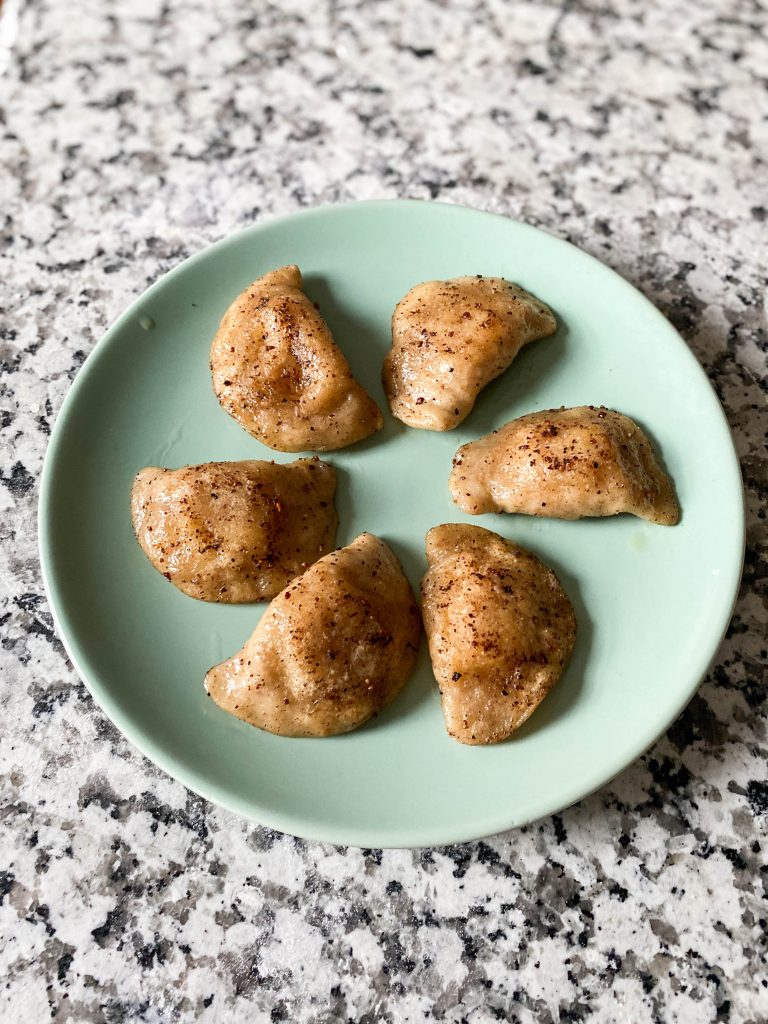
Pierogi are a great vessel for almost any filling, so feel free to play around or substitute for what you have on hand.
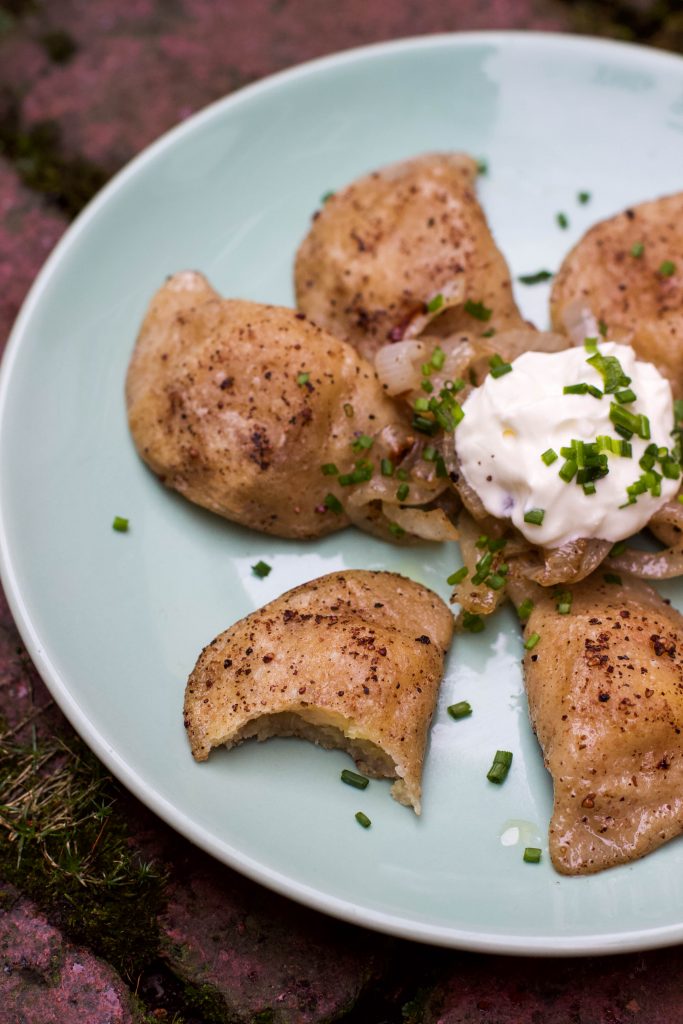
Such comforting food for a weird time.

You may want to get on Pinterest. It’s always the first place I go when looking for recipes. Sure I bookmark these pages but I rarely go back to them!
Hi there! Thanks. I did have Pinterest on my page, but it needed updating, so I’ve done that now. I appreciate the message!
Woah! Delicious. I’m from Pittsburgh, I’ve eaten hundreds of pierogies growing up and ventured to the strip to get the best fresh pierogies. I never thought about making them until a friend shared your recipe. We had them for dinner tonight and they were SO good!! We also have another dozen and a half left over to freeze for 2 more meals. They were fun to make too. I was intimidated at first but they are very forgiving and fun to make. Thanks again for taking the time to share. We definitely recommend this recipe and feel like the only way to eat them is to fry them crispy in cast iron with butter before serving
Hi Kaite! Thanks so much for your comment. So glad you’re enjoying the recipe! 🙂
This looks like great recipe! Please can you tell me what hydration your starter is? Thanks!
Hi there! My starter is 100% hydration.
I love this recipe and have made it several times now. I like that I can ferment the dough in the fridge overnight too. Thank you Katie!
So glad you’re enjoying it! And thank you, I’m Sophie! 🙂
This was delicious and easy to make! Kids & husband loved it, will happily make again and try different fillers.
These were absolutely incredible. Thank you so much!!!
I was looking for a recipe (without actually looking for one lol) to make pierogis with sourdough for a Pierogi Choucroute that I make and want to eliminate store bought and *whoop* yours appeared on my feed, it’s a sign I believe!! I can’t wait to try these! Love that your recipe is in grams🥰, IYKYK!!! Thank you for this! Happy to hear they can be frozen, plan on making in steps to have ready for any time!!
This is by FAR the best sourdough perogie recipe I’ve come across! I let the dough sit in the fridge overnight and rolled the dough to a #4 on my kitchen aid pasta attachment. Then fried them with carmalized onions for dinner.
I love that they were super light and fluffy. I could taste filling, not just dough like with store bought ones. Definitely a keeper!
Hi there! Thanks so much for the kind comment 🙂 So glad you enjoyed them!
Do you still use the egg in the recipe if you are using a sweet filling for the dough? for example plums.
Yes, the dough stays the same for whatever filling you want to use. Just be sure it’s a relatively thick filling.