Happy holidays friends.
I can’t believe it has taken me this long to share my perfect pumpkin pie.
If you don’t know me well, I am a pumpkin pie fiend. It’s my favorite dessert, and I actually have it every year as my birthday pie instead of cake. So I figured it was finally high time to share my tips!

Our family has been baking tons of pumpkin pies every year my entire life, and this is an amalgamation of all those years plus my own experiments with the crust.
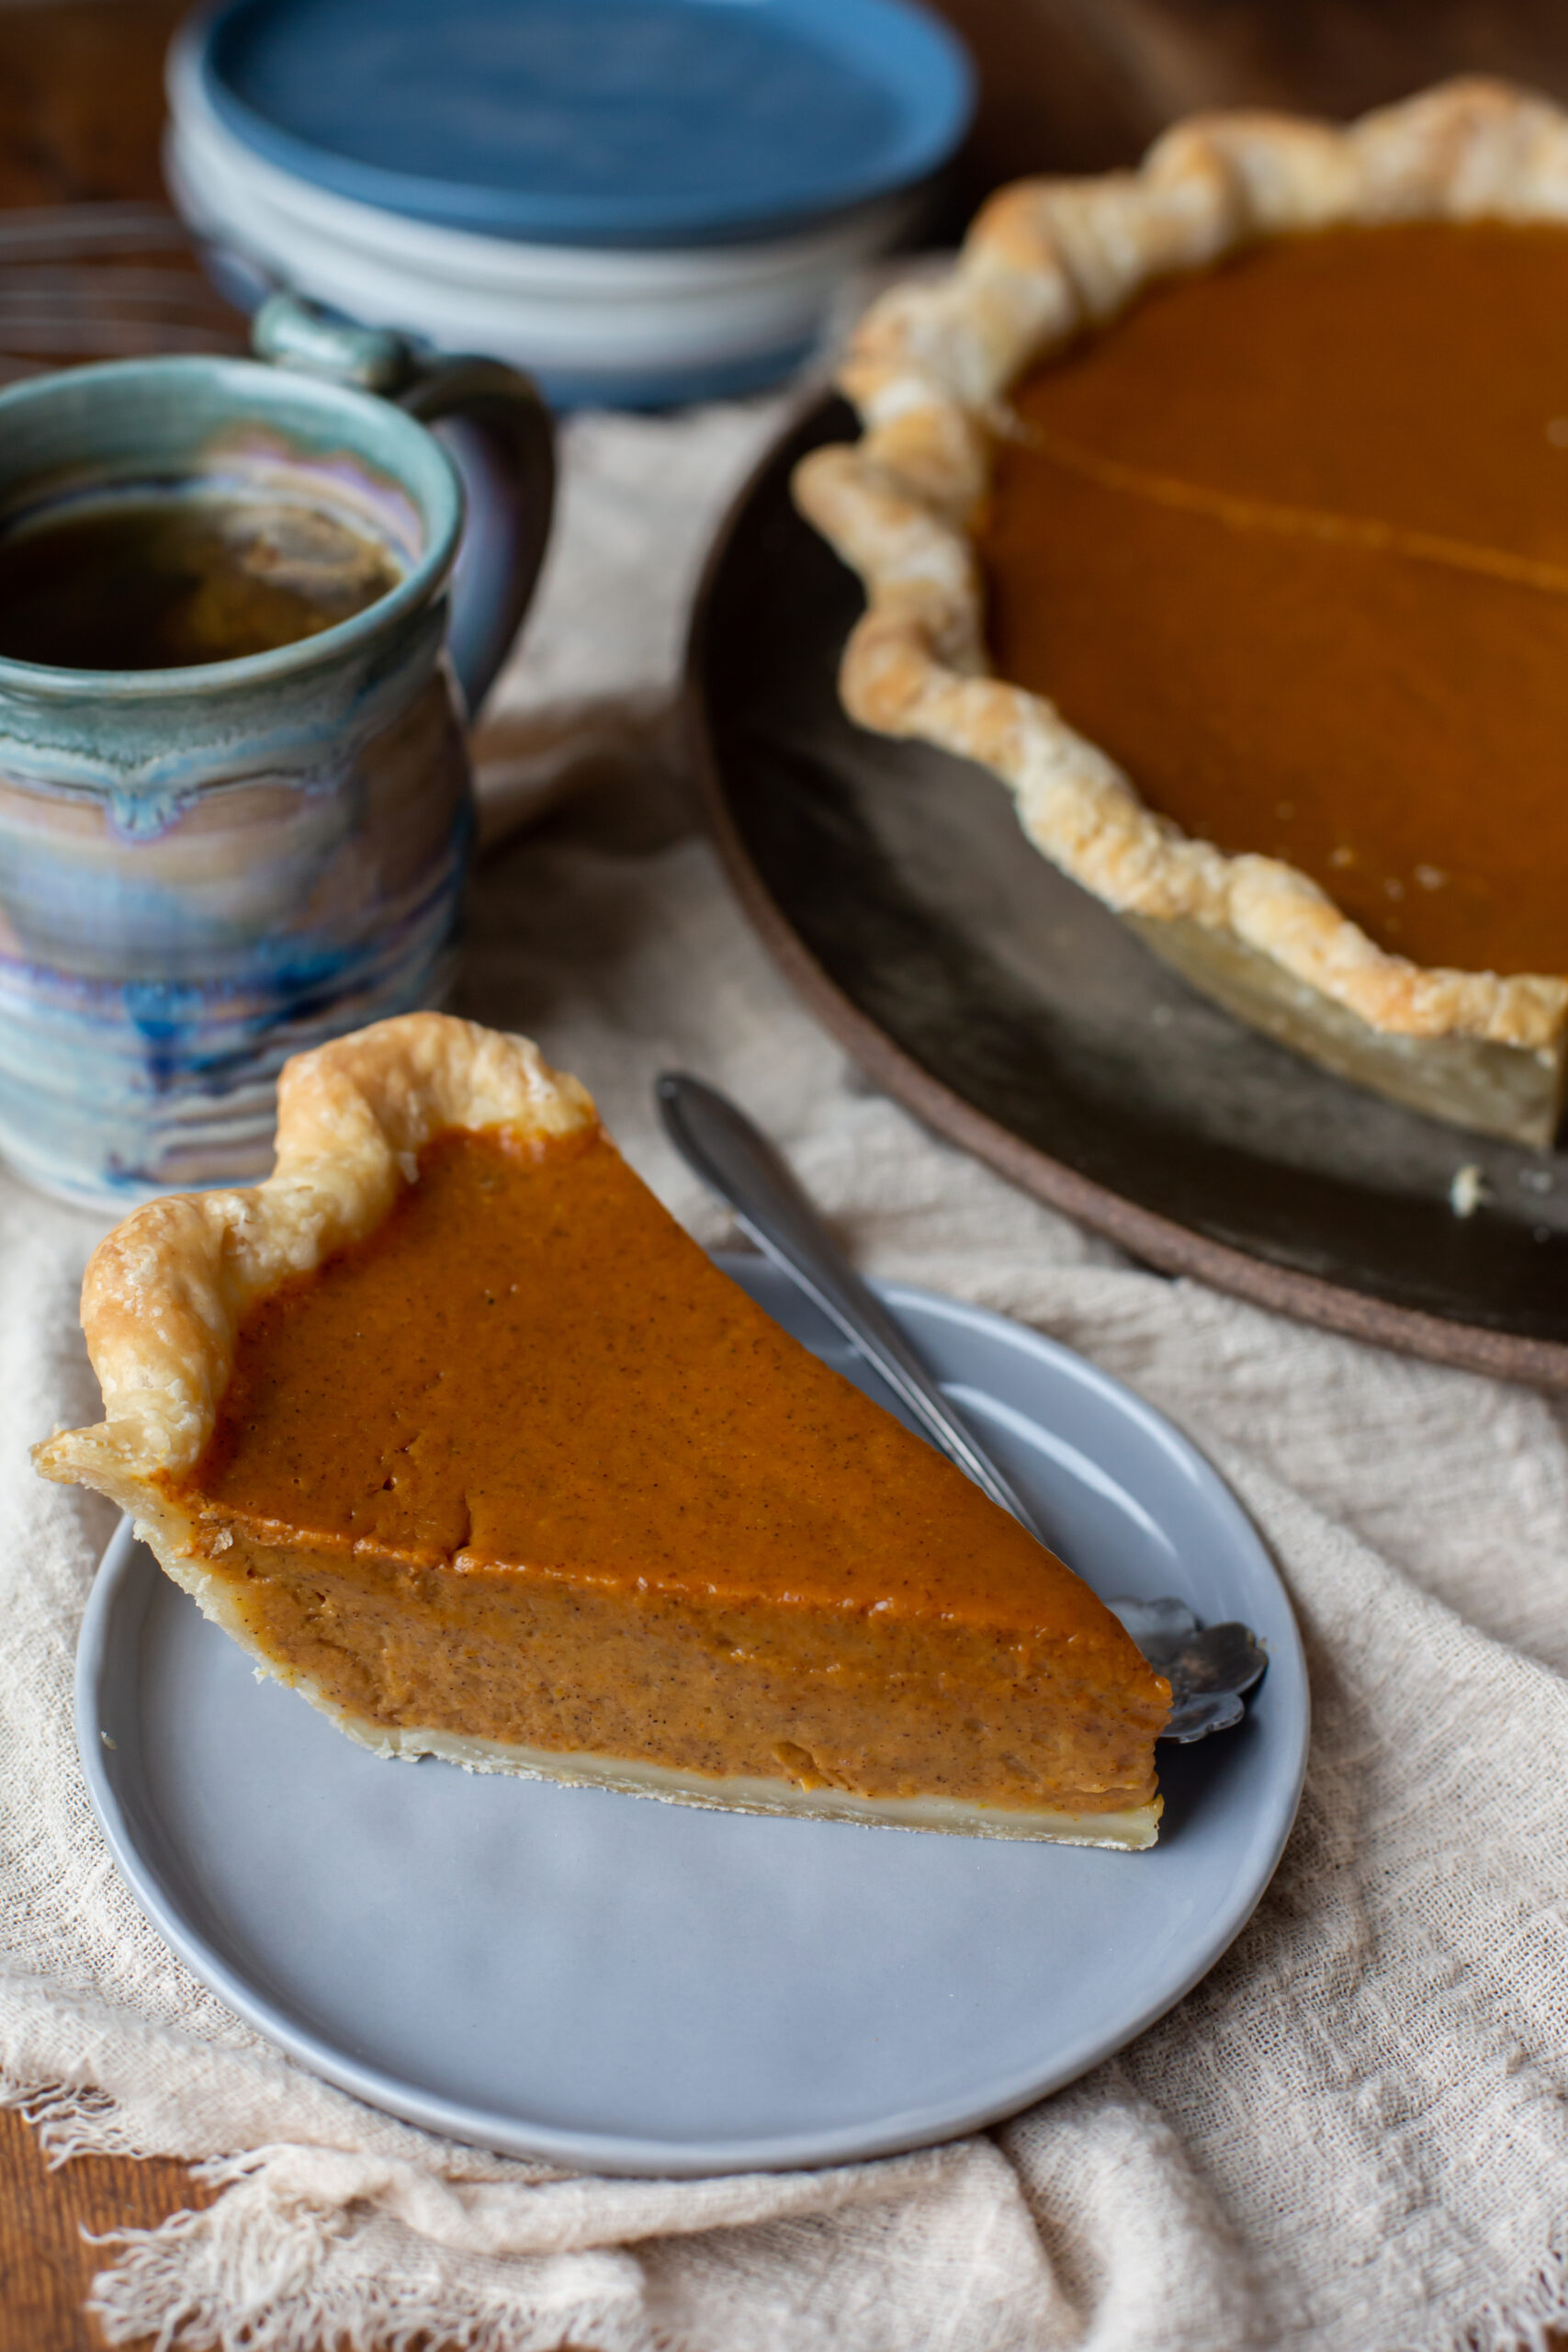
Lately I’ve been loving par-baking the crust to ensure that it is set without over baking the filling. If you are worried about cracks forming on the surface of the filling, I’d recommend giving that method a try. The cracks form on top of the pie when the eggs in the filling have overcooked (causing them to contract). You want to make sure to take the pie out of the oven when the filling starts to puff up around the edges, but it still has a wobble in the middle. It will continue to cook out of the oven and set up perfectly.
If you are not par-baking the crust, I would recommend baking the pie on the bottom rack of the oven to help ensure that the crust bakes fully. Use aluminum strips to protect the crust edge from browning too much.
Our filling formula has always stayed the same, and YES it essentially comes directly from the pumpkin can. If it ain’t broke, don’t fix it right? Also, Libby’s canned pumpkin and McCormick brand pumpkin pie spice are key here.
Funnily enough, while I am a baker who is generally pretty precise with my measurements, the pumpkin pie spice in our recipe is approximate. My mom and I actually have tried to measure it before, but it always comes out better when you kinda just tip the bottle into the mixture until it FEELS like the right amount. We also taste it and adjust as necessary.
After baking so many pies, there’s a bit of muscle memory in this action. But, if I had to estimate, it would probably be close to a tablespoon plus a teaspoon. However honestly, just measure with your heart on this one and see what you like best!

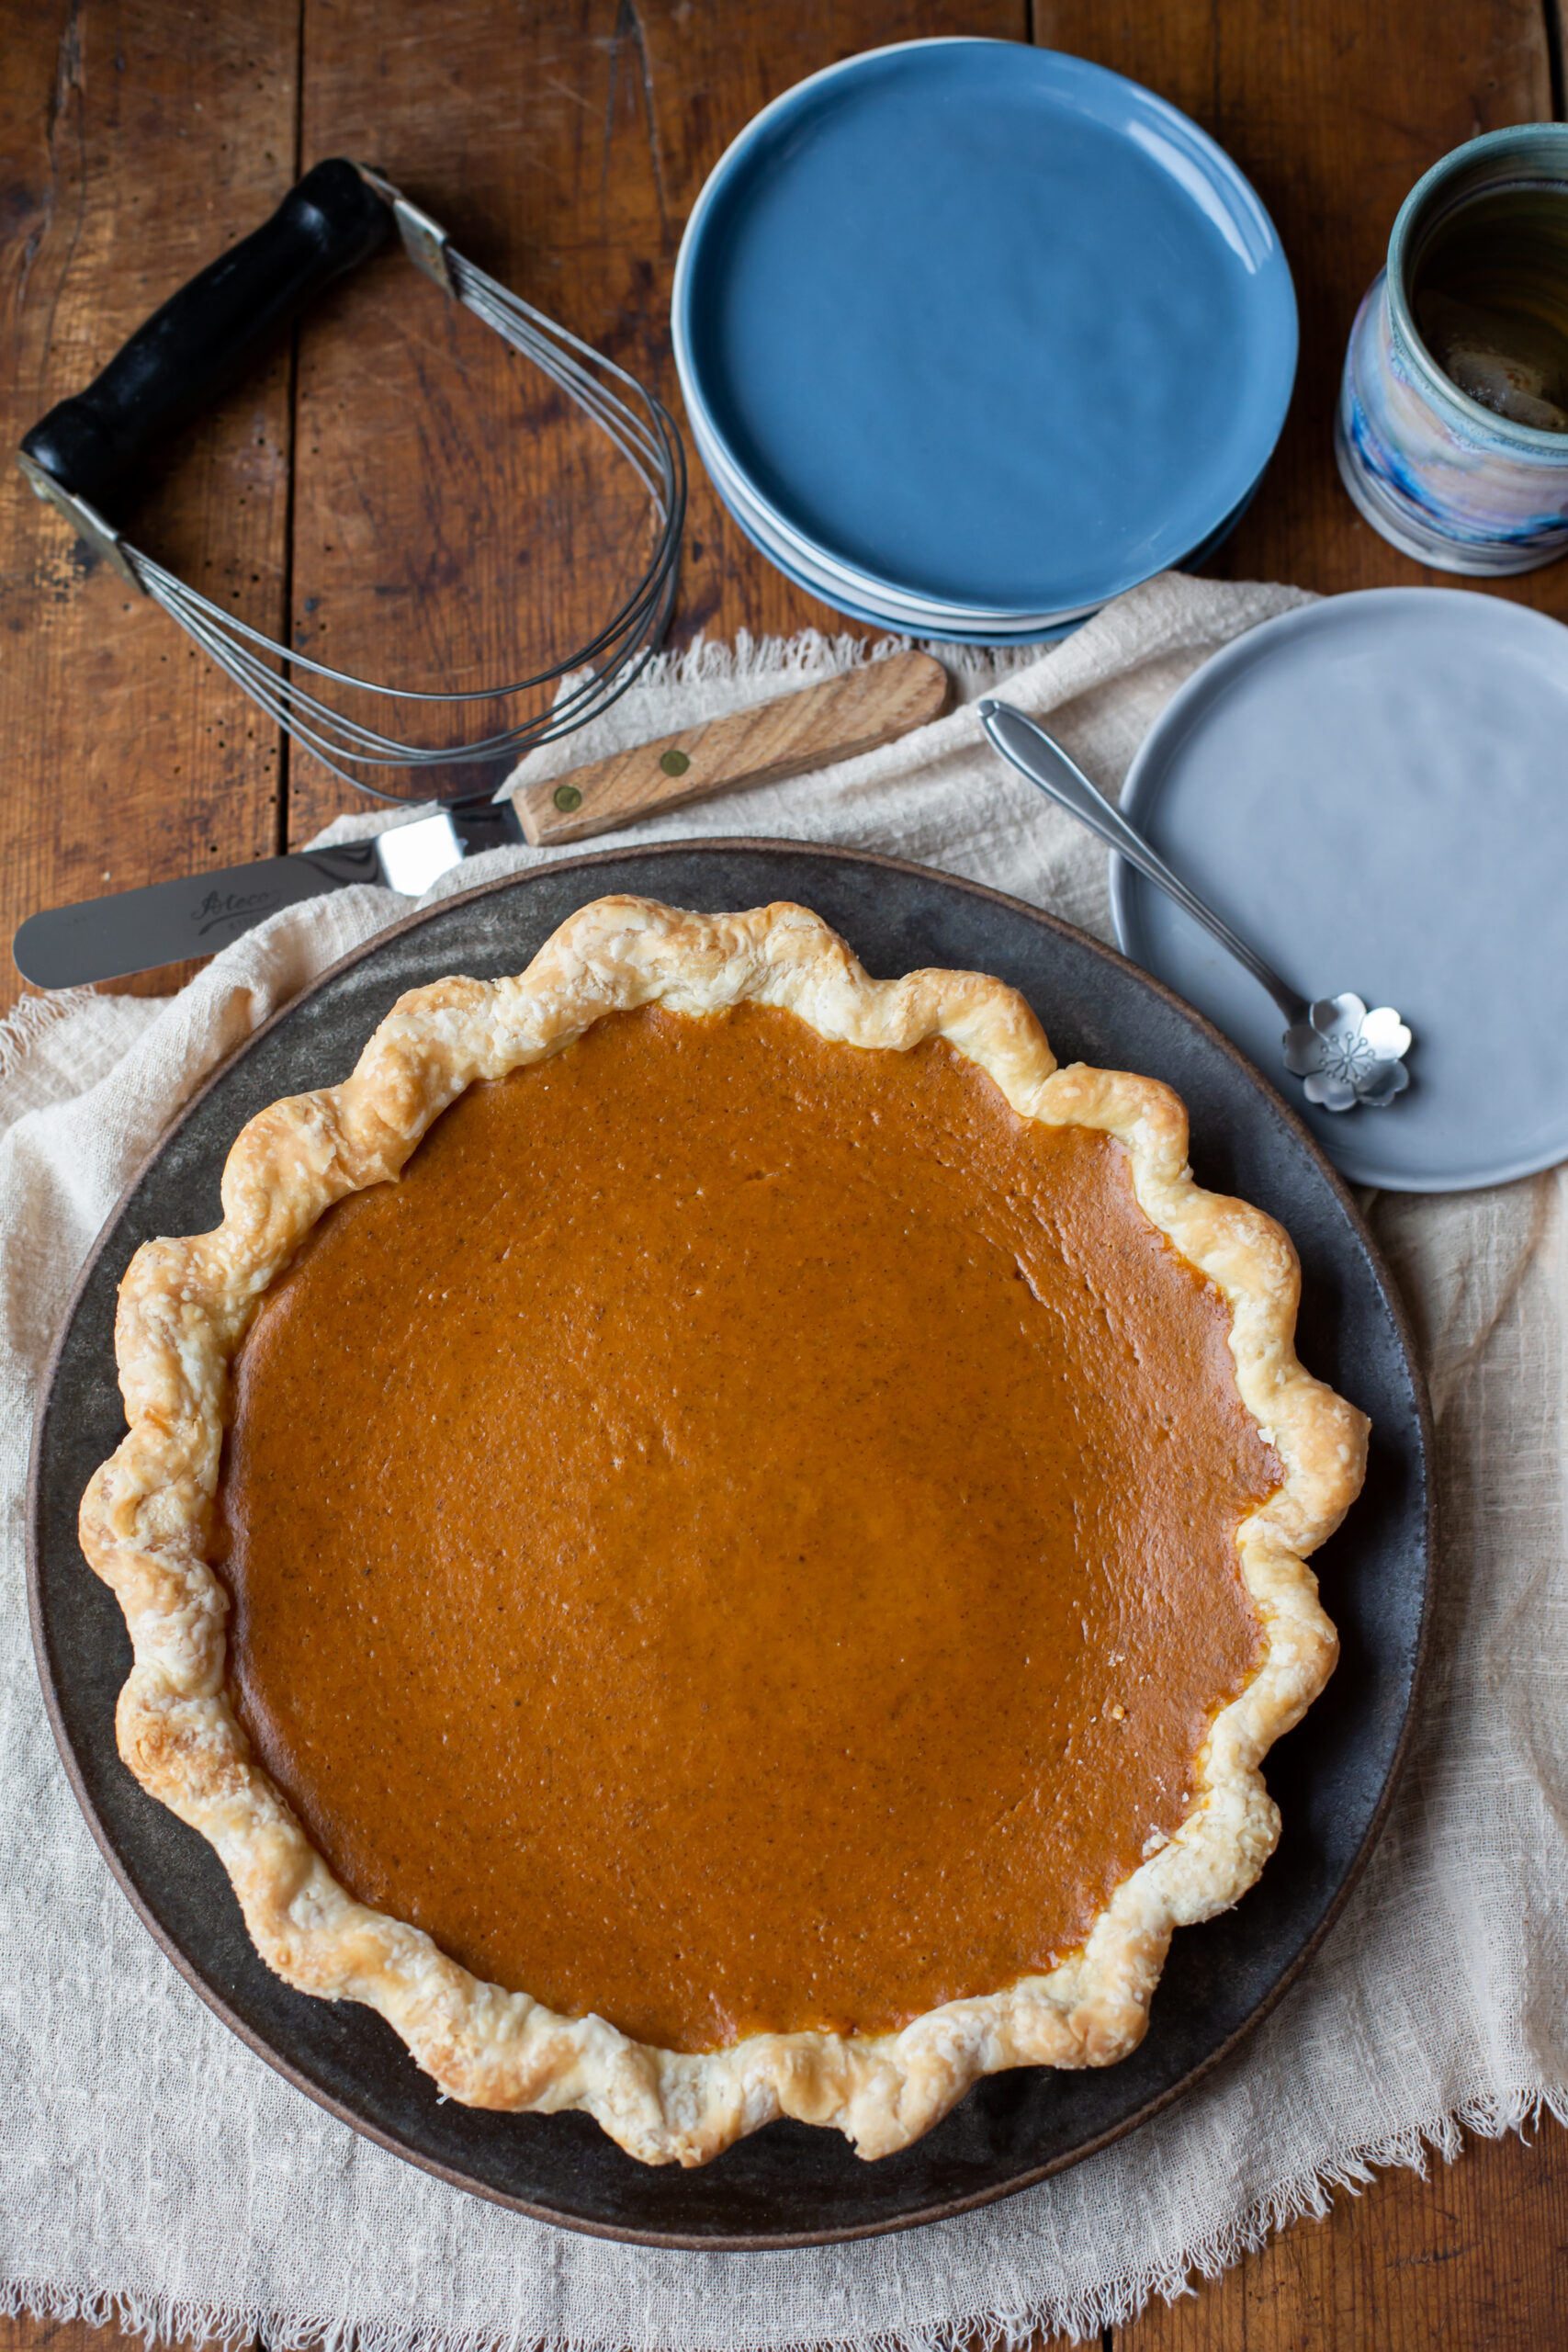
My Perfect Pumpkin Pie
https://mostlysourdough.com/wp-content/uploads/2022/11/BH1A8886-scaled.jpg
| Prep: | Cook: | Yield: 1 pie | Total: |
A classic pumpkin pie recipe.
You'll Need...
- Crust:
- 1 1/4 cups all-purpose flour
- 1/2 teaspoon salt
- 1 1/2 teaspoons sugar
- 1/2 cup unsalted butter, chilled and cubed
- 2 tablespoons apple cider vinegar
- 1/2 cup cold water
- Ice
- Filling:
- 3/4 cup sugar
- 2 eggs
- 1 can (15 oz.) Libby's Pumpkin puree
- 1/4 bottle of McCormick pumpkin pie spice
- 1/2 teaspoon Kosher salt
- 1 (12 oz.) can evaporated milk
Directions
- Crust: In a medium mixing bowl, whisk together the dry ingredients. Combine water, ice & vinegar in a measuring cup. Cut in the butter into the dry ingredients with a pastry blender until pea-sized. Drizzle over 1/4 cup of the liquid, and mix together with a spatula or your hand. Continue adding one tablespoon of liquid (if needed) and mixing until it comes together into a shaggy dough. Shape into a disk, wrap in plastic and refrigerate for at least an hour, but preferably overnight.
- Shape the pie crust: Roll out the pie crust to 1/8-1/4 inch thickness, and transfer to pie pan. Trim the edge to 1 inch beyond the pie pan, and crimp. Chill in the freezer while you make the filling.
- Filling: In a medium mixing bowl, whisk together the eggs with the pumpkin. Add the sugar and spices and mix well. Finally, add the evaporated milk and combine together until creamy. Be sure to scrape the bottom of the bowl so everything is fully incorporated.
- Par-baked crust method: Preheat the oven to 375 degrees. After chilling your shaped crust for at least 10 minutes, cut a piece of parchment paper into a circle large enough to place inside of the pie shell with some overhang to use as handles. Fill with pie weights (ceramic pie weights, or dried rice or beans works too). Be sure to use your hands to nestle the weights into the edges of the pie shell to ensure even baking. With the oven at 375 degrees, bake the crust with the weights for about 20 minutes. Gently remove the parchment paper and weights and bake for another 5-7 minutes to set the bottom crust. You may need to deflate the bottom if it puffs up in the oven. Lower the oven to 350 degrees. When filled, cover the crust edges with strips of aluminum foil to protect it from browning too much in the oven. Bake at 350 degrees for 45-50 minutes until the filling has puffed up at the edges, but there is still a slight jiggle in the middle. Cool at room temperature, and serve as desired.
- Direct bake method: Preheat the oven to 425 degrees. Fill the chilled pie crust with your prepared filling, and cover the crust edges with strips of aluminum foil to protect it from browning too much in the oven. Bake the pie for 15 minutes, and then turn the oven down to 350 degrees. Bake for 30-40 minutes until the filling has puffed up at the edges. If you'd like the crust to brown more, remove the foil 10 minutes before the pie is finished. Cool at room temperature, and serve as desired.
Additional Notes
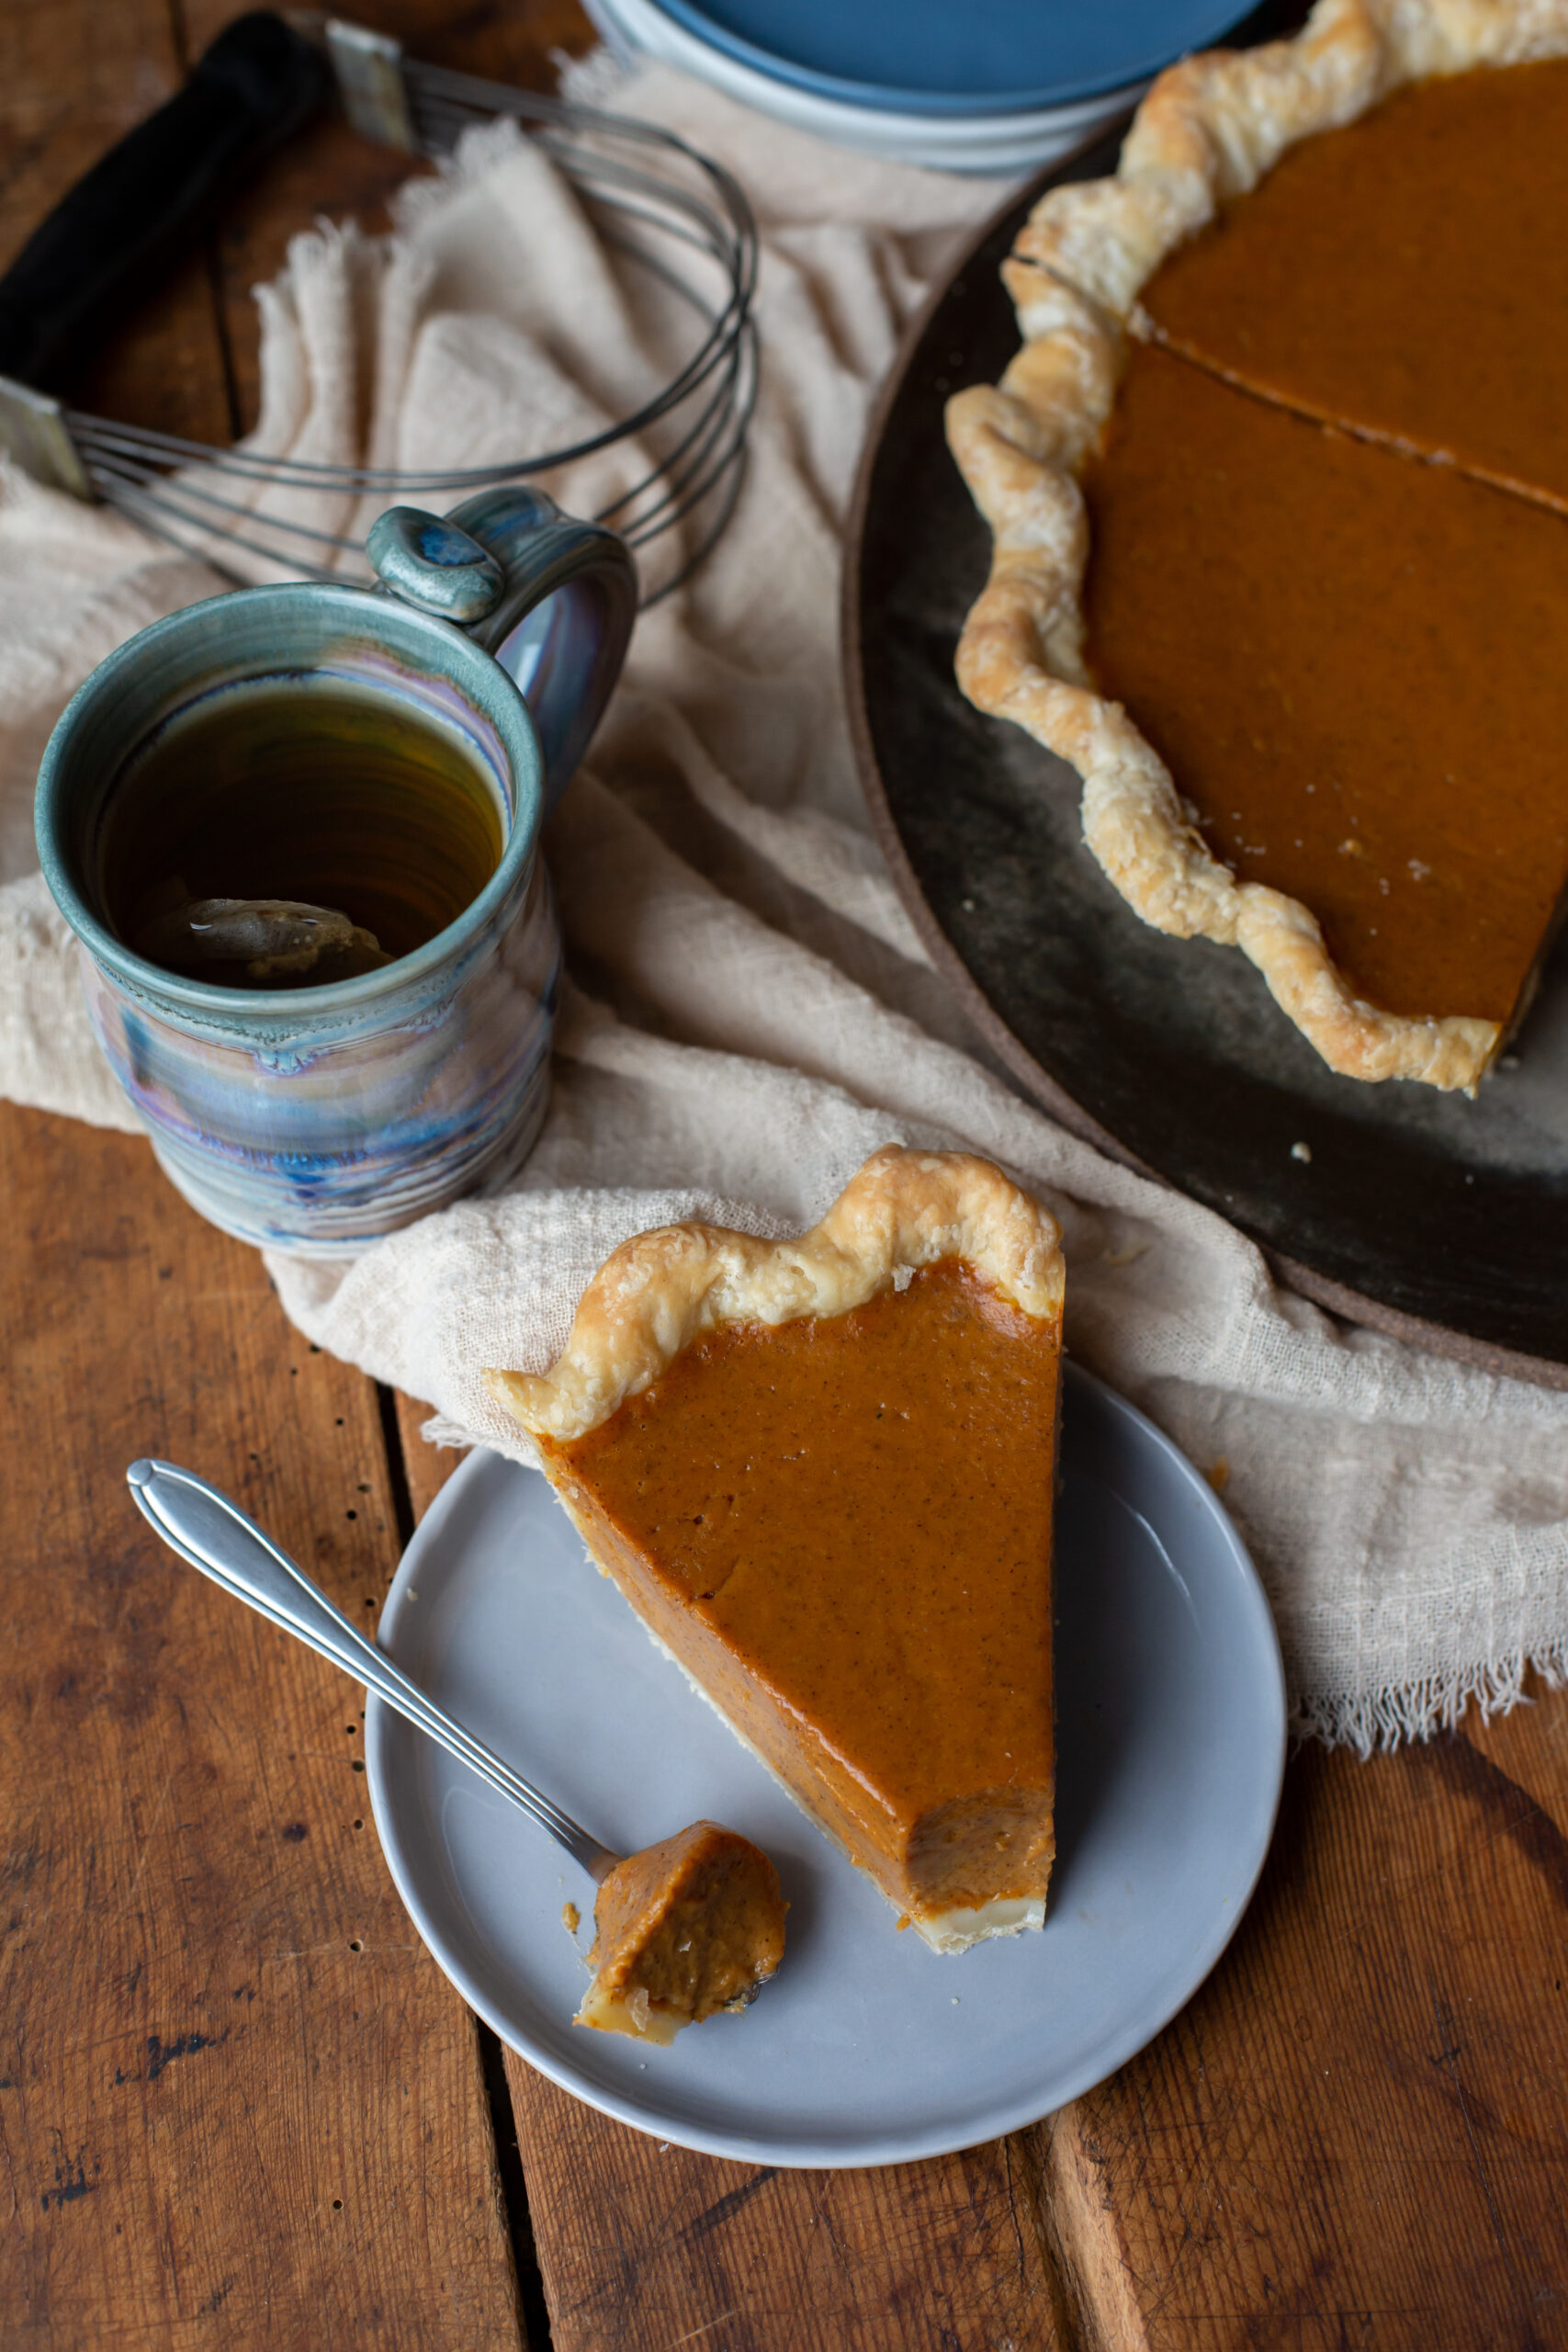
We like to bake our pumpkin pies at least the day before Thanksgiving or serving to allow the filling to set fully and develop in flavor.
I just love this time of year, and how much these comfort foods bring our family together. After a tough couple of years, I am so grateful to be able to spend this time with the ones I love.
Here’s to hoping everyone has a wonderful and foodful holiday season.
You are as sweet as your pies!