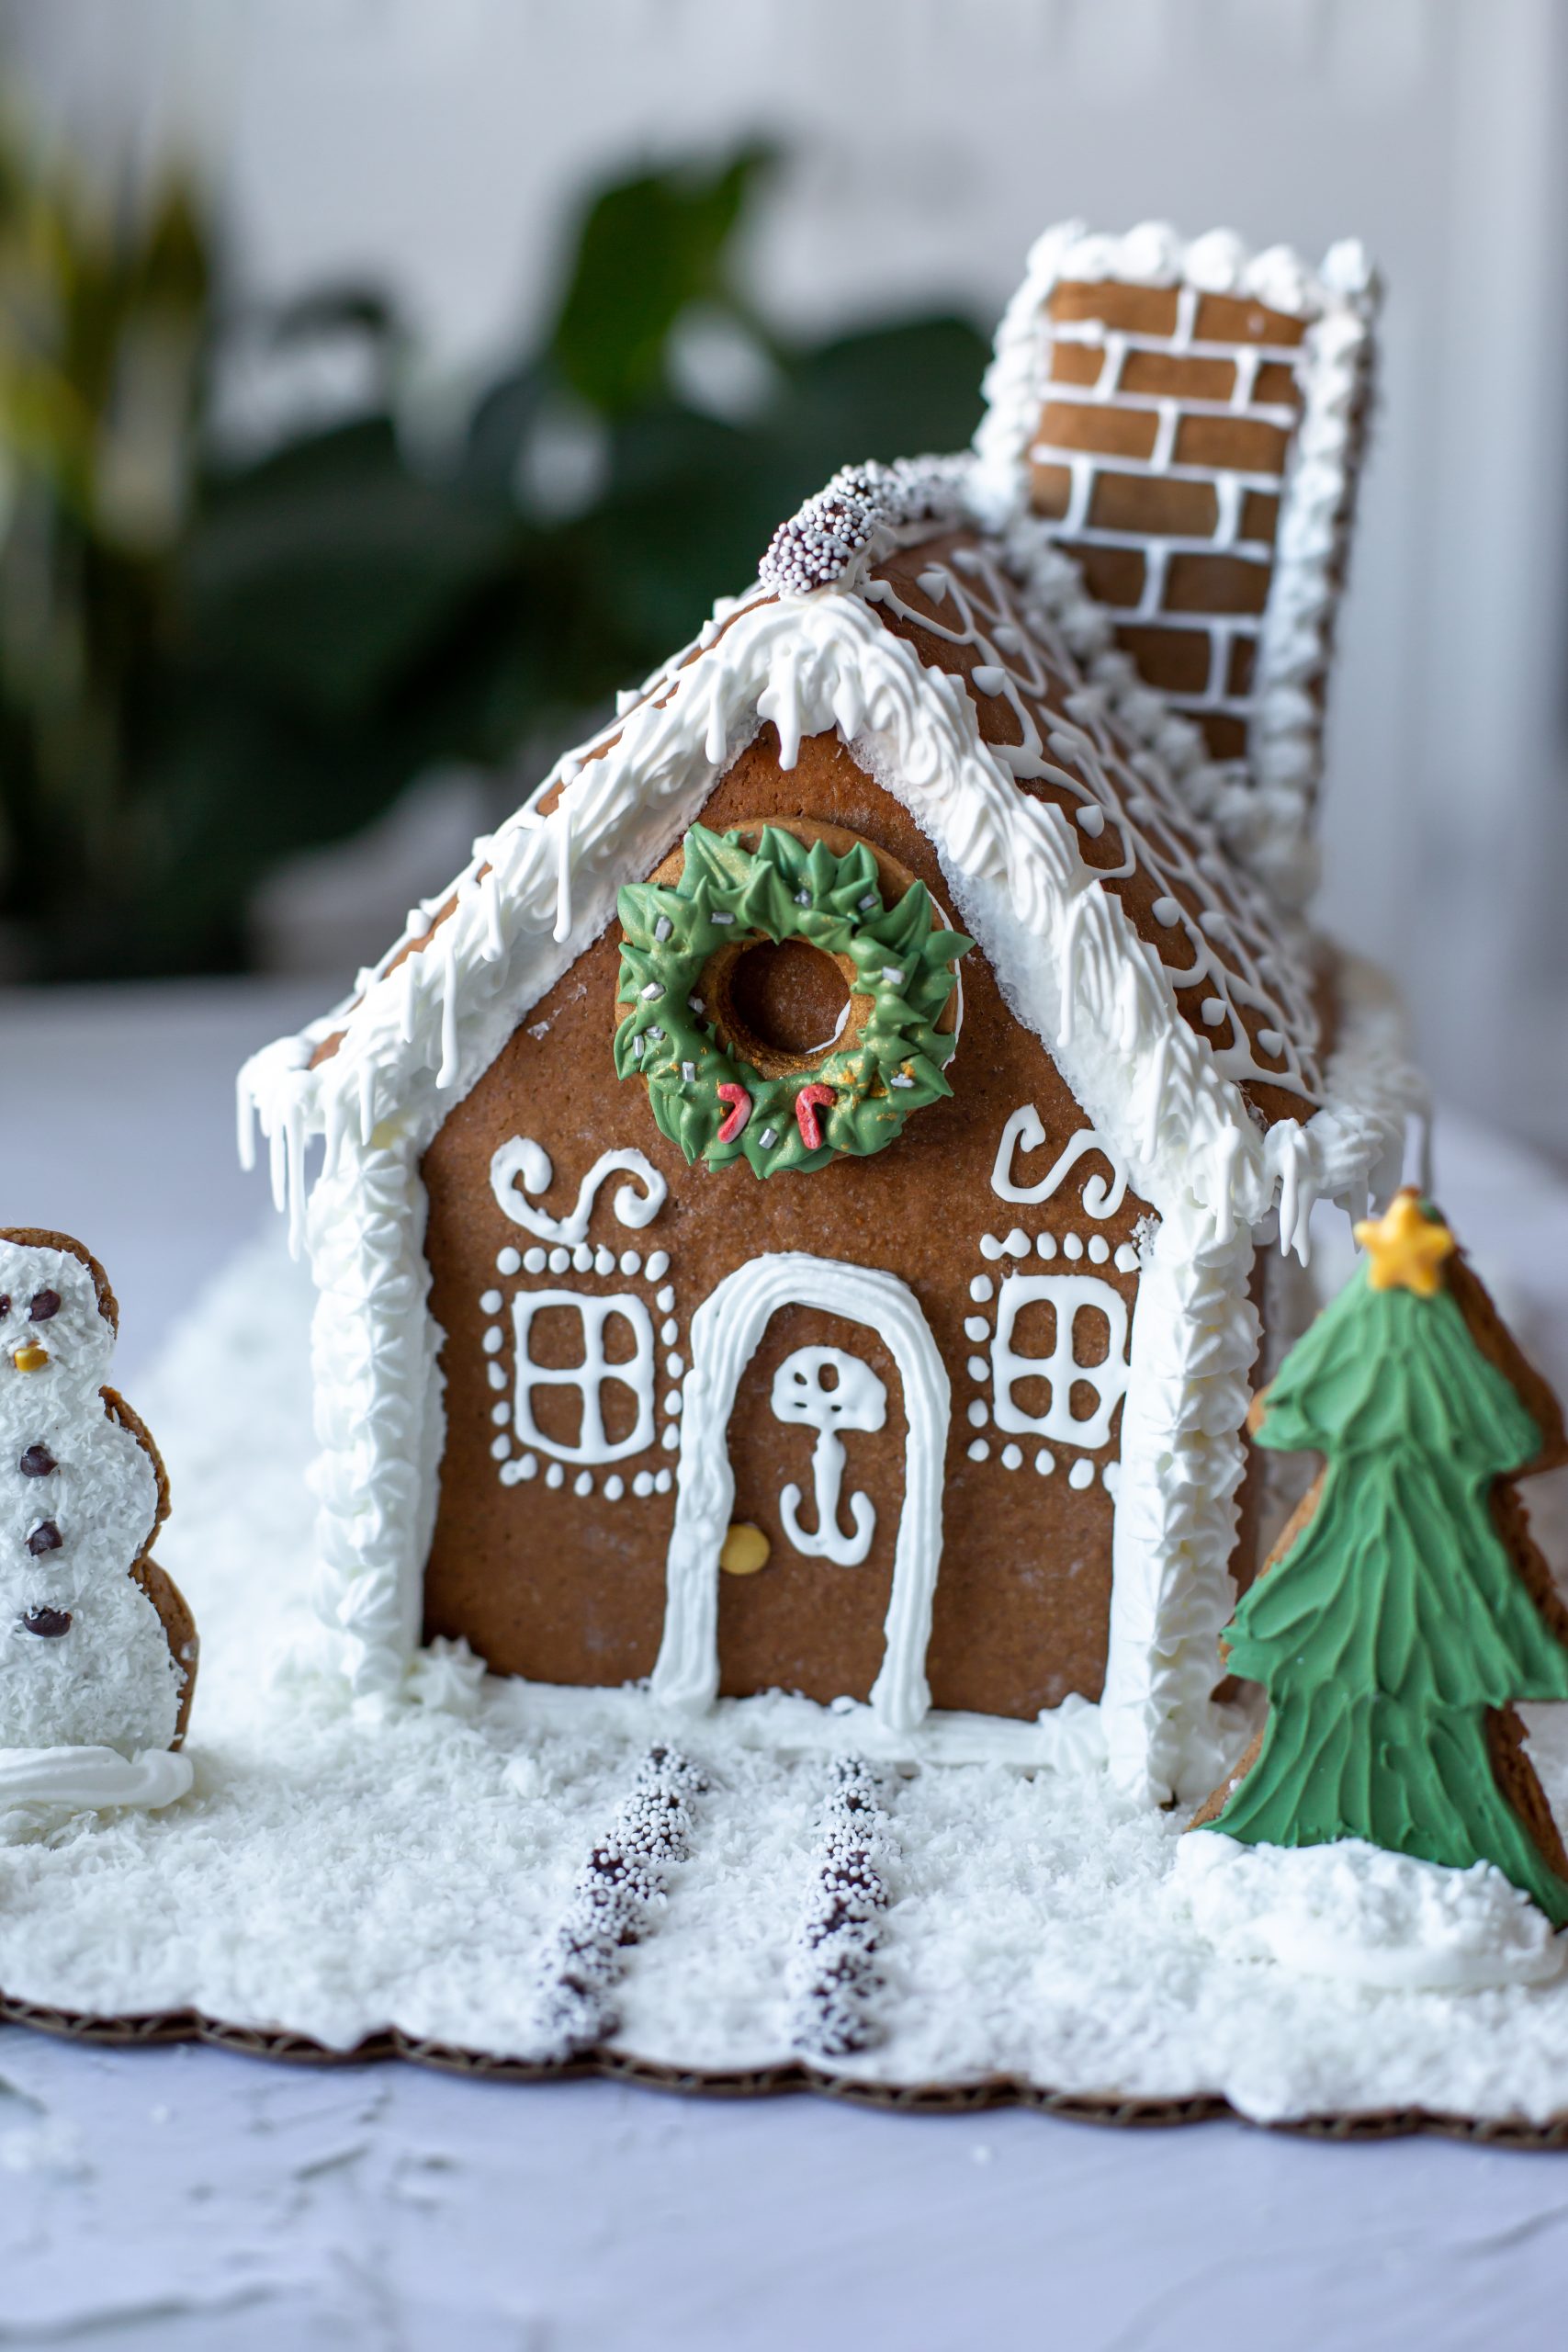
It’s almost Christmas folks! And this year, I decided to get extra festive and make a gingerbread house from scratch.
Of course, you know I had to sneak some sourdough into this in some way, so there is discard in this gingerbread recipe. 😉

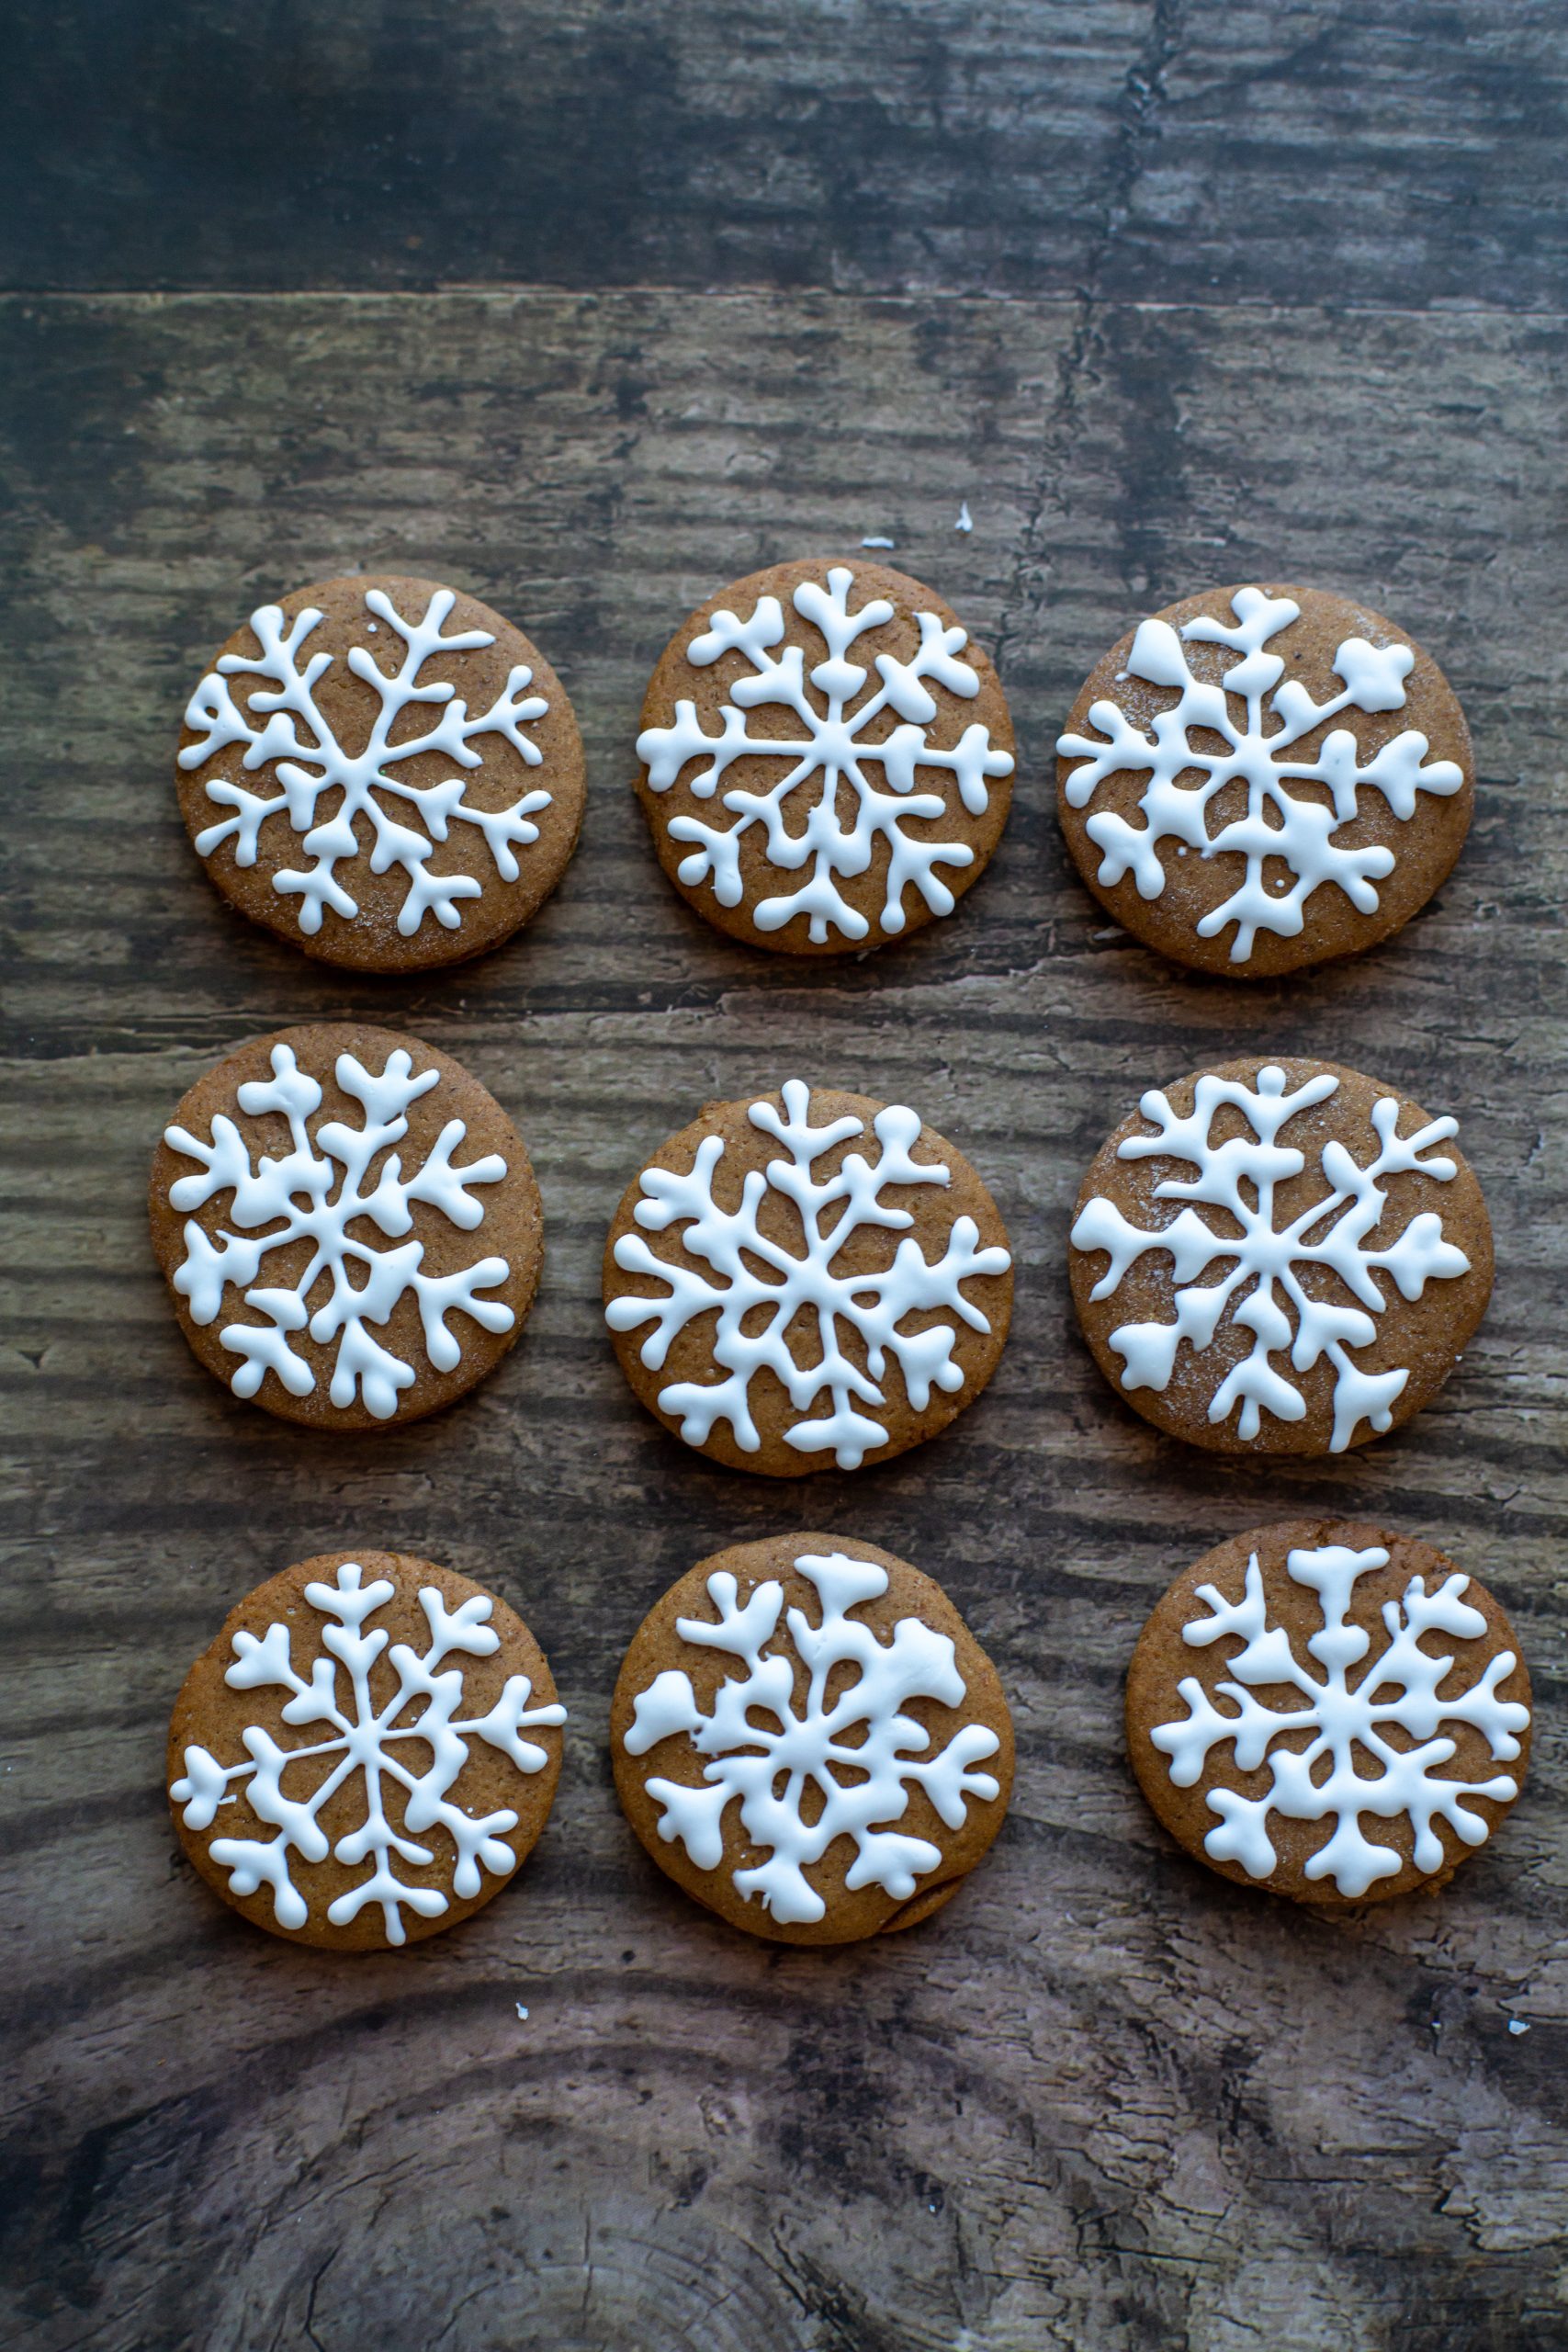
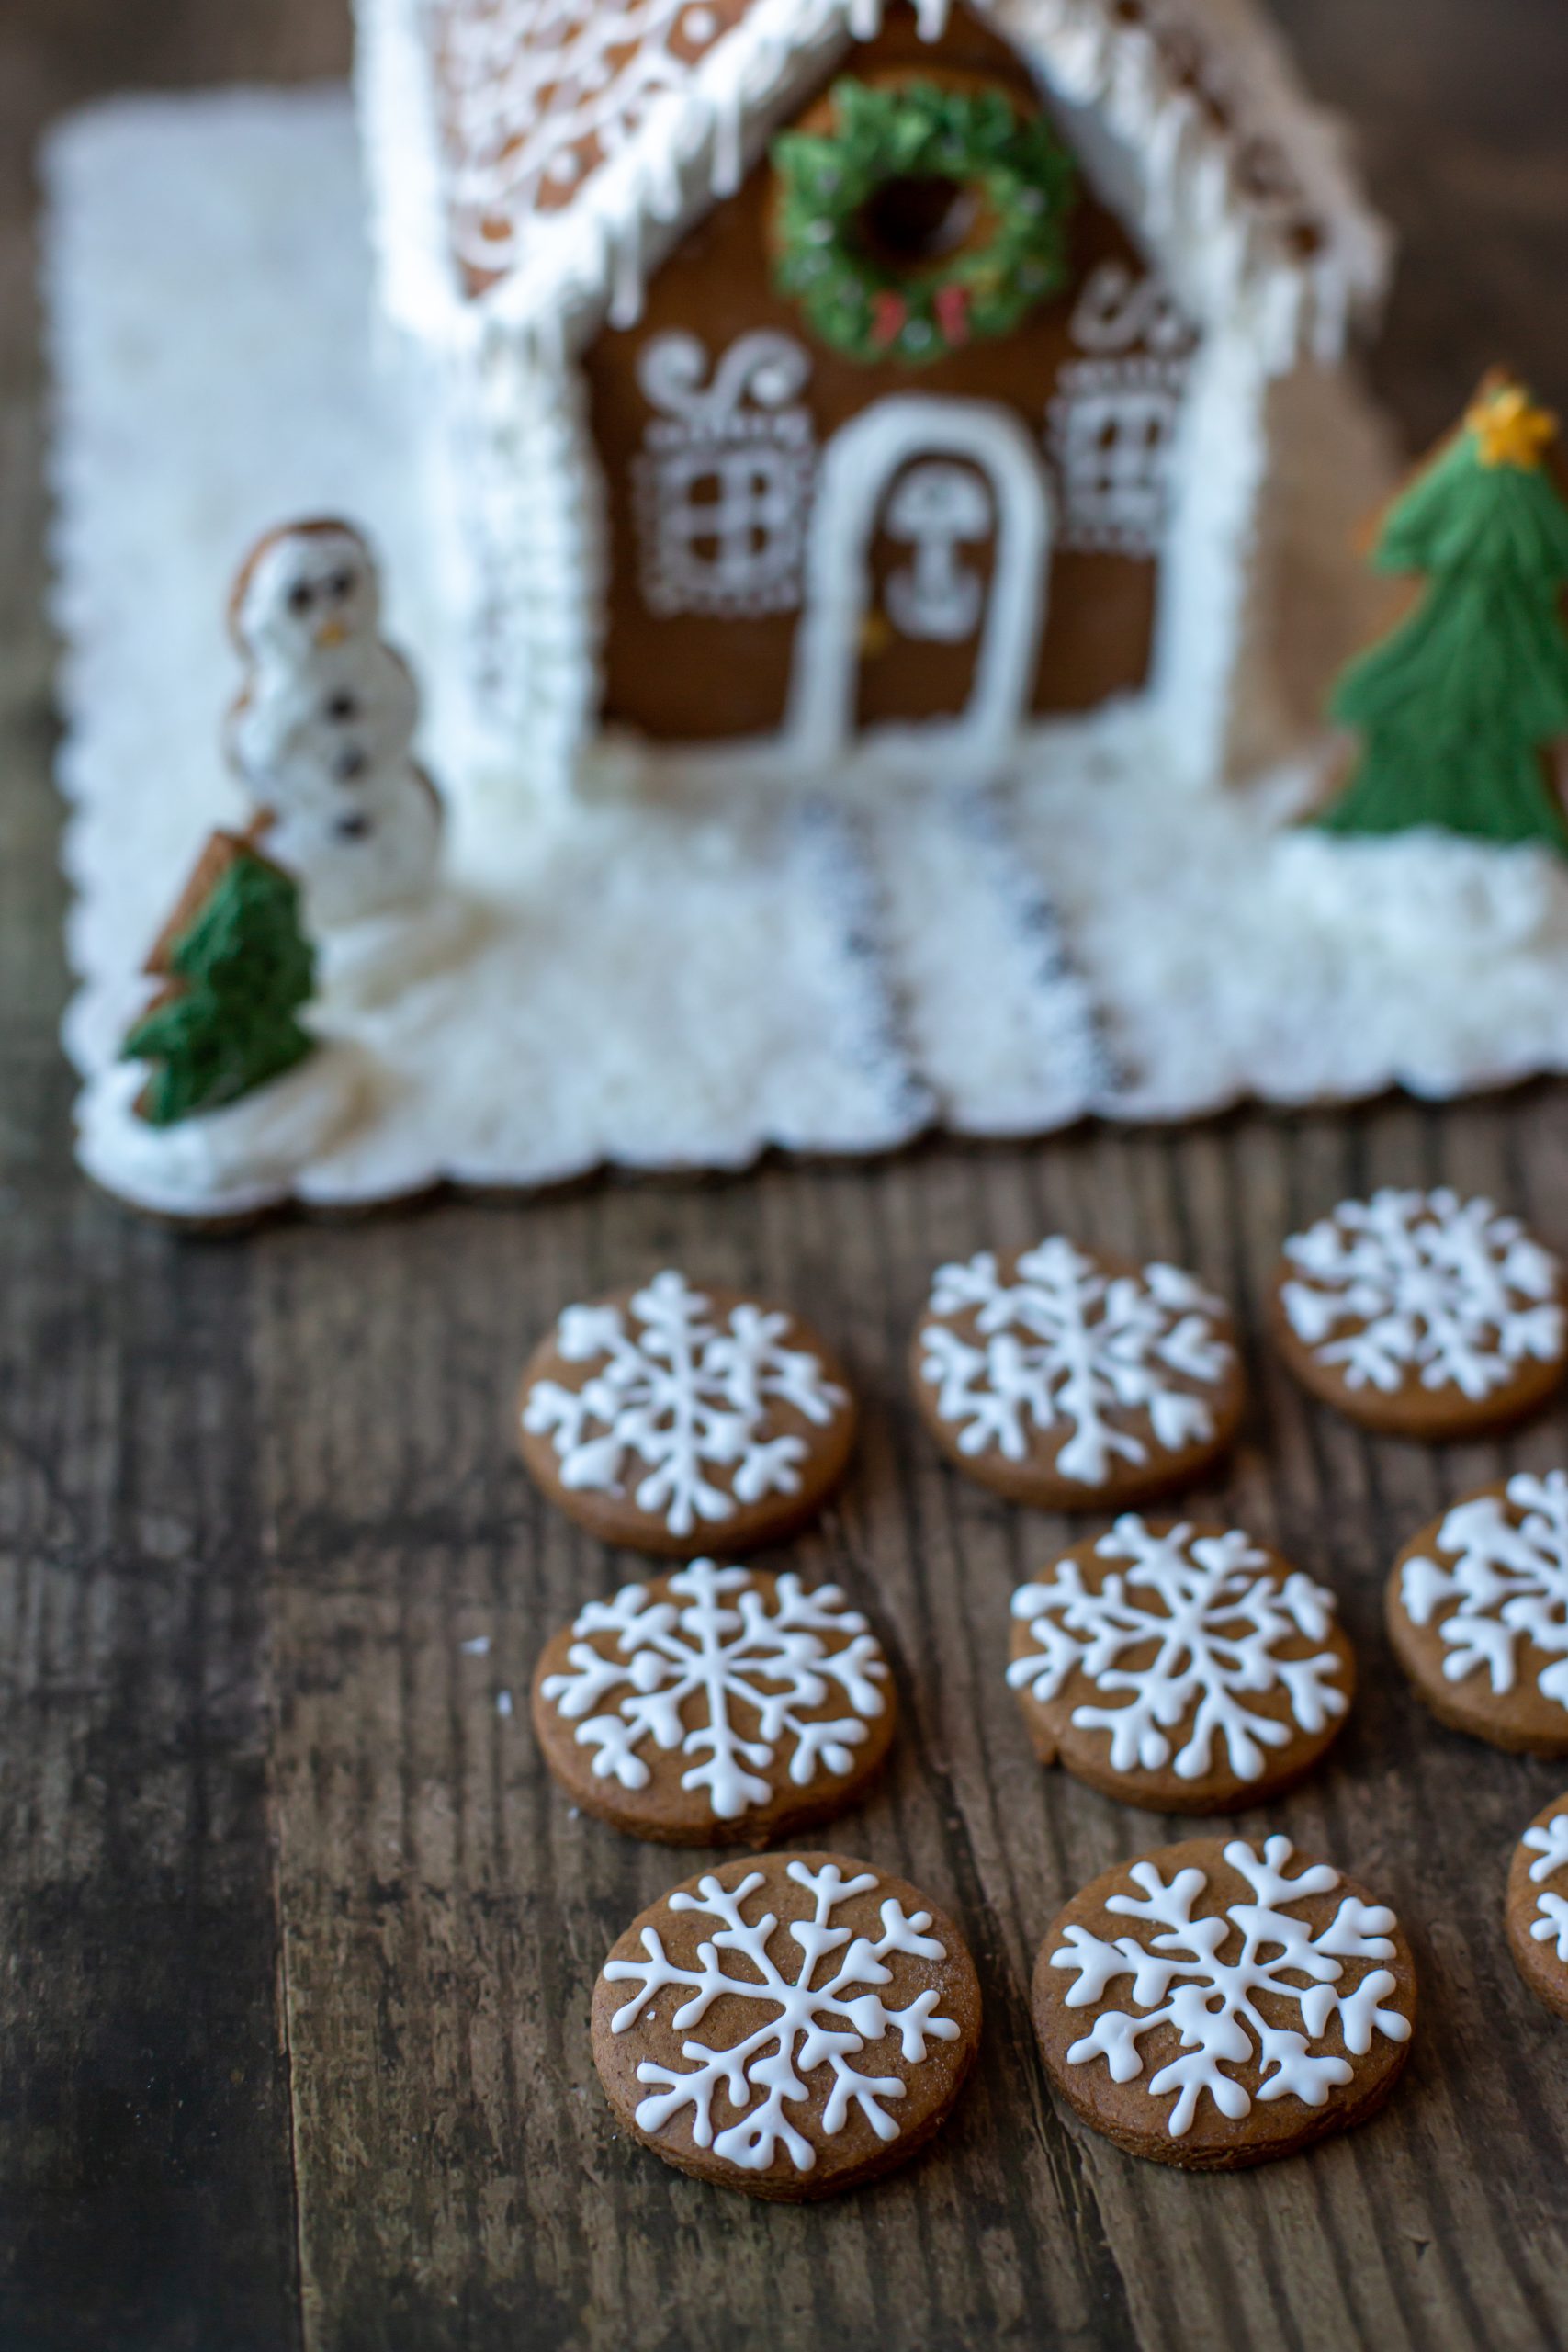
This gingerbread cookie recipe is great as cut out cookies to decorate too! It’s super tasty with just the right amount of spice, and they stay crisp which is key. If you’re making this as a house, use a template for the house pieces to make sure they fit together properly. There are tons of templates available online!
Nev and I had too much fun doing this gingerbread house. We both decided to get really into the pre-Christmas celebrations this year because we aren’t spending the holiday together. He’s going home to California to be with his family, and I’ll be driving to Indy to stay at my sister’s with my mom and other sister.
I have to say, though I’ll miss Nev, I’m extra excited for Christmas this year since I missed out on Thanksgiving with my fam. Can’t wait to spend the time just being cozy, eating good food and laughing.
So, this house takes a bit of prep as there is a bit of drying time between the construction and when you can decorate. But that makes it easy to prep ahead of time too.
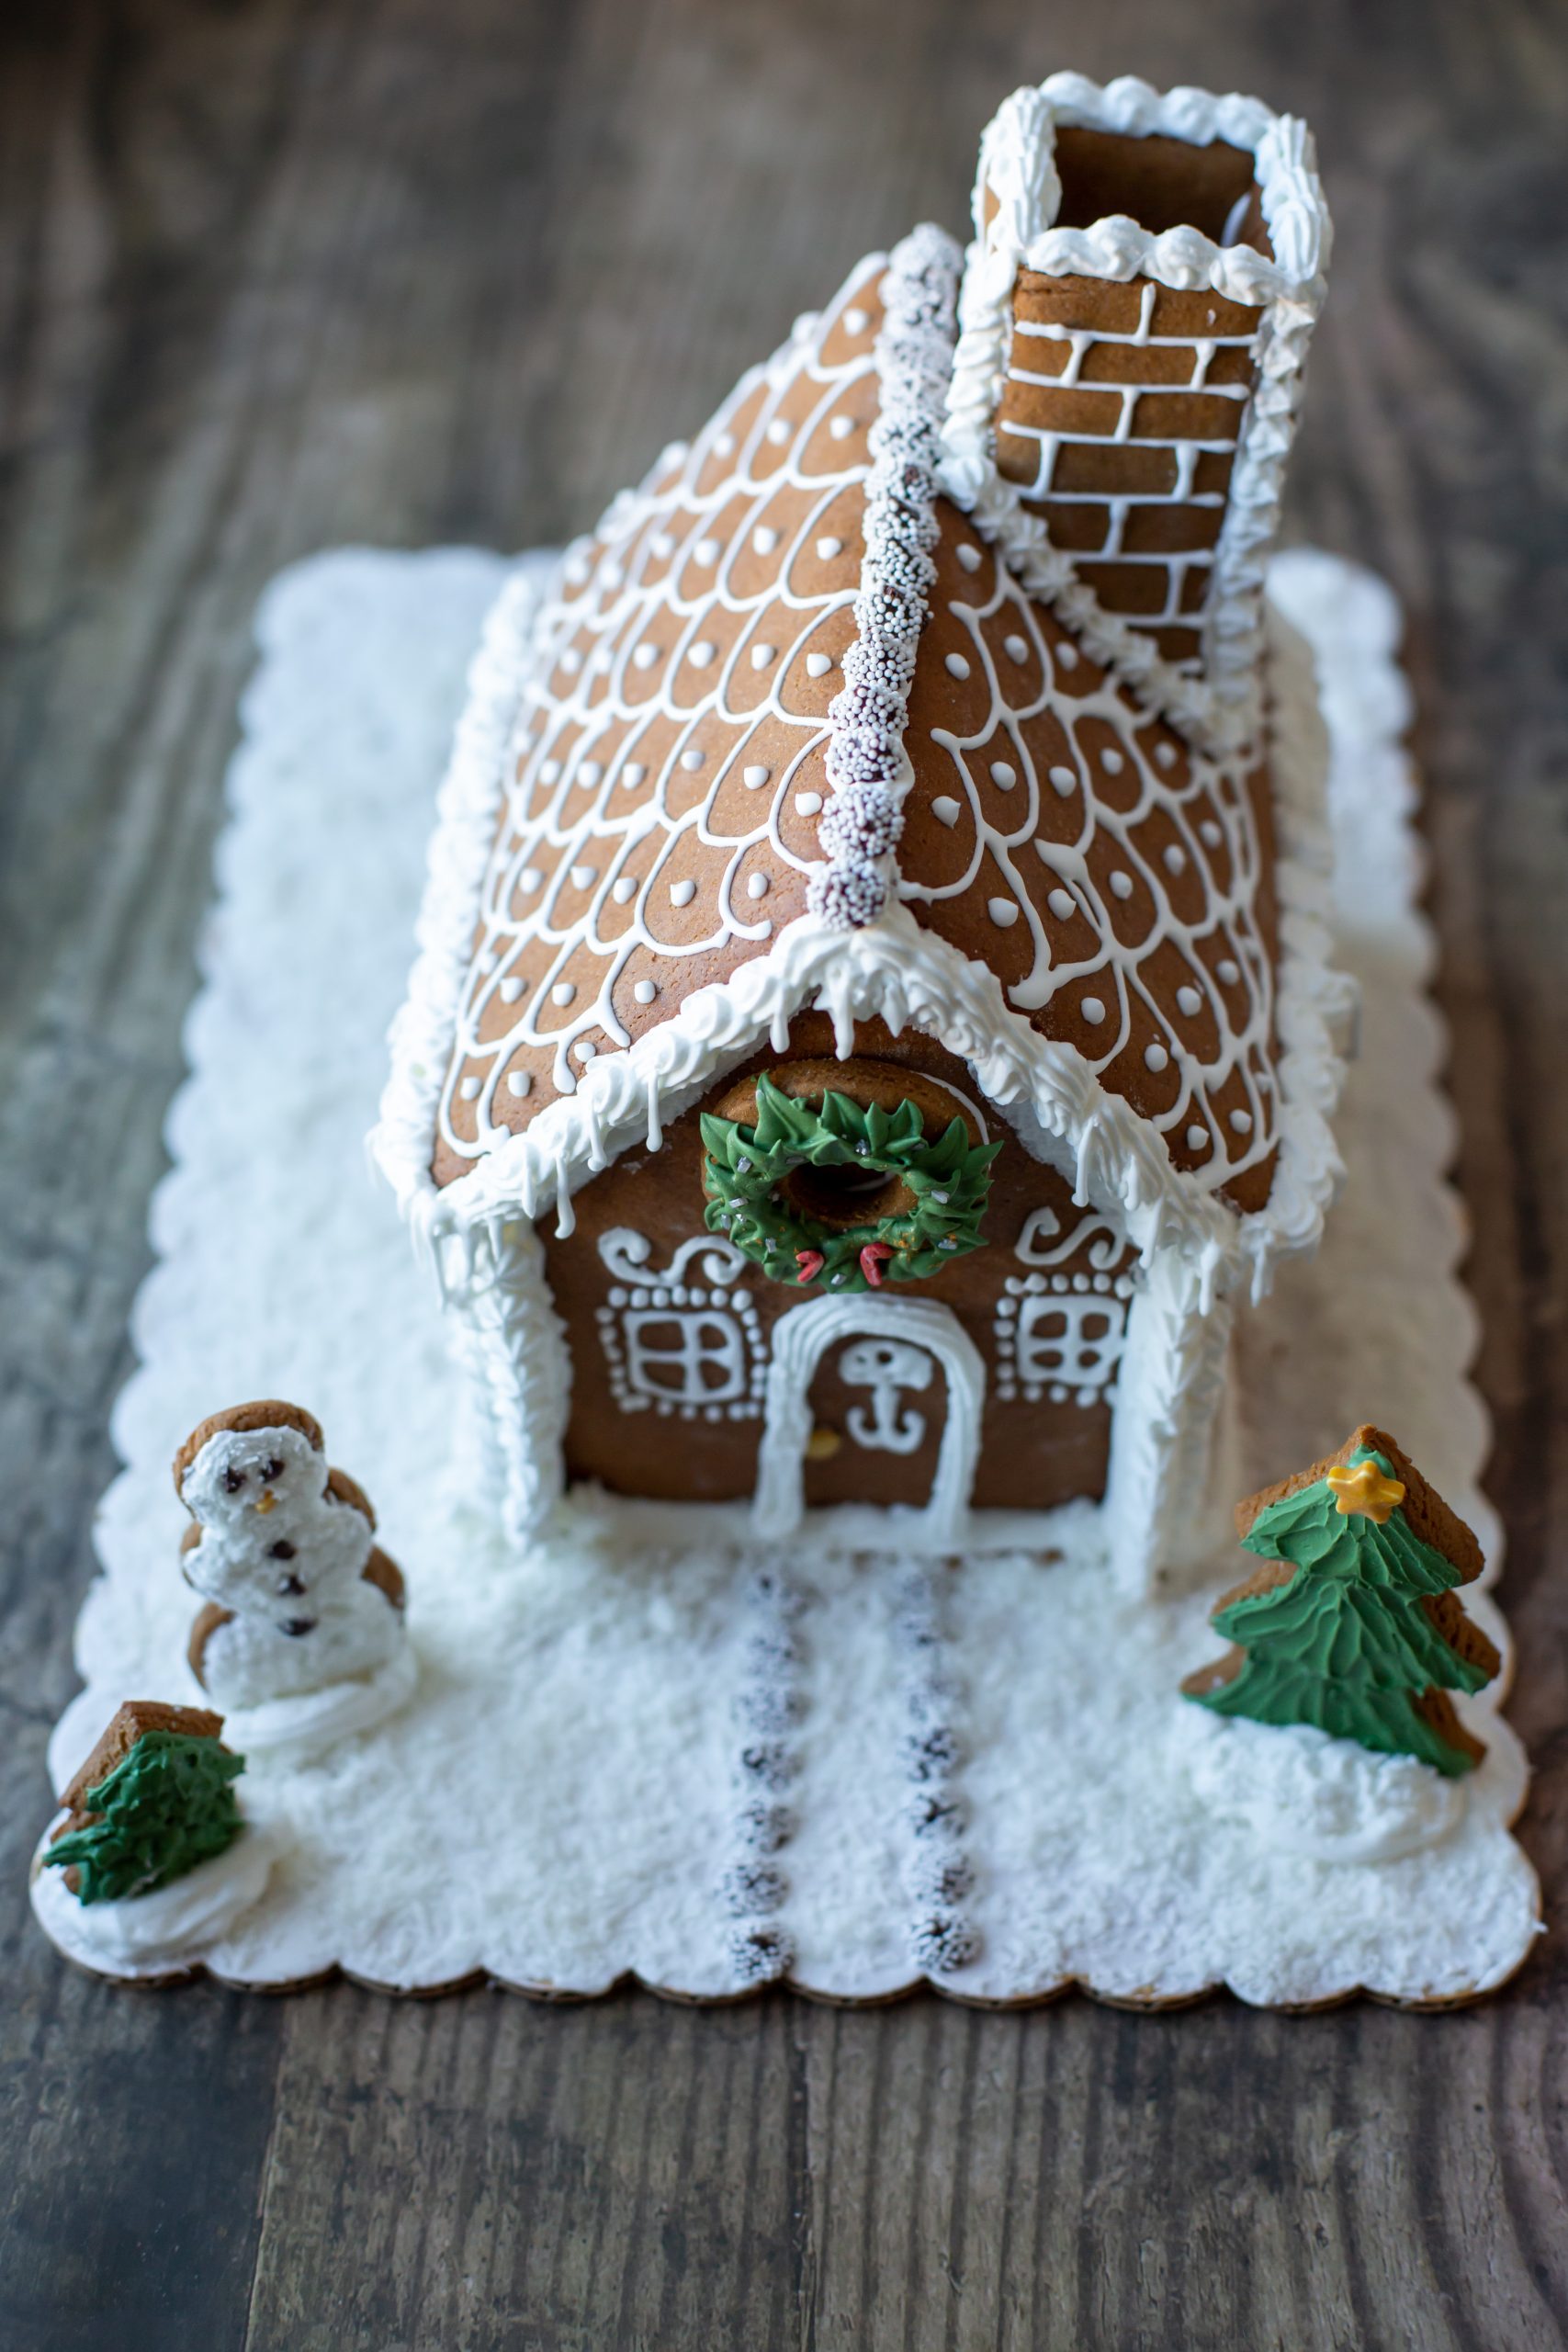
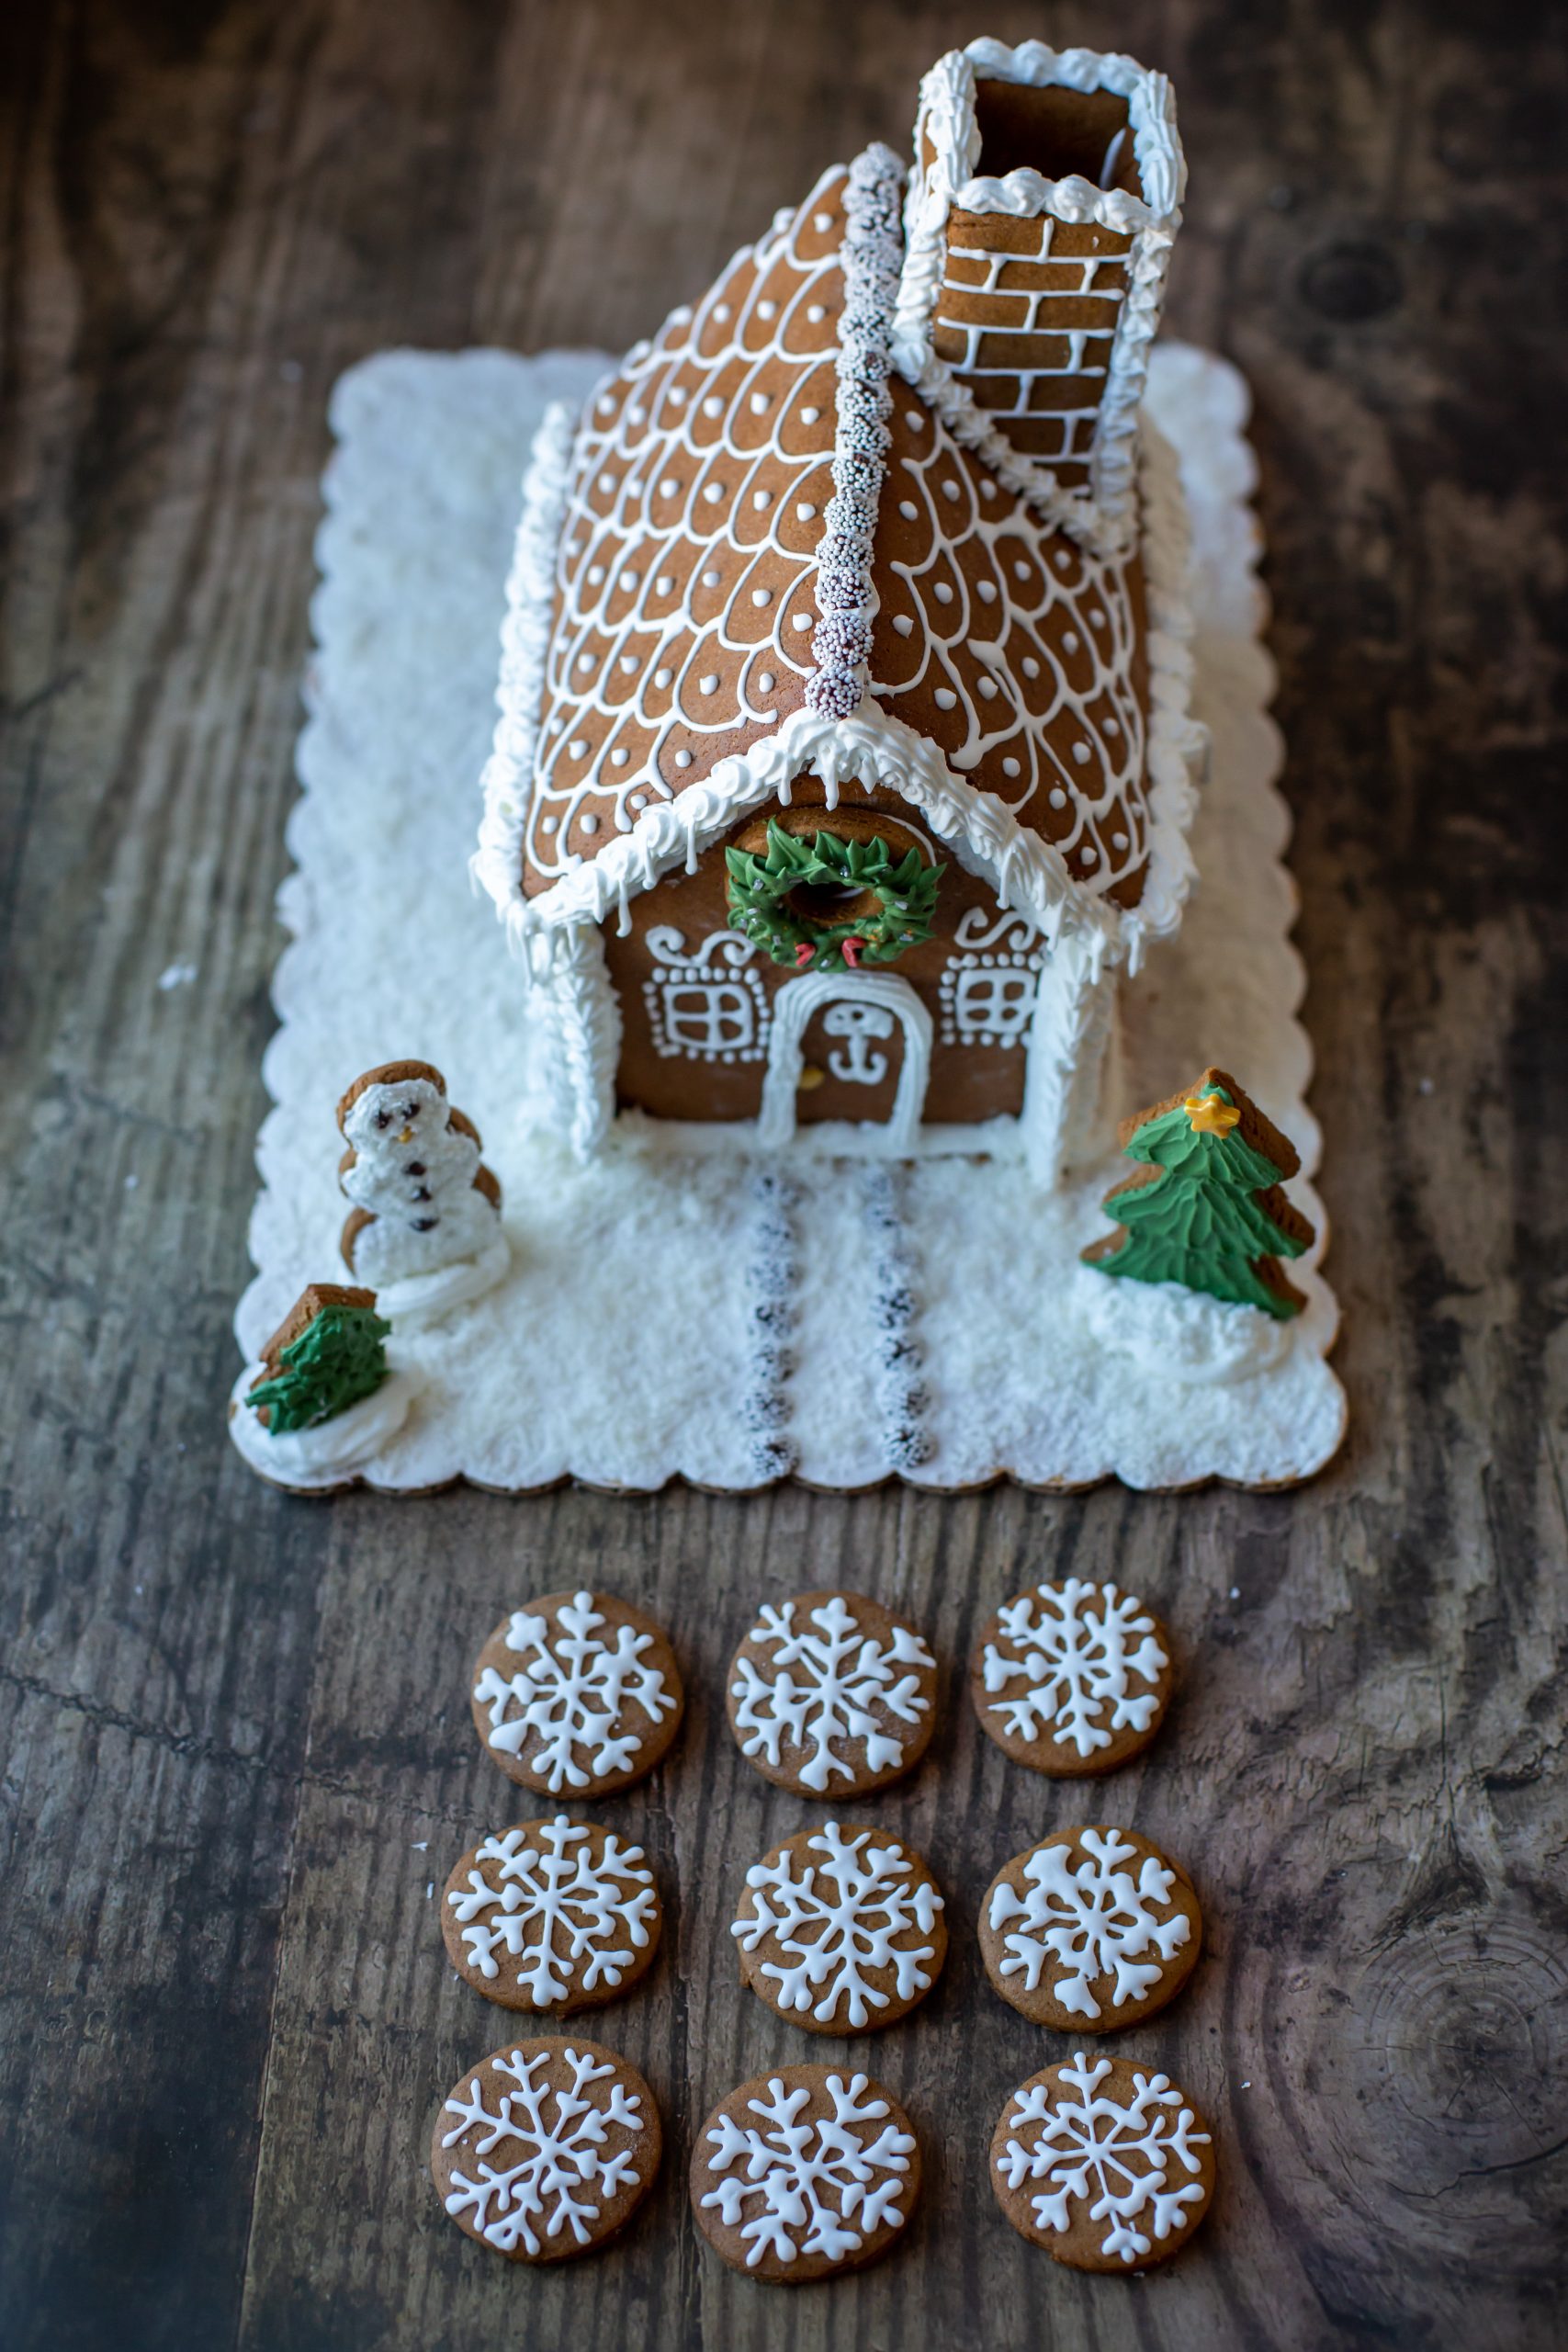
Look how cute! 🙂
Sourdough Gingerbread Cookies
https://mostlysourdough.com/wp-content/uploads/2021/12/BH1A8375-scaled.jpg
| Yield: One gingerbread house with extra decorative cookies, or 4 dozen 2 inch gingerbread cookies |
Gingerbread cookies made with sourdough discard; turned into a gingerbread house!
You'll Need...
- Gingerbread cookies:
- 425 grams all-purpose flour
- 1 gram baking soda
- 4 grams ground ginger
- 4 grams ground cinnamon
- Pinch of ground nutmeg
- Pinch of ground cloves
- Pinch of ground cardamom
- Pinch of black pepper
- 1 gram salt
- 90 grams unsalted butter, room temperature
- 150 grams brown sugar
- 1 egg
- 120 grams molasses
- 100 grams sourdough discard, room temperature
- Royal icing:
- 450 grams powdered sugar
- 3 egg whites
- 2 grams cream of tartar (or lemon juice)
- Candy decorations of choice
- Large cake cardboard or wood platter for base
Directions
- Make the dough: In a medium mixing bowl, whisk together the dry ingredients and set aside. In the bowl of a stand mixer, cream together the butter and brown sugar on medium high speed until light and fluffy. Add the egg, molasses and sourdough starter and mix on low to combine. Scrape down the sides and bottom of the bowl to make sure everything gets incorporated. Next, add the dry ingredients and mix on low until it comes together into a crumbly dough. Divide the mixture into two, pat into discs and wrap in plastic wrap. Allow the dough to chill in the fridge for at least two hours before rolling, or up to two days.
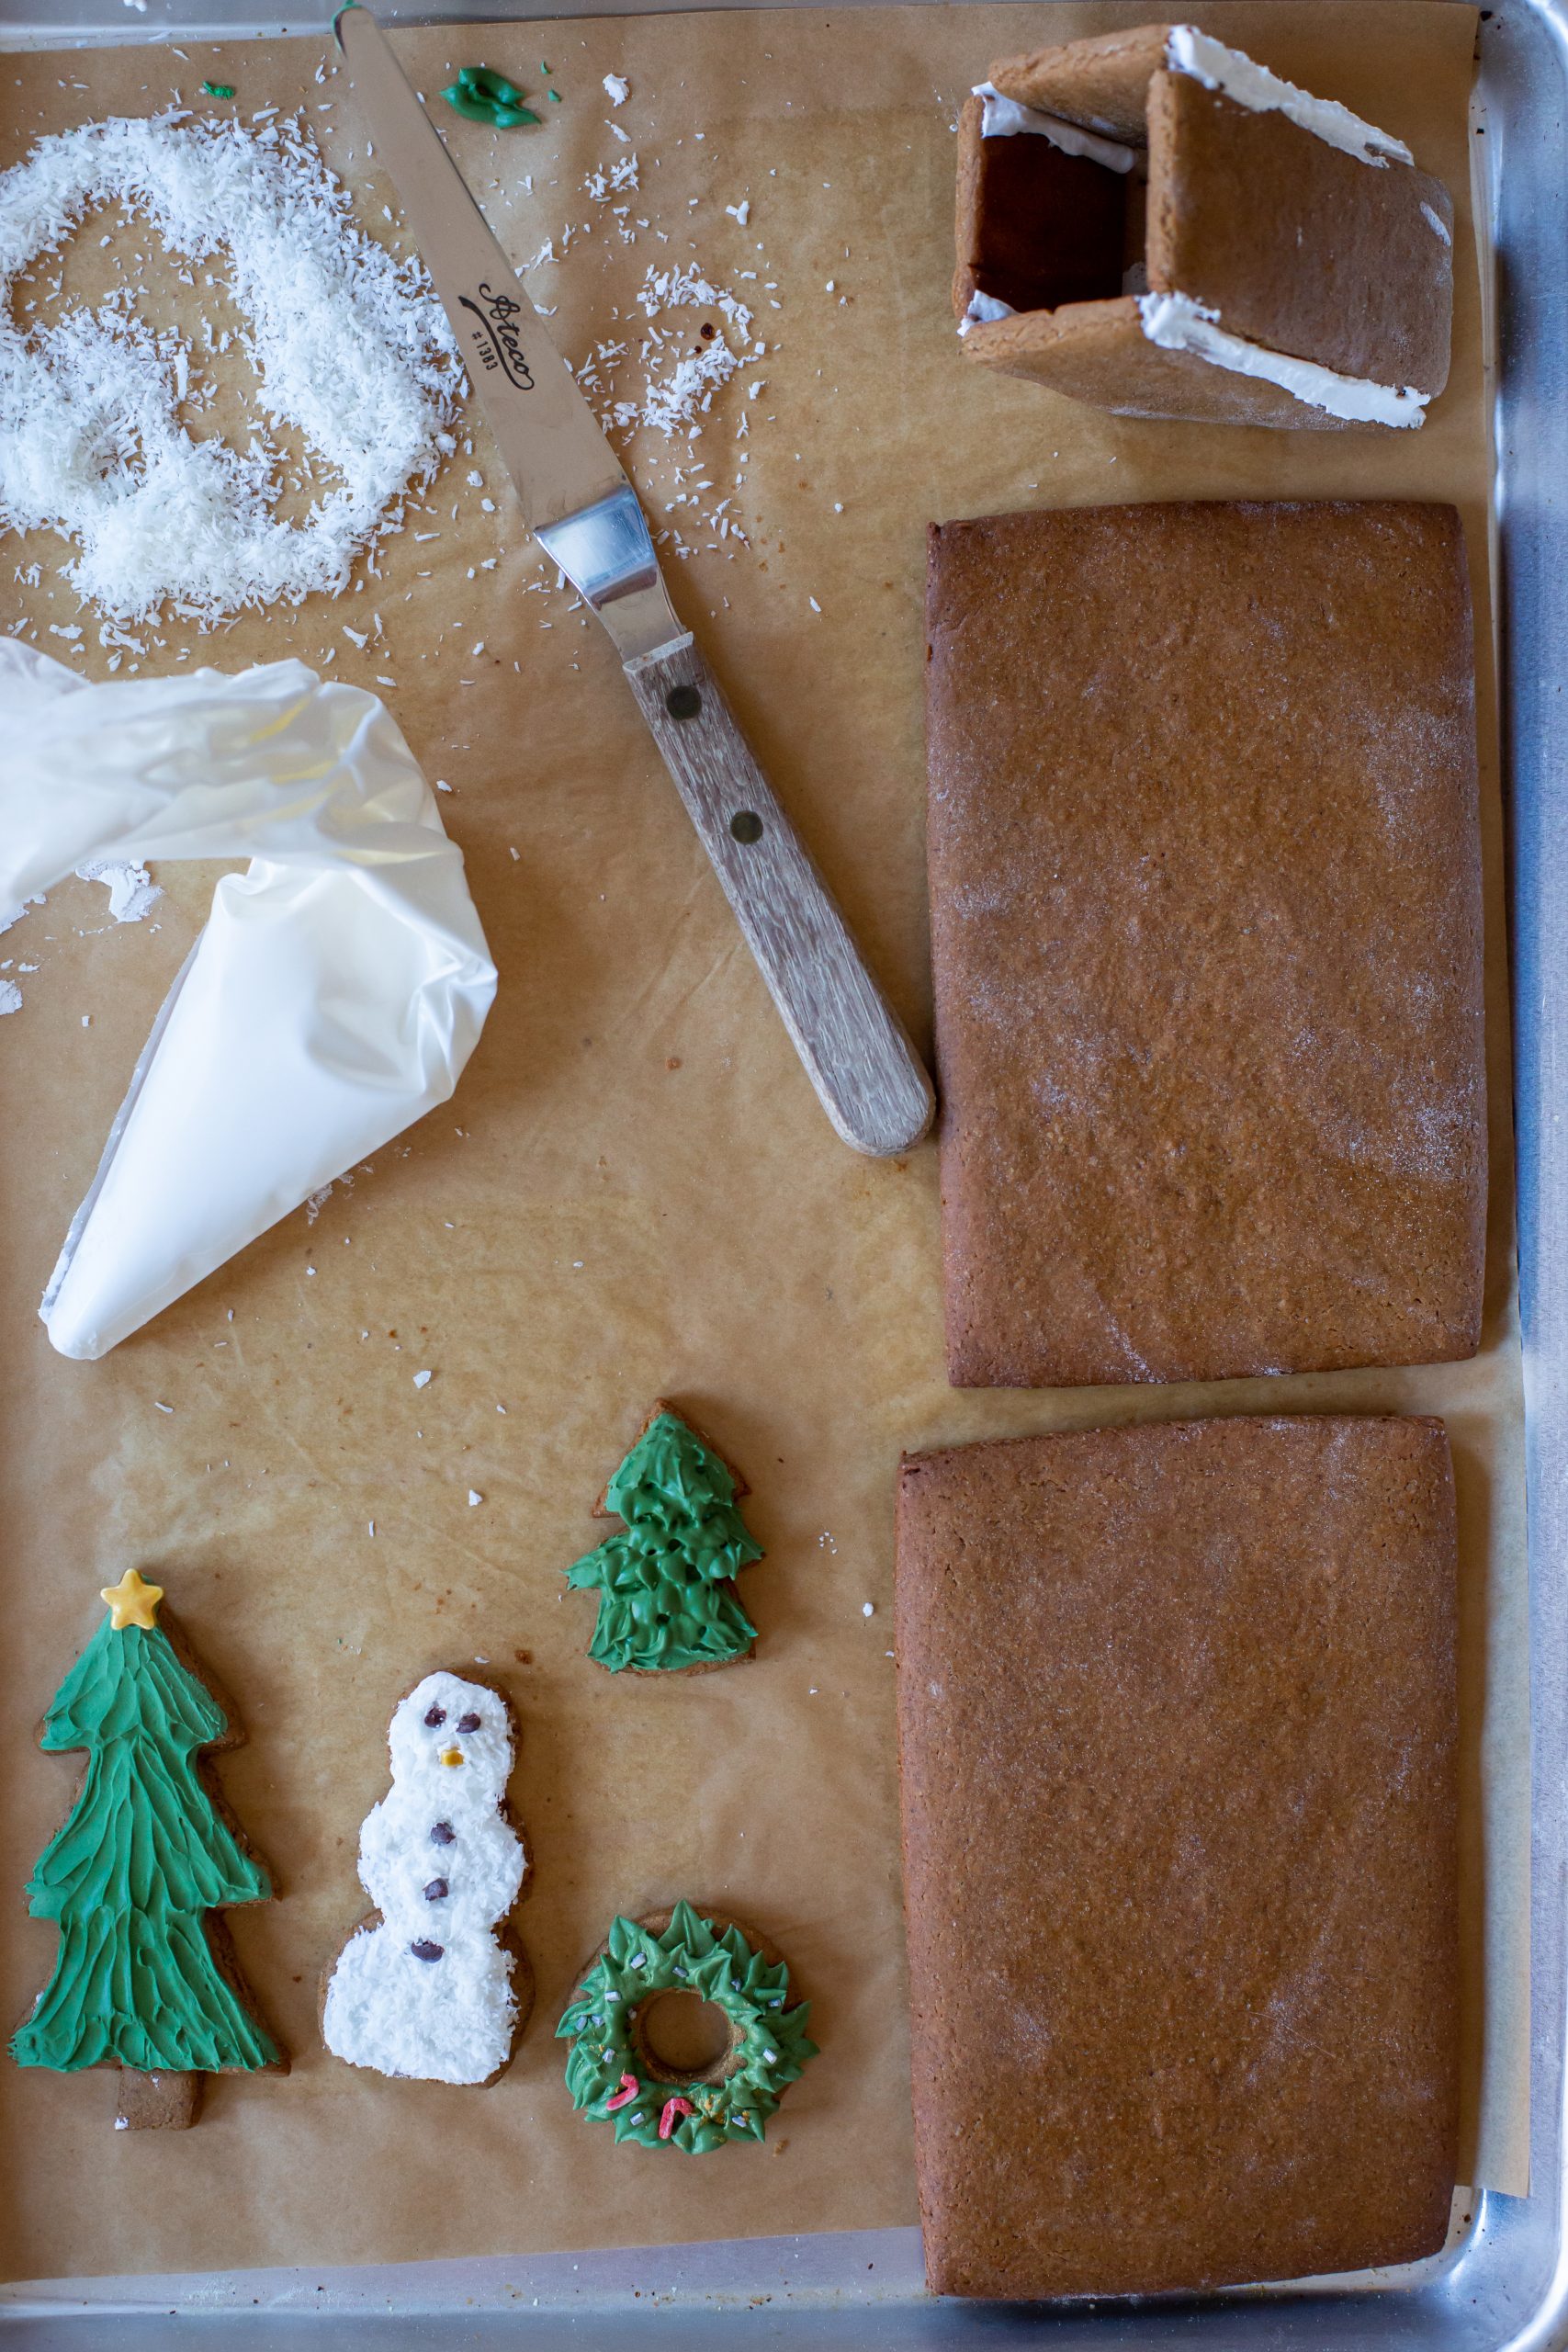
- Roll and cut: Line two baking sheets with parchment and preheat the oven to 350 degrees. Between two pieces of parchment paper, roll out one section of dough at a time to about 1/4 inch thick. Cut out the house shapes using my template or a ruler, or just use cookie cutters if only making cookies. You can also make a chimney and trees for extra decor if desired. Scraps can be re-chilled and rolled. Transfer the pieces carefully to the baking sheets, leaving some space for them to puff up in the oven. Repeat with the other half of dough until you have all your pieces.
- Bake: Bake the large pieces for 16-20 minutes until the edges are slightly darker and they look set. Smaller pieces will take 12-15 minutes. Let them cool entirely on the baking sheets before moving.
- Icing: In the bowl of stand mixer combine all of the icing ingredients and beat with the whisk attachment on high until it forms stiff peaks. The icing should be bright white and stiff. This will take 7 to 10 minutes. If it feels like it isn't holding peaks, add a little more powdered sugar. If making ahead, just be sure to put plastic wrap on the surface so it doesn't dry out and keep it in the fridge.
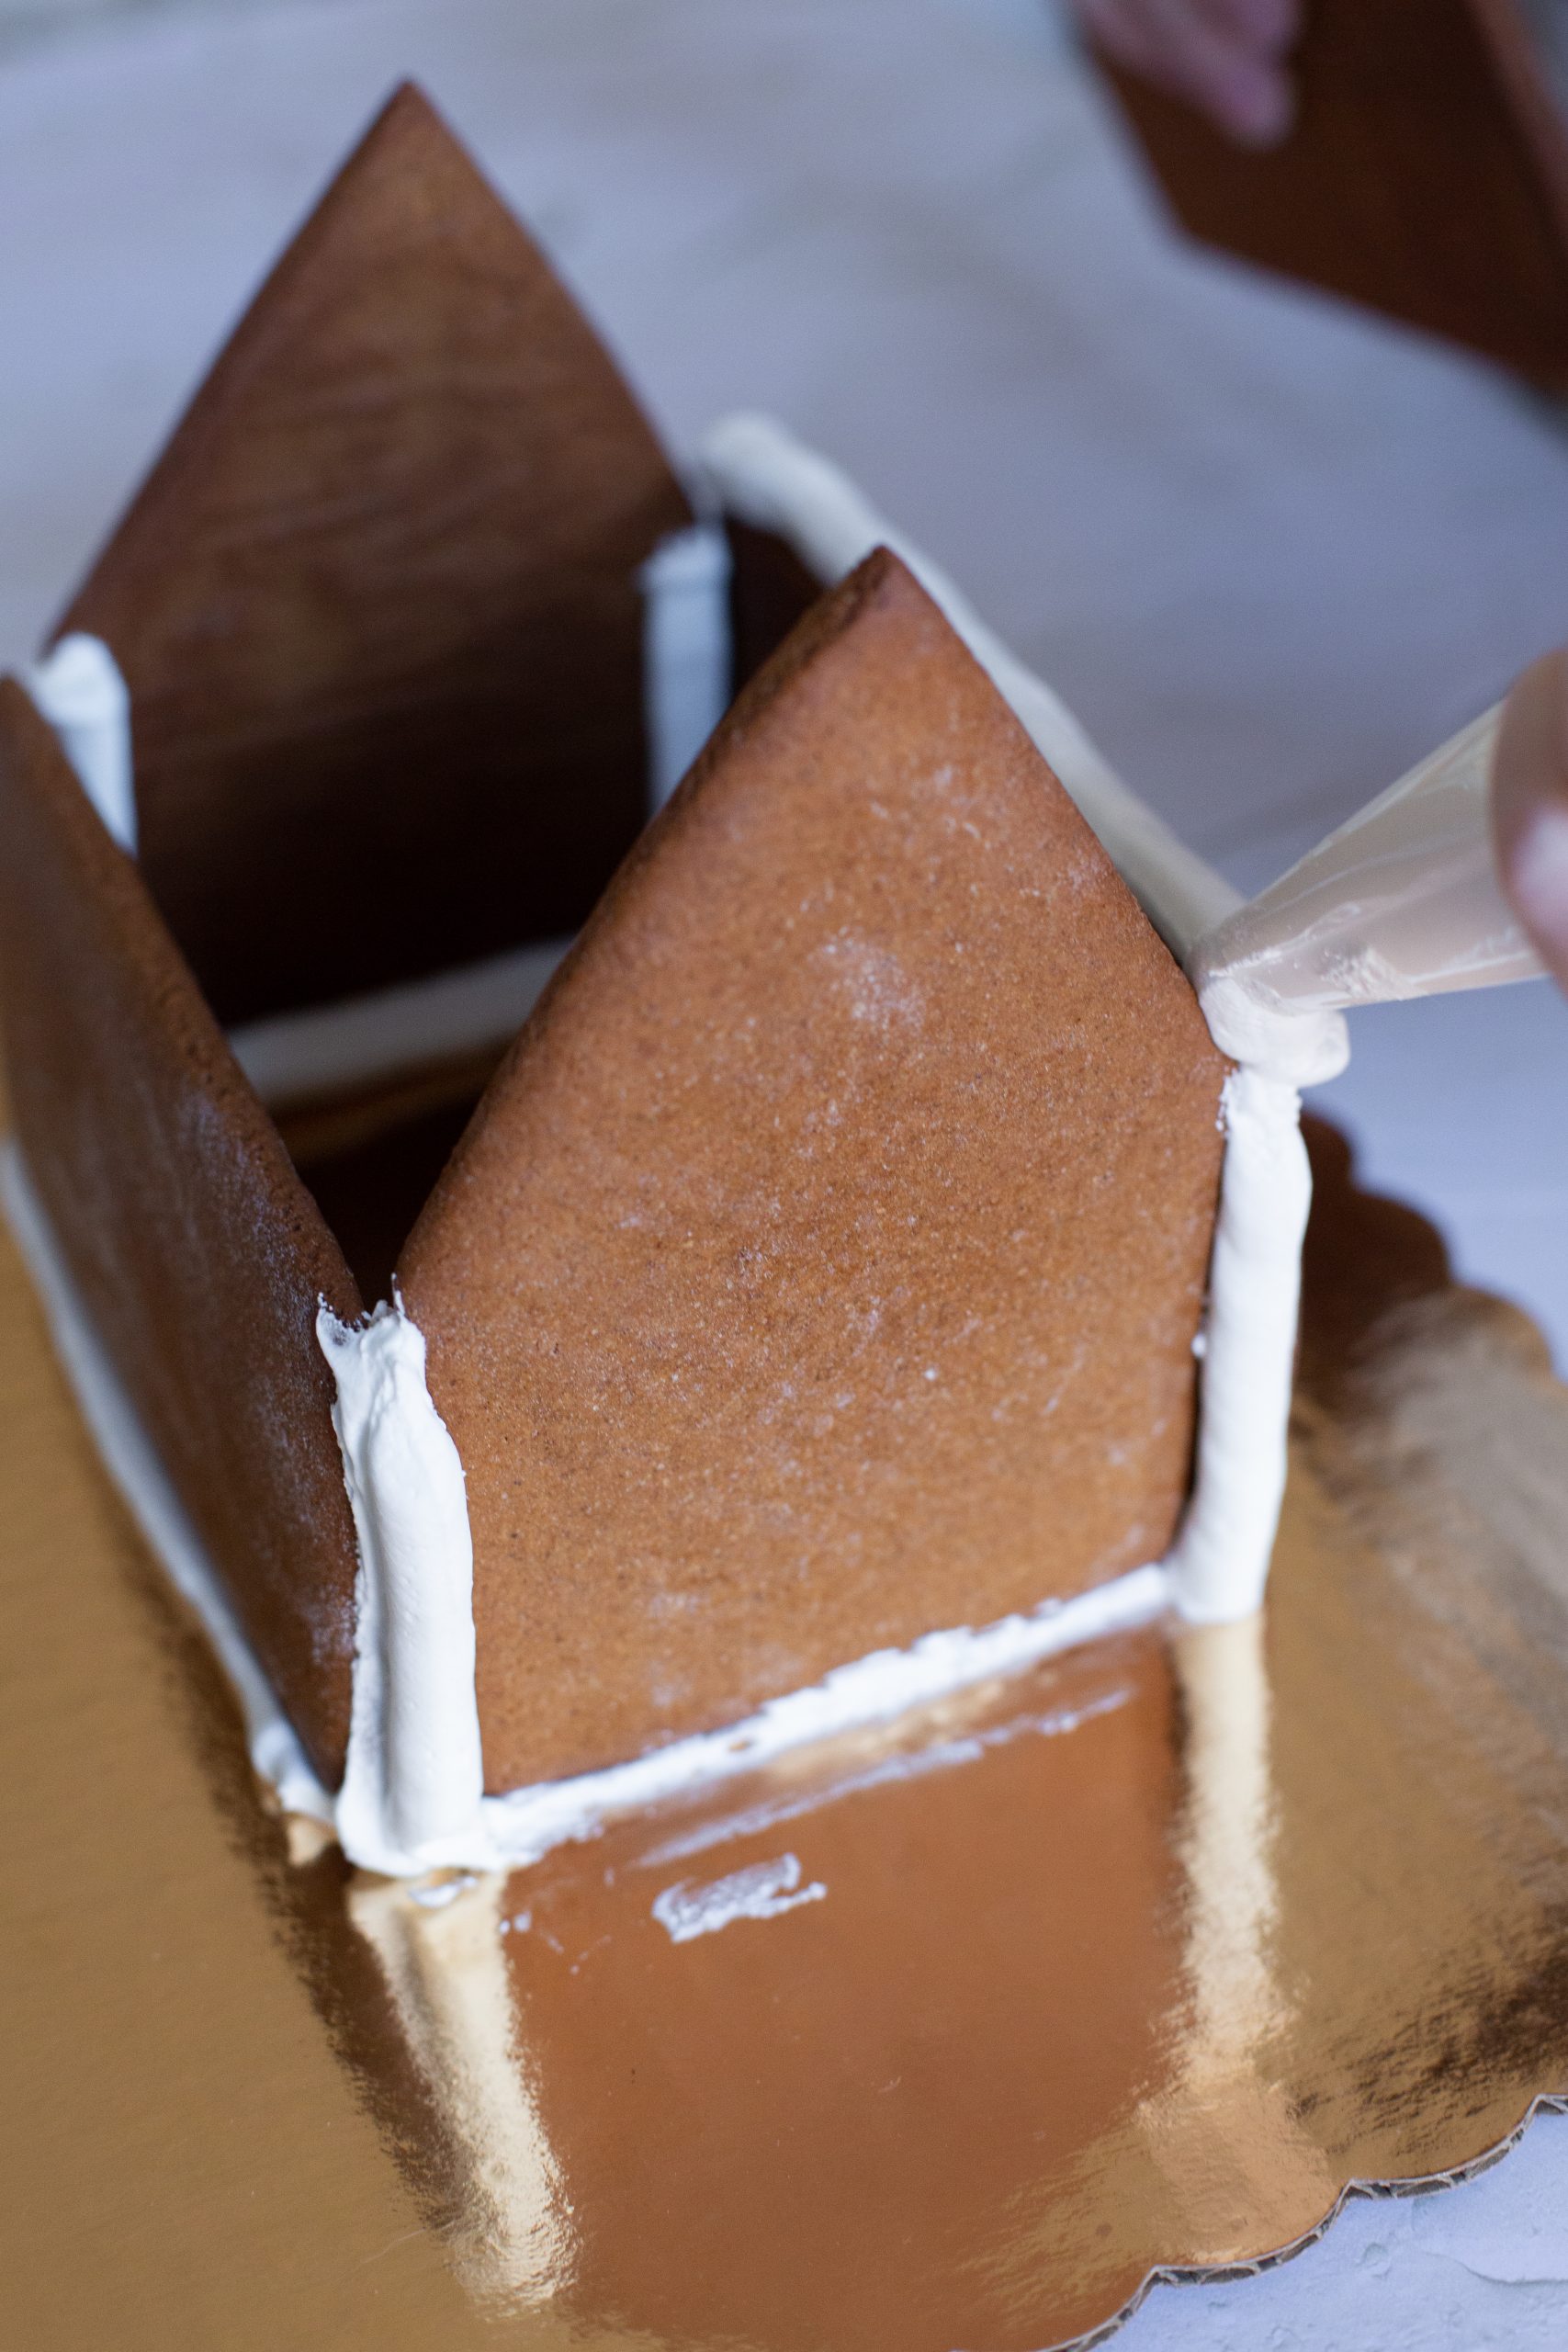
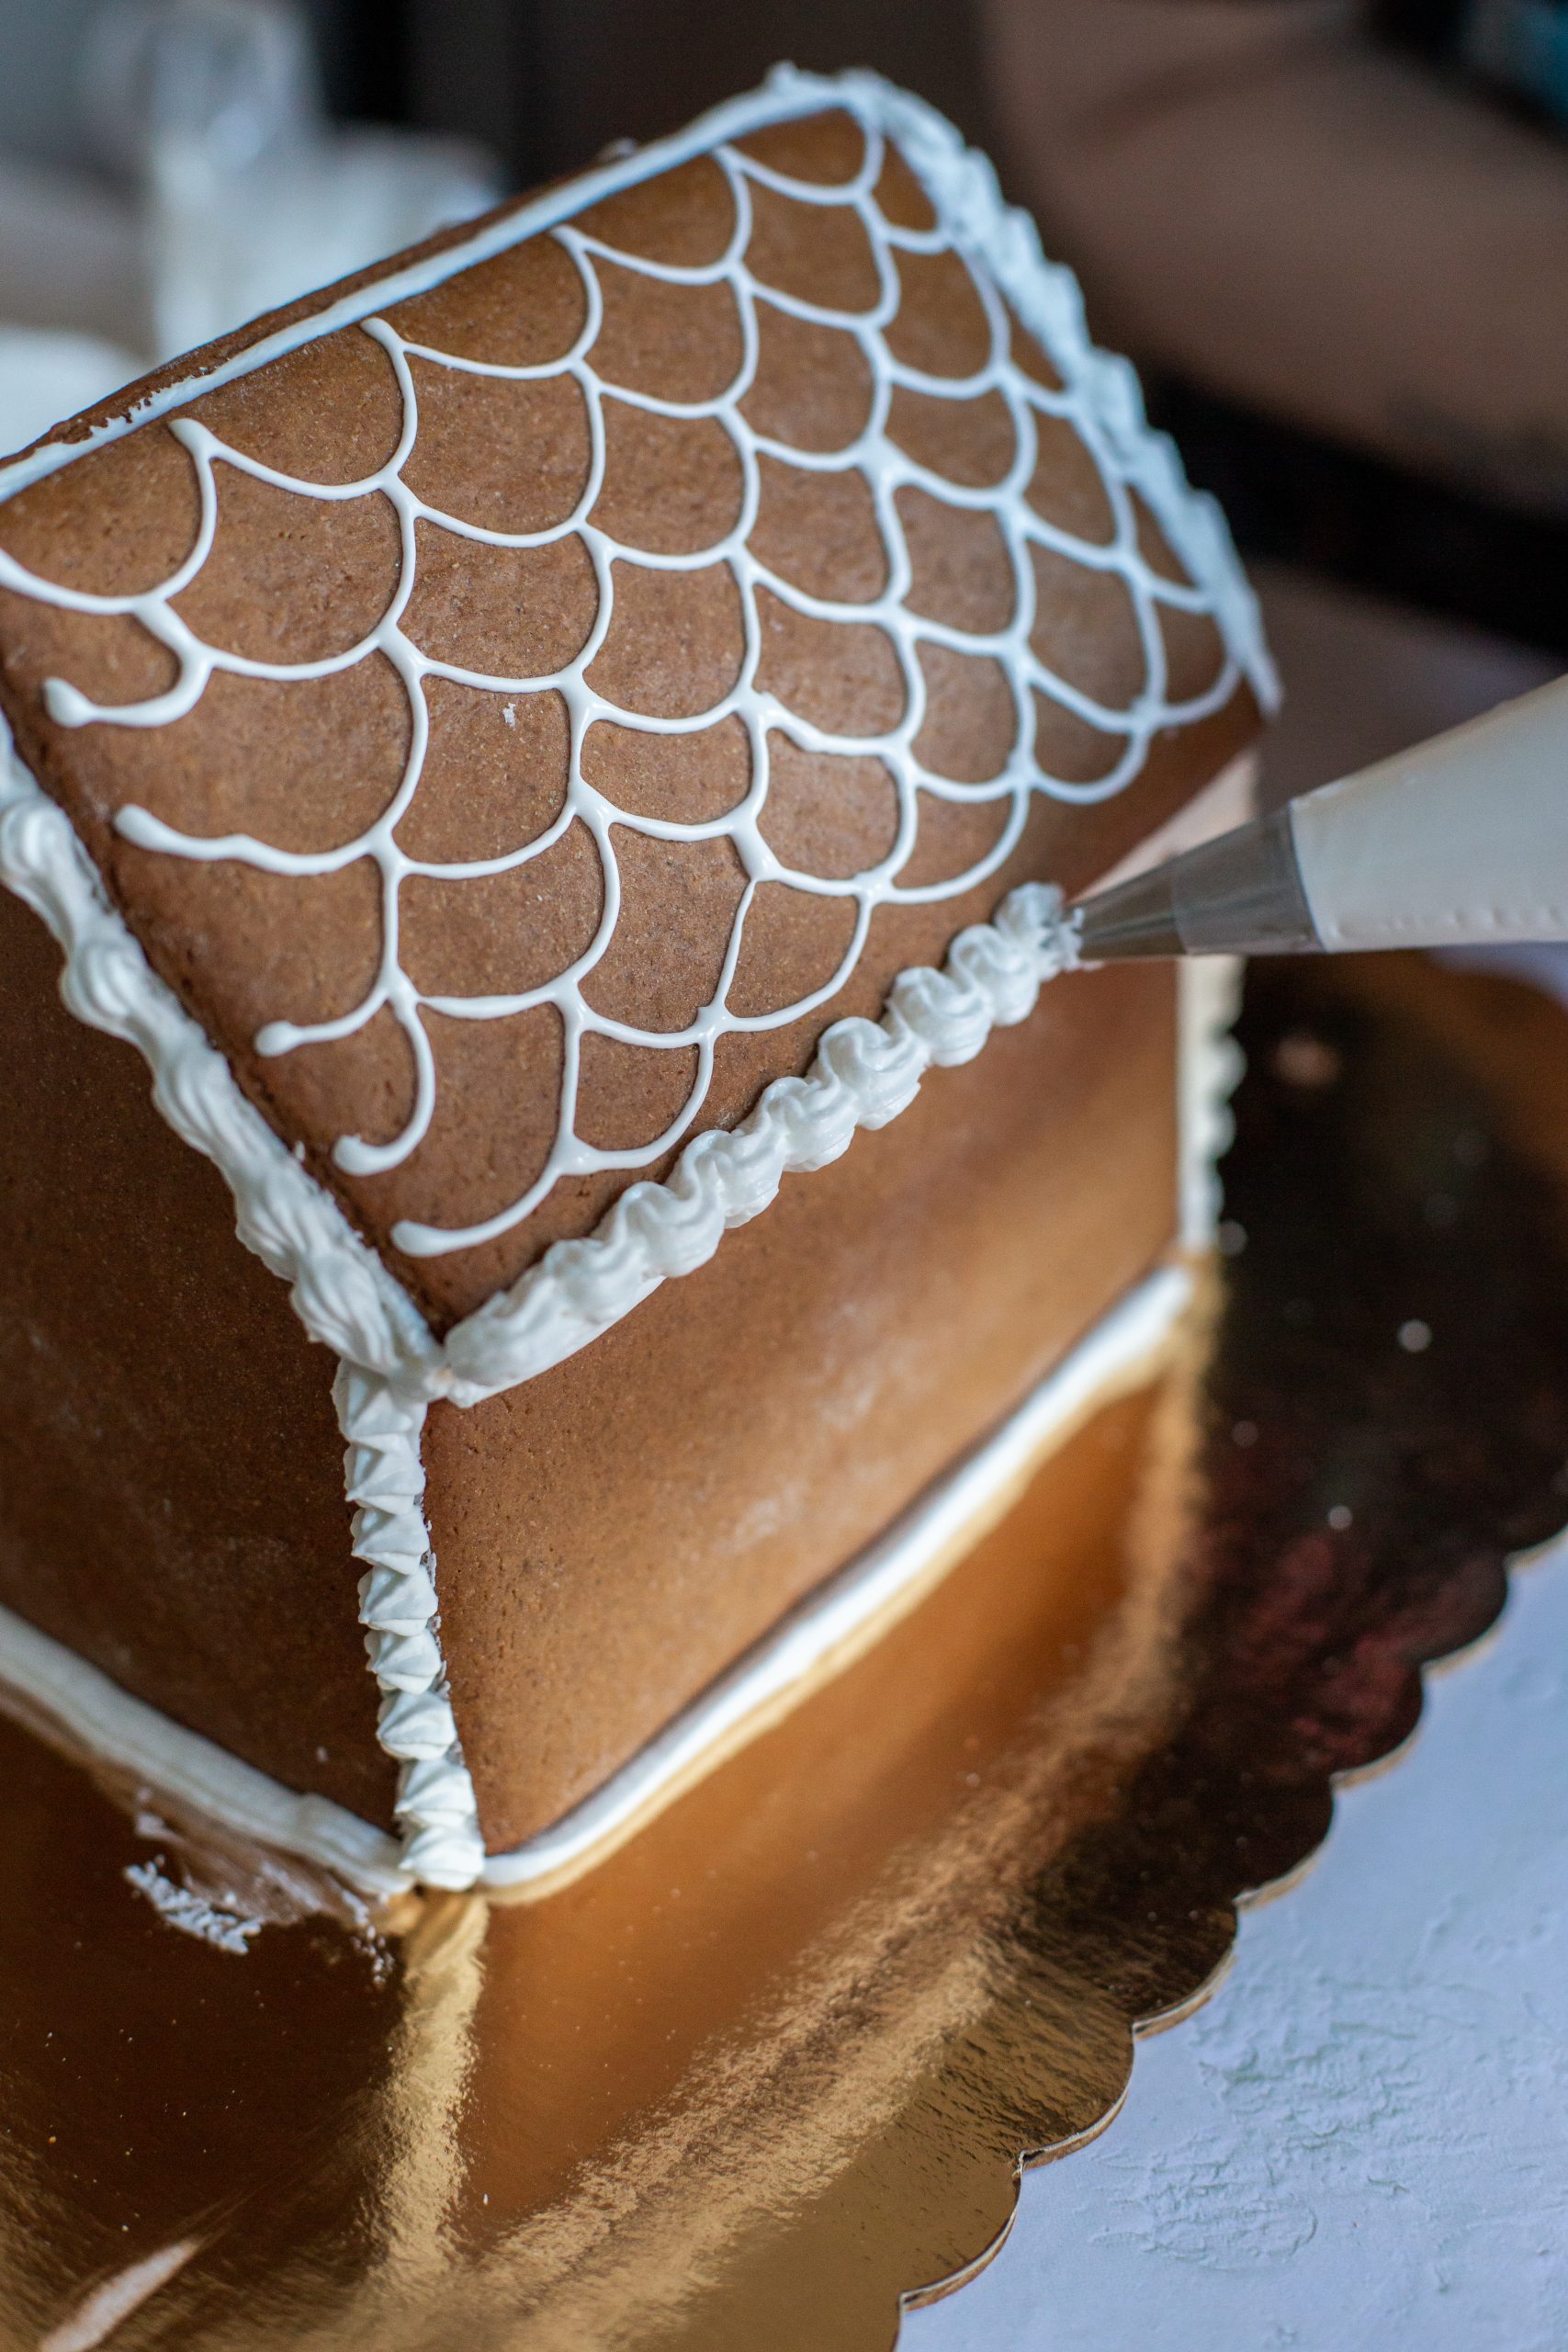
- Assembly: Place of some of the icing into a piping bag (you can also just use a spoon). Pipe or spoon some icing onto the long edge of one of the side pieces and plant it onto your base platter. Use something like a can to keep the wall standing up while it dries. After a few minutes, do the same with one of the front/back pieces and adhere it to the side wall. Allow this to set up for a few minutes before continuing the process until all four walls are together. Let this dry for an hour before adding the roof. Feel free to go heavy on the icing to ensure that it is structurally sound. To put the roof on, do one piece at a time and hold each piece in place for a few minutes so it has time to dry. Next add the chimney (if doing one). Piece together the chimney separately and allow to dry before adding it to the roof. Next, let the whole house dry for a few hours before decorating.
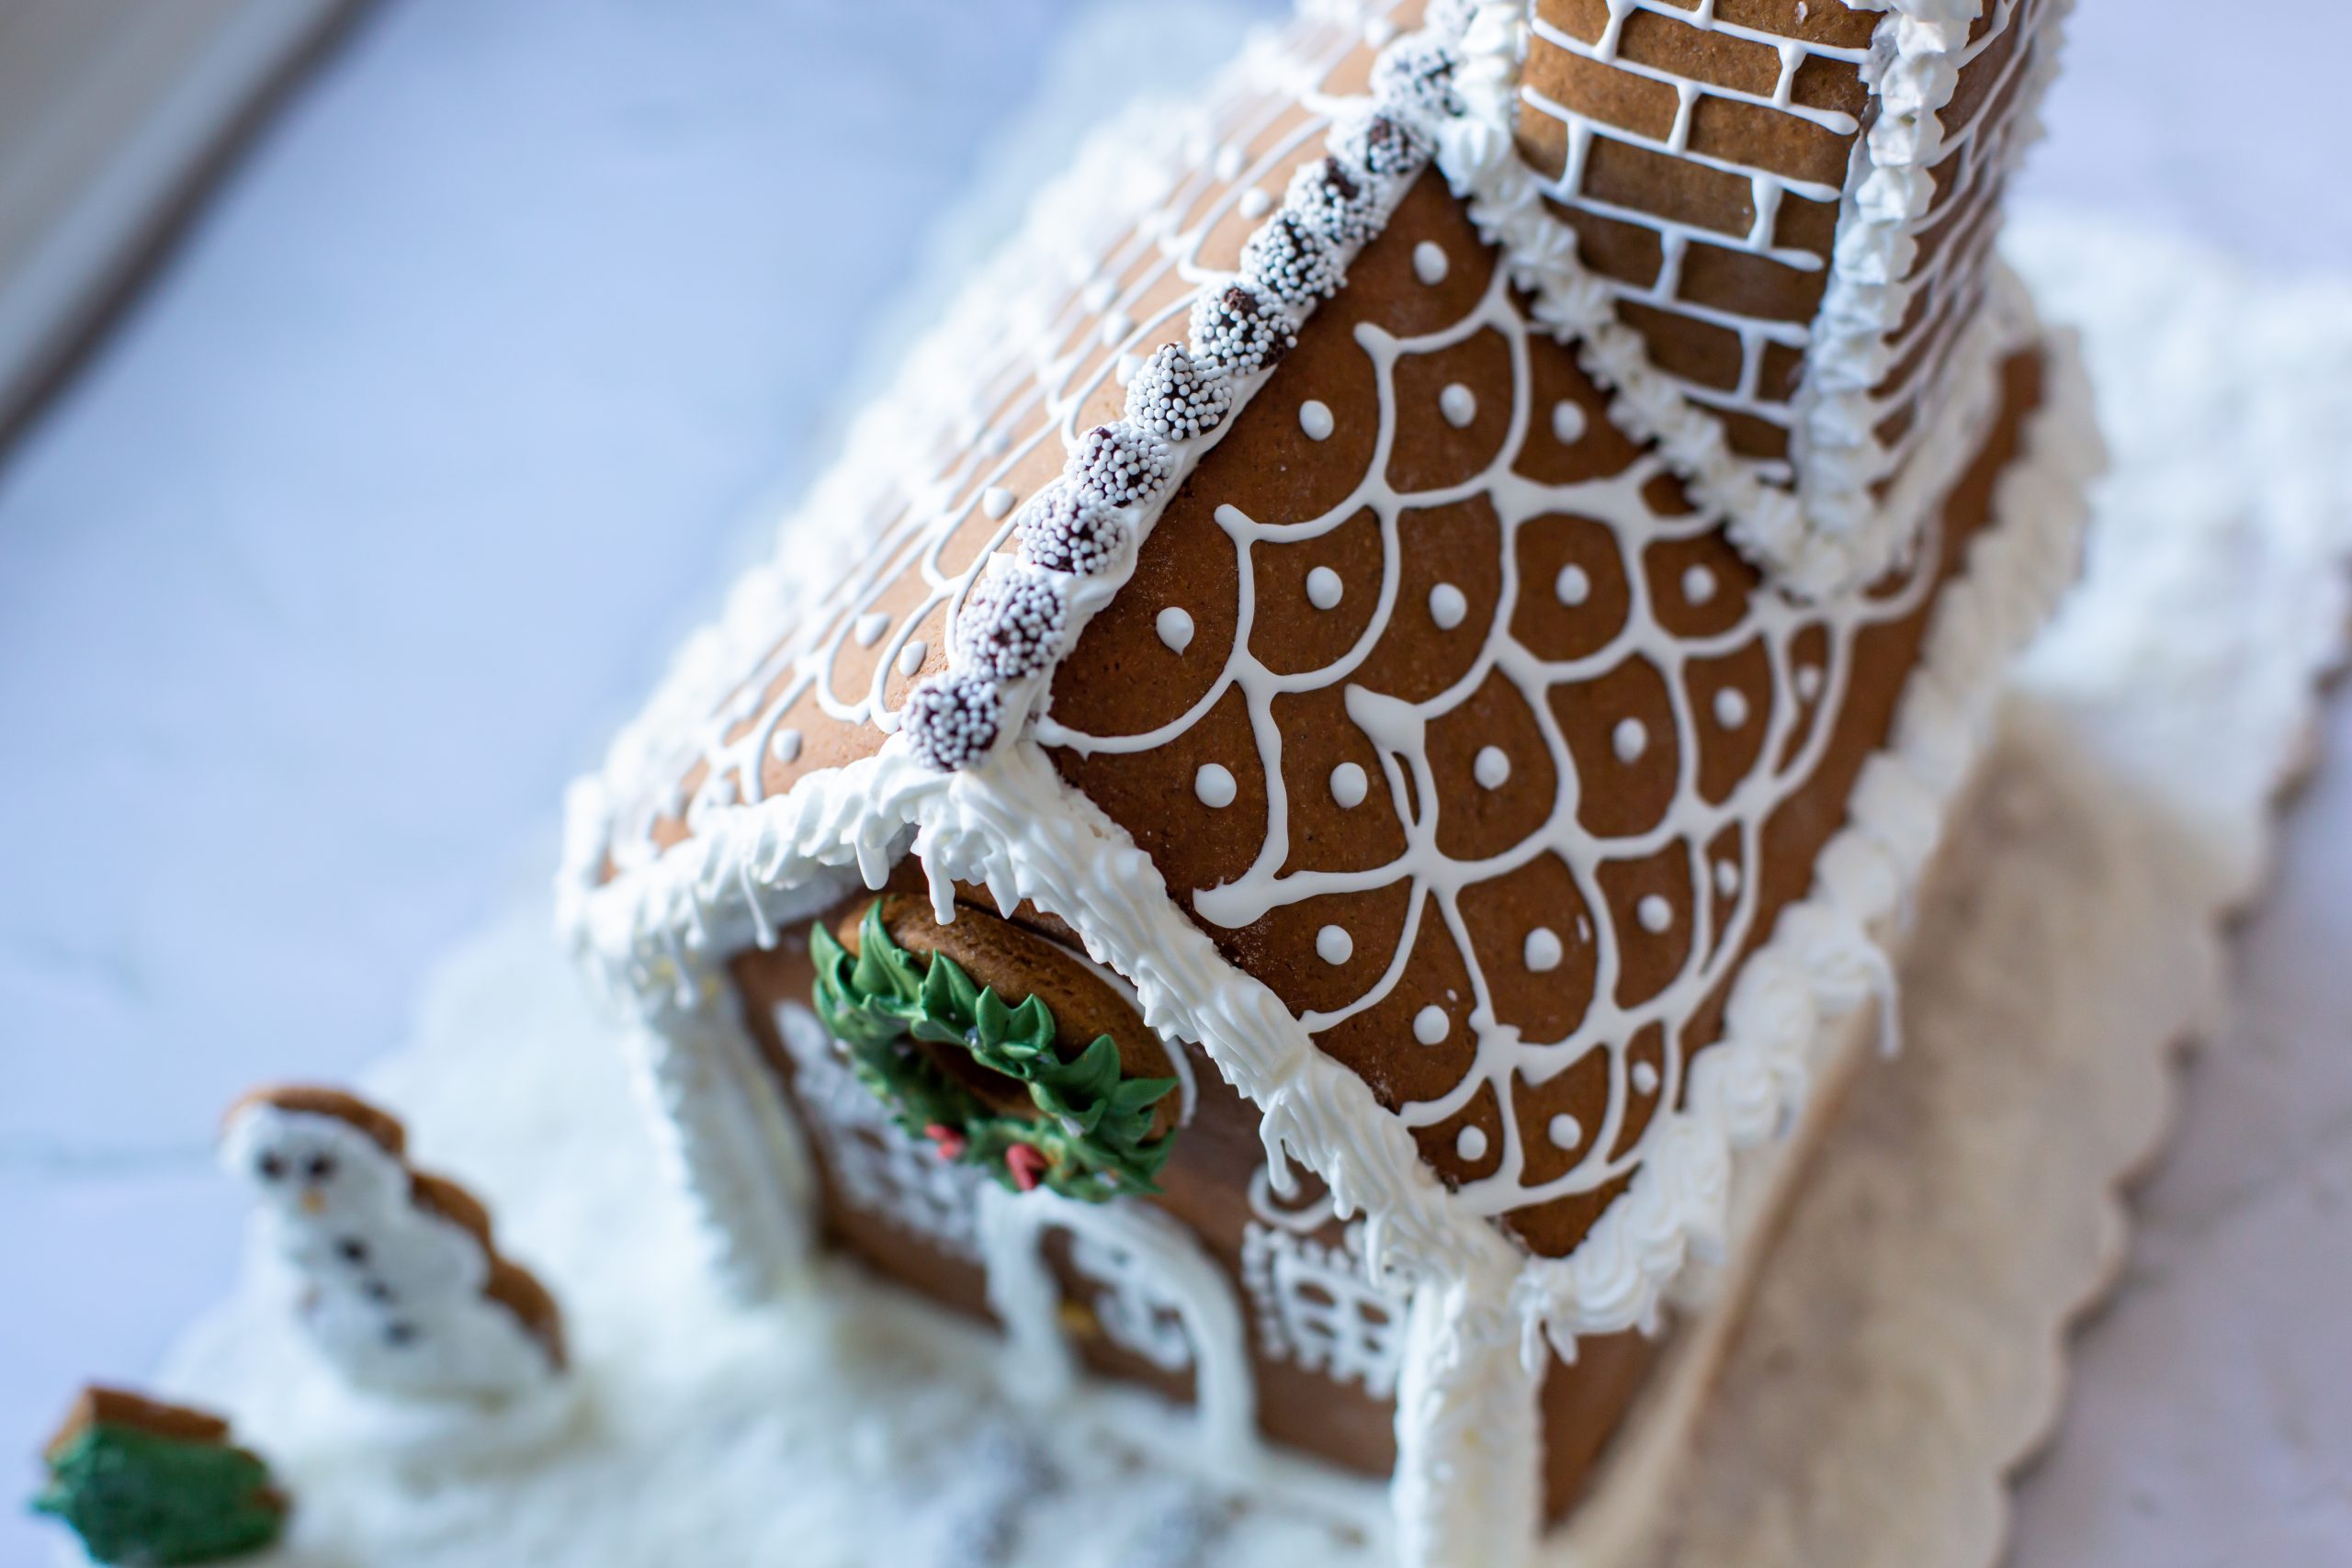
- Decorate: As desired! Use the remaining icing to create the snowy effect we all know and love. I like to use a paper cone with royal icing to be able to achieve more details. Decorate with candies, shredded coconut, etc to your liking.
Additional Notes
Each of the components can be made several days ahead of time for easier assembly. Just be sure to let the royal icing come to room temperature before using.
Happy holidays to you and yours.
Looking forward to the new year and hopefully more time spent with family and friends.
[…] and decorate her house well. It was a fun evening of baking and decorating. I prefer to use a sourdough gingerbread cookie so that we at least get the fermented grains in our sweets. And then we made our own royal icing […]